28
Getting Started
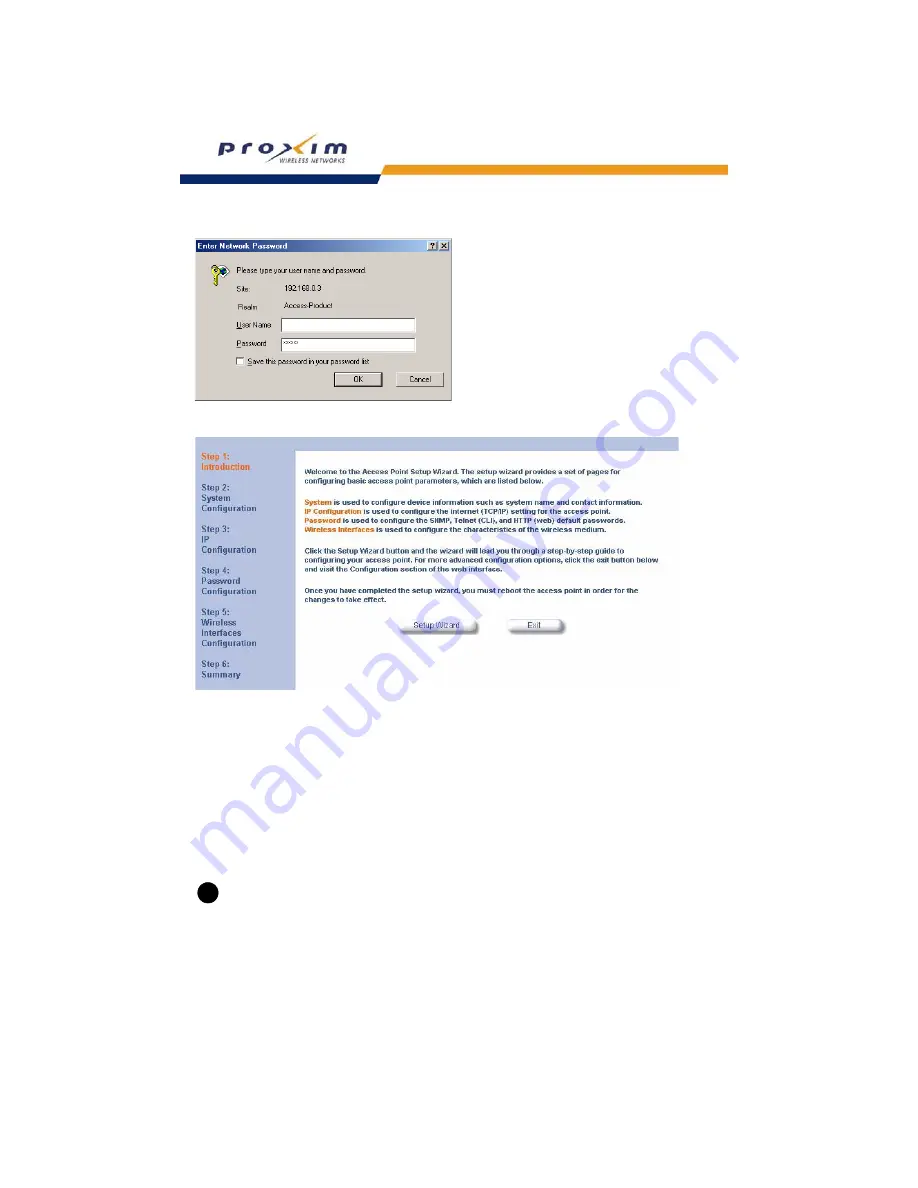
Figure 2-9
Enter Network Password
Figure 2-10 Setup Wizard
5. Click
Setup Wizard
to begin. If you want to configure the AP without using the Setup Wizard, click
Exit
and see
Advanced Configuration
.
The Setup Wizard supports the following navigation options:
•
Save & Next Button:
Each Setup Wizard screen has a
Save & Next
button. Click this button to submit any
changes you made to the unit’s parameters and continue to the next page. The instructions below describe
how to navigate the Setup Wizard using the
Save & Next
buttons.
•
Navigation Panel:
The Setup Wizard provides a navigation panel on the left-hand side of the screen. Click
the link that corresponds to the parameters you want to configure to be taken to that particular configuration
screen. Note that clicking a link in the navigation panel will not submit any changes you made to the unit’s
configuration on the current page.
•
Exit:
The navigation panel also includes an
Exit
option. Click this link to close the Setup Wizard at any time.
CAUTION
!
If you exit from the Setup Wizard, any changes you submitted (by clicking the
Save & Next
button) up to that
point will be saved to the unit but will not take effect until it is rebooted.
6. Configure the System Configuration settings and click
Save & Next
. See
System
for more information.
7. Configure the Access Point’s Basic IP address settings, if necessary, and click
Save & Next
. See
Basic IP
Parameters
for more information.


