-
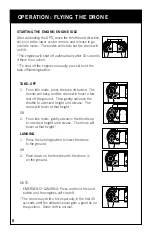
All drones have two rotors that spin clockwise and two rotors that spin
counter-clockwise.
-
Unscrew the 2 screws that are holding the blades in place. Make sure to
keep the screws.
-
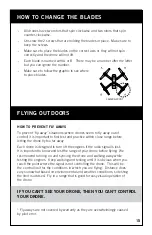
Make sure to place the blades on the correct axis or they will not spin
correctly and the drone will not lift.
-
Each blade is marked with A or B. There may be a number after the letter
but you can ignore the number.
-
Make sure to follow the graphic to see where
to place blades.
FLYING OUTDOORS
HOW TO PREVENT FLY AWAYS
To prevent “fly-away” situations (where drones seem to fly away out of
control) it is important to first test and practice within close range before
letting the drone fly too far away.
Each drone is designed to turn off the engines if the radio signal is lost.
It is important to know and test the range of your drone before flying. We
recommend turning on and syncing the drone and walking away while
testing the engines. Keep walking and testing until it is obvious when you
reach the point where the signal is not controlling the drone. This will be
the control limit for the conditions in which you are flying. Distance does
vary somewhat based on environmental and weather conditions, so testing
the limit is advised. Fly in a range that is good for easy visual operation of
the drone.
IF YOU CAN’T SEE YOUR DRONE, THEN YOU CAN’T CONTROL
YOUR DRONE.
* Fly-aways are not covered by warranty as they are overwhelmingly caused
by pilot error.
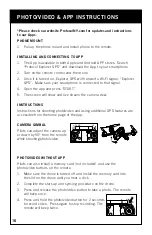
HOW TO CHANGE THE BLADES
CAMERA/FRONT
15


