background image

STEP 1:

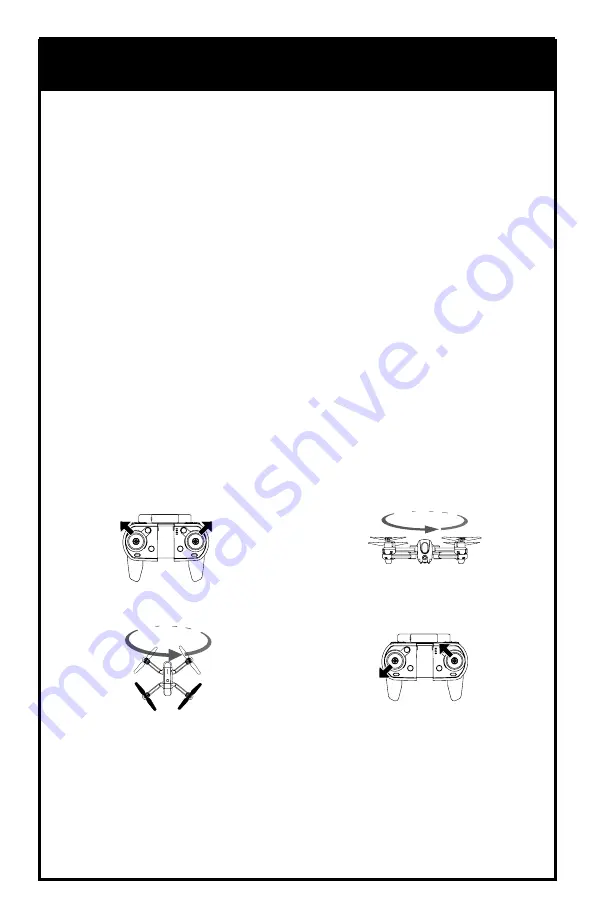
1.  Push the direction and throttle sticks to the upper outer corners and release.  
 

The back two lights on the drone will start to flash. 

STEP 2:

1.  Hold the drone horizontally and slowly rotate 360° until the drone’s back left  
 

light goes steady. You may have to rotate a few times.

STEP 3:

1.  Next, hold the drone vertically with the camera facing up, and rotate 360° until  
 

the drone’s back right light flashes slowly. You may have to rotate a few times.  


When the drone connects to GPS, the back right light will go steady.

STEP 4:

1.  Push the throttle to the lower outer corner and the direction stick to the  
 

upper inner corner at the same time and release.  All lights on the drone  


will briefly flash quickly. You are now ready to fly the drone.  Follow the   


instructions on page 8.

*Never calibrate in areas with numerous and large metal objects such as parking 
lots.  Do not have your phone on you while calibrating.

NO GPS SIGNAL:

If the drone cannot pick up a GPS signal, the back right LED will flash slowly.  
You can still fly the drone but will not be able to use the GPS functions.

CALIBRATING THE GPS

STEP 3

STEP 1

STEP 4

STEP 2

7

Summary of Contents for Explorer GPS

Page 1: ...WI FI FOLDING DRONE WITH HD CAMERA EXPLORER GPS...

Page 2: ......

Page 3: ...ght has to offer We strongly recommend that you take the time to read this manual thoroughly It contains many tips and instructions on how to get the most out of this aircraft and maintain it for a lo...

Page 4: ...ng the Drone 05 Charging the Drone 06 Start Up Procedure 07 Calibrating GPS 08 Operation 10 Compass Mode 11 Performance Modes 12 GPS Functions 14 Troubleshooting 15 Changing the Blades Flying Outdoors...

Page 5: ...charging cable that is supplied with this item Do not strike cut or pierce the internal battery or subject it to hard impacts Do not mix old and new batteries or mix different types of batteries Never...

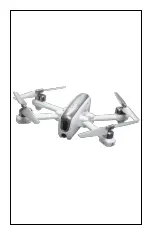
Page 6: ...DRONE 1 Blade 2 Battery 3 Camera adjusts up down 90 4 Power Button 5 Arm 6 Memory Card Slot Memory card and card reader are not included and may be purchased separately at your local dealer 5 3 2 4 1...

Page 7: ...dicator 10 Charging Indicator 11 Photo Video Indicator 12 Camera Gimbal Down 13 Photo Video short press for photo long press for video 14 Waypoint app only 15 Forward Backward 16 Left Right 17 Follow...

Page 8: ...NSTALLATION AND OPENING THE DRONE 1 Connect the USB charging cable into the charging port on the remote 2 Plug the charging cable into a USB port 3 The charging indicator on the remote will turn on wh...

Page 9: ...perature is high immediately after flight charge after cooling down for higher efficiency 5 Do not strike or subject battery to hard impacts or sharp surfaces 6 Do not use any other charger than that...

Page 10: ...chronized 1 Press the power button for 2 seconds to turn on the drone The blue lights are at the front and the yellow are at the back 2 Place the drone on an even surface in front of you 3 Turn on the...

Page 11: ...rone connects to GPS the back right light will go steady STEP 4 1 Push the throttle to the lower outer corner and the direction stick to the upper inner corner at the same time and release All lights...

Page 12: ...il the drone is on the ground NOTE EMERGENCY LANDING Press and hold the land button and the engines will shut off The drone may drift a bit especially in the first 30 seconds until the altitude sensor...

Page 13: ...tion lever to the left or right the drone banks to the left or right FIRST TIME FLYERS TAKE YOUR TIME GO SLOW Practice hovering until you are comfortable with flight before attempting any other maneuv...

Page 14: ...nners and is useful for drones that fly too far away for the user to be able to tell the orientation Follow the below instructions to change to Compass Mode 1 After syncing the drone and calibrating t...

Page 15: ...pitch more than at low speed Explorer GPS is quite fast at its highest speed and requires more piloting skills to fly competently For safety take time to develop advanced skills by practicing at lowe...

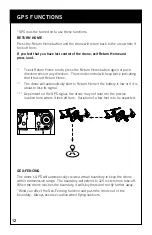
Page 16: ...drone will automatically start to Return Home if the battery is low or if it is about to lose its signal Dependent on the GPS signal the drone may not return to the precise location from where it took...

Page 17: ...the 16 foot minimum 1 Fly Explorer GPS to a desired Follow Me distance 2 Press the Follow Me button and it will beep Explorer GPS will follow the phone and maintain the distance it was at when Follow...

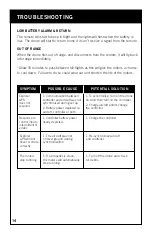
Page 18: ...motors stop running 1 The aircraft was not on level ground during synchronization 1 If a propeller is stuck the motors will automatically stop running 1 Re synchronize aircraft and controller 1 Turn...

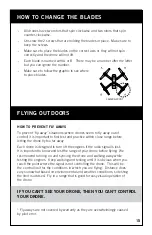
Page 19: ...before letting the drone fly too far away Each drone is designed to turn off the engines if the radio signal is lost It is important to know and test the range of your drone before flying We recommend...

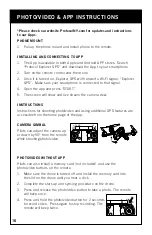
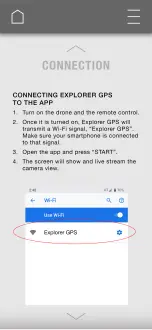
Page 20: ...or updates and instructions to our Apps PHONE MOUNT 1 Pull up the phone mount and install phone to the remote INSTALLING AND CONNECTING TO APP 1 The App is available in both Apple and Android APP stor...

Page 21: ...d well designed products that make living fun and easy We stand behind all of our products and warrant this to be free from defects in workmanship and materials for 30 days from the date of purchase T...

Page 22: ......

Page 23: ......

Page 24: ......

Page 25: ......

Page 26: ......

Page 27: ......

Page 28: ......

Page 29: ......

Page 30: ......

Page 31: ......

Page 32: ......

Page 33: ......

Page 34: ......

Reviews: