3
3
3
3
3
3
3
3
3
3
3
© 2014 Proceq SA
11
Return to start on new line
With this feature set, the cursor jumps back to the start line when chang-
ing line in the Multi-Line and Cross-Line Modes.
Line Height (in Y-direction)
The line height must be set in the Multi-Line, Area-Scan and Cross-Line
Modes. It determines the spacing between the measuring rows. A height
5 to 203 cm / 2.00 to 80.00 inch can be set.
Grid Width (in X-direction)
The grid width must be set in the Area-Scan and Cross-Line Modes. A
width from 5 to 203 cm / 2.00 to 80.00 inch can be set.
3.4 Measurement Screen
The standard measurement screen is shown on page 3. All settings are
directly accessible from the measurement screen.
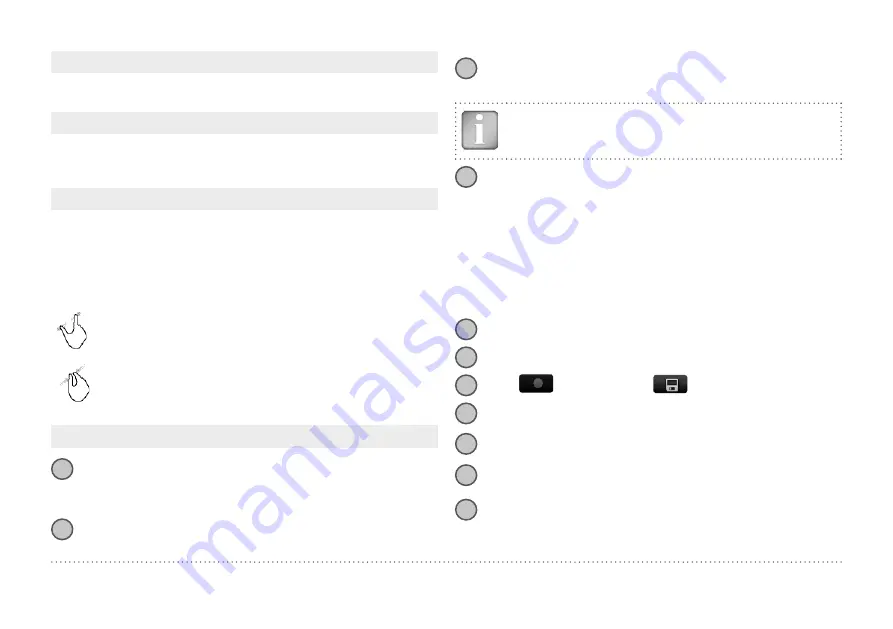
Zoom
in by placing thumb and index finger together on the
screen and spreading them apart. This can be used in both the
horizontal and vertical directions when making a measurement.
Zoom
out by placing thumb and index finger apart on the
screen and pinching them together.
Pan
the image from left to right by dragging.
Measuring screen controls (see page 3)
1
File name:
Enter the file name and tap return. Saved measure-
ments will be stored with this file name. If several measurements
are made under the same filename, a suffix increments after each
measurement and follows the file name.
2
Measurement Mode:
Select the type of measurement to be carried
out (see “3.5 Measurement Modes and Storage of Data”).
3
The top right hand corner of the display shows the current time, the
battery status and a warning triangle for zeroing the probe: after 5
minutes in orange, after 10 minutes in red.
NOTE! Tap on the triangle to perform zeroing.
4
Display
of selected Settings and Screen Mode:
– Measuring Range
– Rebar Diameter
– Neighboring Rebar Correction
– Cover Offset
– Line Height (for Multi-Line, Area-Scan & Cross-Line Mode only)
– Grid Width (for Area-Scan and Cross-Line Mode only)
– Probe Direction X: Undefined direction
^, v, <, >: On vertical wall, probe head
towards up, down, left, right
_, ˉ: On horizontal surface, on soffit
5
Settings:
Switches to the settings menu (see “3.3 Settings”).
6
Rebar Diameter:
Measuring or change setting of rebar diameter
7
Start:
Measurements or
store measured data
8
Restart
with measurements and reposition cursor to the start line.
(All data of current measurements are deleted)
9
File Info
or delete, Cursor to Start line in Multi-Line and Area-Scan
Modes
10 Zoom
in to cursor position (for Single-Line Mode only)
Set cursor
to line below or above (for Multi-Line Mode only)
11 Zoom to fit
During measurement: Goes back to standard view
Stored file: Complete measuring area is displayed.
In the Modes/Views “Zoom to fit” does not show all the details
for scanning distance > 10/30 meters (> 32.8/98.4 feet).


