


11
Adjustment the screen display
(When using an analog signal)
Manual screen adjustment
Adjustments can be made using On Screen Display
(OSD) Menu provided.
On Screen Display for adjustment
This chapter provides the procedure how to adjust
the screen by using operation Pattern.
How to adjust
- Press the MENU button.
The SCREEN Menu will be displayed.
At this point relevant menu options can be adjusted.
Each time the MENU button is pressed the next
menu is selected. (SCREEN
GAIN CONTROL
COLOR
MODE SELECT
OSD Menu
disappears)
Note
:
- The OSD Menu automatically disappears
approximately 30 seconds after the last command.
SCREEN Menu
MANUAL: Individual menu options are manually
adjusted.
Auto: Every menu option is automatically
adjusted.
Note
:
- Press the
f
button to select [AUTO].
- To choose a menu option:
d
/ MODE button
- To go to the next menu: MENU button
CLOCK
This feature will increase or decrease vertical picture
alignments. Normally, Automatic Adjustment
should be used. Note: This is for advanced users.
(
ef
buttons )
PHASE
This feature will increase or decrease horizontal
picture alignments. Normally Automatic
Adjustment should be used. Note: This is for
advanced users.
(
ef
buttons )
NOTE
:
- Adjustments to [PHASE] should be made only after
[CLOCK] has been correctly set.
H-POS (horizontal positioning) and V-POS (vertical
positioning)
To center the Adjustment Pattern within the
boundaries of the screen, adjust the left-right (H-POS)
values and the up-down (V-POS) values.
(
ef
buttons )
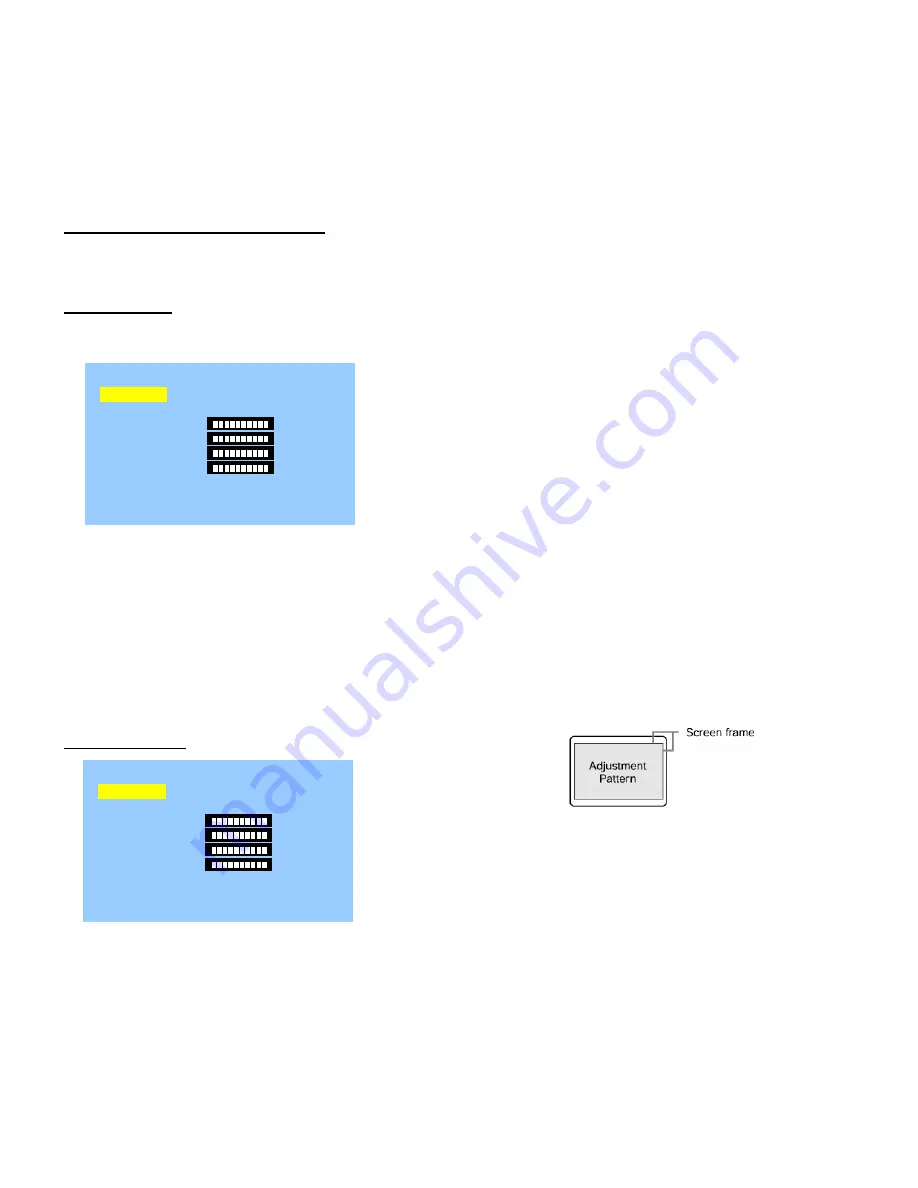
SCREEN
MANUAL AUTO
CLOCK 127
PHASE 16
H-POS 127
V-POS 32
INPUT-1 ANALOG
1280x1024 V:60Hz H:64.0kHz
MANUAL
SCREEN
MANUAL AUTO
CLOCK 127
PHASE 16
H-POS 127
V-POS 32
INPUT-1 ANALOG
1280x1024 V:60Hz H:64.0kHz
MANUAL


