14
toggle to proper resolution for correct video
format output.
z
PHD-8VX doesn’t connect HDMI and
Composite video output in the same time.
z
When press
V.MODE
button to CVBS (480i)
resolution, Composite video output port will
be activated and HDMI output port will be
disabled upon toggling resolution back to
480p or above.
Connect to Conventional Analog TV
1.
Connect antenna cable to RF IN jack of
PHD-8VX unit. Refer to previous section
“Antenna /RF Connections”.
2.
Connect other external A/V devices to
corresponding inputs as desired.
3.
Connect photo or picture storage device to USB
port if needed.
4.
Connect audio cables to each associated
L-AUDIO-R jacks inputs on PHD-8VX.
5.
Then, connect video cable from VIDEO output of
PHD-8VX to the TV video (CVBS) input.
Connect audio cable from L-AUDIO-R output
port to the TV stereo (L/R) audio inputs.
)
z
Connecting conventional video signal to
analog TV, you need to use
V.MODE
button
on remote control to switch to CVBS output,
which indicated on PHD-8VX front panel
readout display.
z
PHD-8VX doesn’t connect Composite video
(CVBS) and HDMI output in the same time.
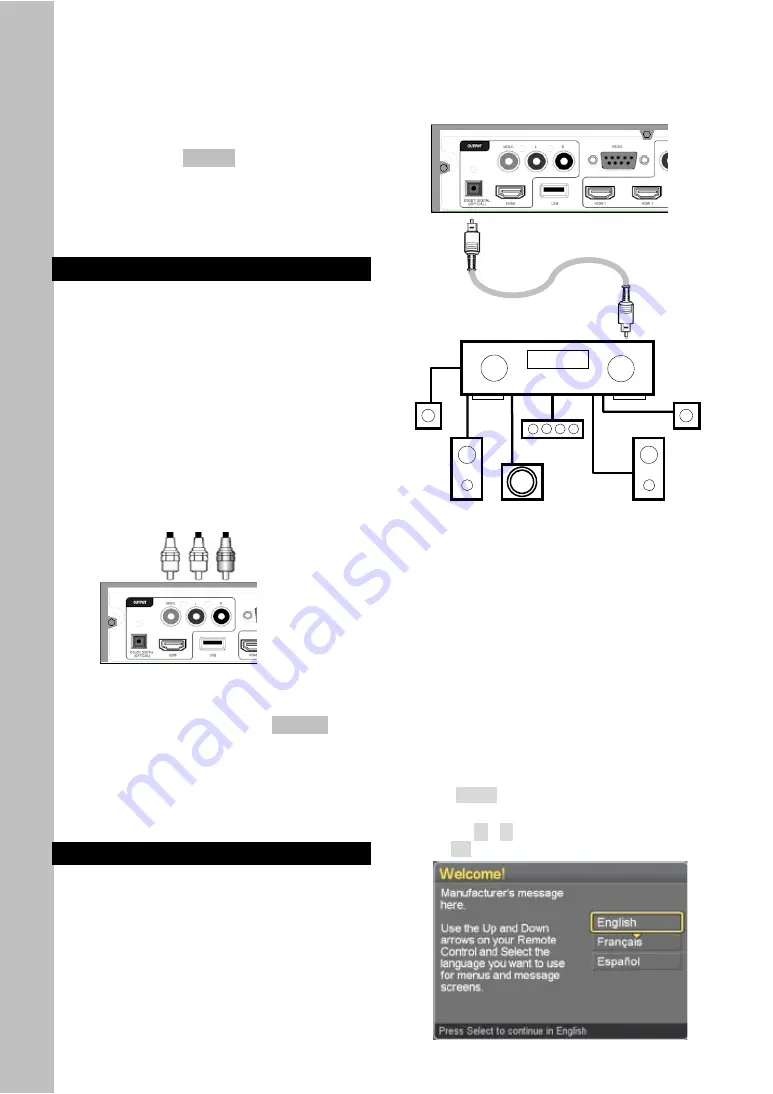
Connect to Home Theater.
The optical digital audio output provides the highest
quality audio. You can connect it to your home
theater. Connect an optical cable (not include) to the
back of the PHD-8VX unit using the connector
marked DOLBY DIGITAL OUT. Connect the other
end of this cable to the optical input on the back of
your Home Theater.
Check the Owner’s Guide for the Home Theater for
proper set-up and operation.
Initial Settings
After connecting your PHD-8VX,
Full HD 1080p
HDMI A/V Switcher Digital HDTV Tuner
Receiver Media Box,
you need to run initial setup,
which automatically sets up available channels if RF
signal connected. The initial setup appears when you
turn on your PHD-8VX for the first time. If you do not
want to set up the channels at this time, you can do it
later by selecting the CHANNEL of the MENU (see
page 25).
1.
Plug the Power Cable into AC In on the back of the
TV.
2.
Press
Power
button on the Remote Control or
Front Panel of PHD-8VX.
3.
Press the
▼
or
▲
button to select language, then
press
OK
button.
Summary of Contents for PHD-8VX
Page 32: ...32 ...


