12
3
Networking the RM-series Mixer
3.2
Networking Overview
StudioLive™ RM-Series Mixers
Owner’s Manual
Making Control Data Connections
Your can connect your StudioLive RM-series mixer
to a computer or network router in either of two ways:
• Using a CAT5e or CAT6 Ethernet cable, connect the mixer directly to a router. If a
wired connection is available, the RM mixer will not scan for wireless networks.
• Connect the mixer to the router wirelessly using the included
USB Wi-Fi LAN adapter and a network router. The included adapter is the
only LAN adapter supported for use with your StudioLive RM mixer.
Note: StudioLive RM-series mixers do not support hot-swapping the Wi-Fi LAN
adapter. The LAN adapter must be connected when you power your mixer.
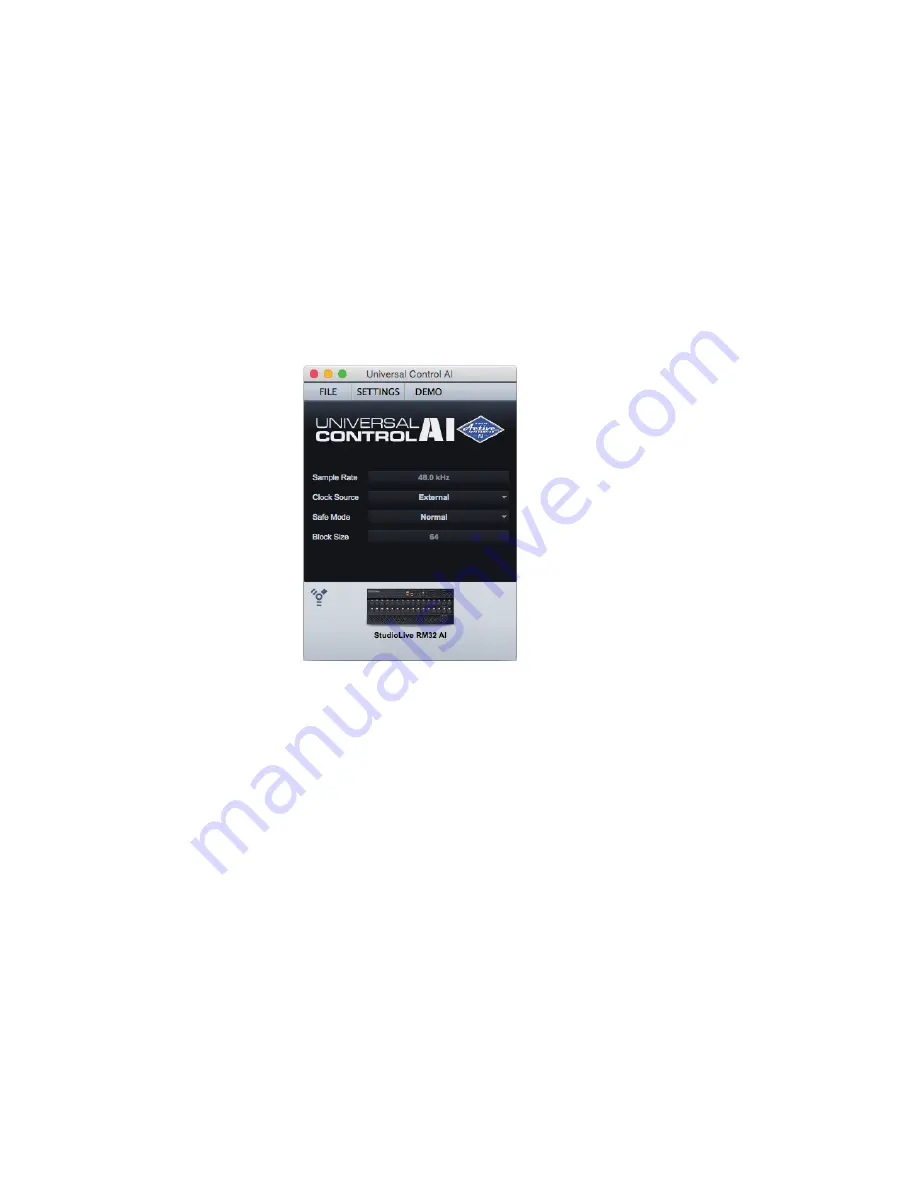
Once you make the connection, the RM-series mixer will be shown
in the Universal Control AI launch window. For more information
on the launch window,
see Chapter 2, “Getting Started,”
in the
StudioLive AI Software Library Reference Manual.
Power User Tip:
When you launch UC Surface with the computer and StudioLive RM32AI
or RM16AI connected to the same network, the software will automatically see the mixer.
Note:
If your RM-series mixer appears in the launch window with an
exclamation point next to it, UC Surface is having a problem establishing a
connection. If the connection to the RM mixer is wireless, check to be sure you
have a strong wireless signal or try a wired connection. If the connection to
the RM mixer is wired, check for bad cables going in or out of the router.
Note:
If you do not see your RM mixer displayed at the bottom of the launch window,
UC Surface software is not “seeing” the mixer. Check that cables are properly connected
and choose Rescan Network from the Settings menu. If your RM mixer still does
not appear in the window, you will need to troubleshoot your network setup.
Summary of Contents for StudioLive RM series
Page 4: ......


