www.precisionpower.com
/ For more info please contact
Features and Specifications are subject to
change
P 7
In order to familiarize yourself with the software first, do not connect any
amplifiers to your DSP outputs until you understand each object.
Get to know the software first, then start playing audio…
1.
The first step consists in downloading the following required frameworks:
o
Microsoft• ® .
NET framework v3.5
or up (PC only)
o
Latest version of
Adobe AIR environment
(Mac/Win)
o
Latest version of
Adobe Flash player
(Mac/Win)
2.
Double click on the .air file to install the plug-in.
Once the configuration finalized, the plug-in will automatically boot up.
3.
You can now connect the Synthesis board to one of the USB 2.0 port of your PC. The device will be recognized as a HID
driver and does not require any driver installation.
4.
The next step is to gain control of the board by synchronizing the PC configuration to the board. Please read carefully the
following section to understand how this process works.
By default, all plug-ins start in offline mode, meaning changes made on the user interface do not affect your configuration. It is
designed in such a way that you can visually confirm your configuration before loading it to the DEQ.8.
You should also know that plug-ins can only synchronize from PC to board and are not able to “retrieve” a configuration from the kit.
In other words, make sure your favorite configuration is saved on your PC if you ever decide to change the configuration.
5.
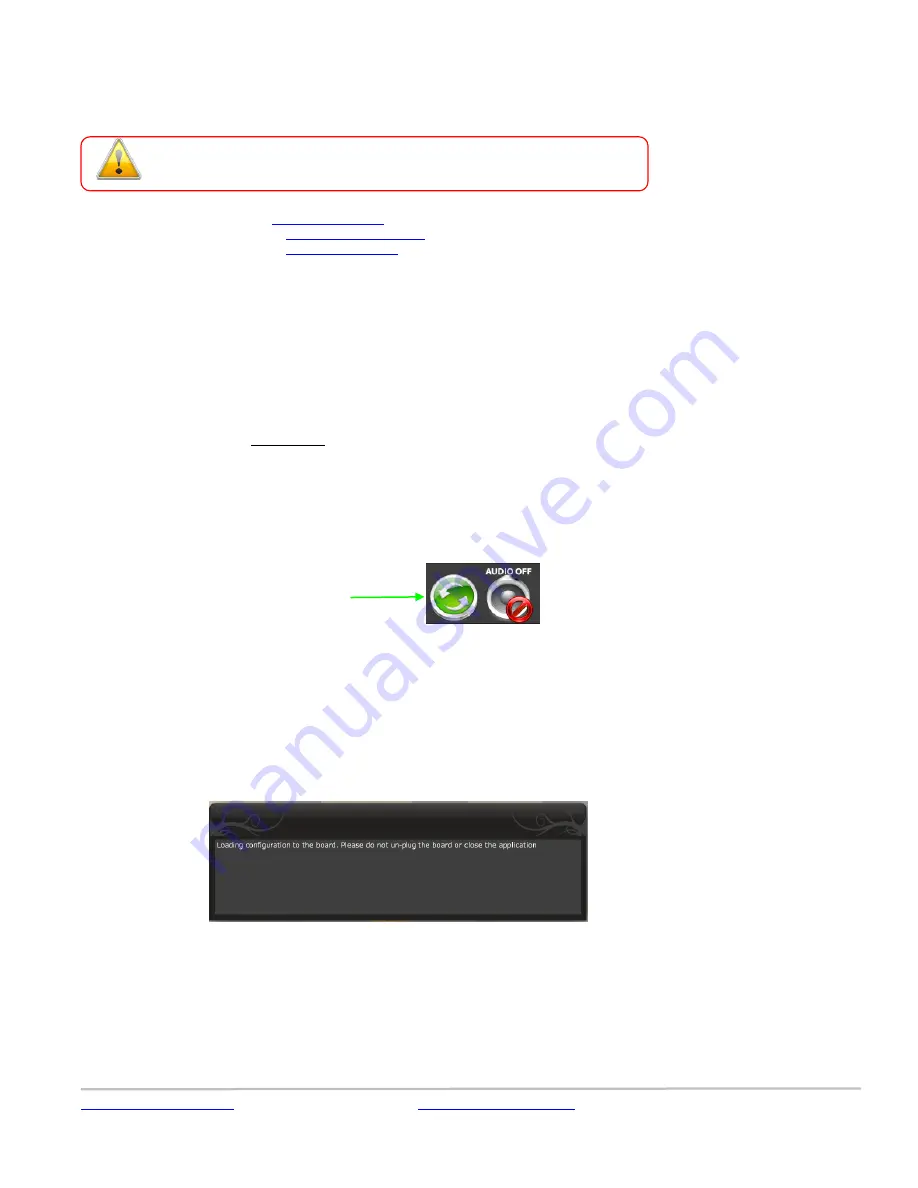
Once the configuration checked, the next step is to “Connect & Synchronize” by clicking on the Green button on the top
right. Note that this button is ONLY active in an unconnected mode. Once connected, it will disappear since no more
synchronization will be required from there on.
a) Synchronize
: With this option, the current plug-in configuration will be loaded/flashed to the DEQ.8 and your plug-in turned to “On-
line” mode. Warning that it will overwrite whatever configuration was previously loaded on the board. If you’d like to load a different
configuration, click cancel and go to the settings tab to load one of your previously saved configurations.
b)
Restore to Default:
With this option, the software application resets all settings back to factory default and reload the firmware.
Warning that all current settings will be lost and there are no ways to be able to recover them.
In either synchronization steps, the following dialog box will pop-up. It’s very important that you do not un-plug the board in the
middle of a firmware upgrades or you may corrupt the configuration.
Once the board fully synchronized, a “Successful connection to the board” message pops up. From this point on, all changes to the
configuration will be real time and live, therefore giving you the chance to hear the effect of your equalization, filtering, tuning…
Let’s move on to the architecture of the software to understand how to setup your system.
Connect & Synchronize


