3. Charging
• Connect the Z360 to your PC or mains outlet with the approved PRAKTICA USB adapter* and provided USB Cable.
• When the camera is charging it will show the "Power Charging" icon on the LCD screen (6). The camera status light (11) will
also flash green.
• A fully charged battery will record approx: Video: 45mins @ 4k, 70mins @ FHD, Photo: 130 images
*not included
4. Connecting to the app
• Download the ‘Pocket360’ App from your app store.
• Ensure all wireless and GPS settings are ON.
• Open the ‘Pocket360’ App and click the settings wheel in the bottom right corner.
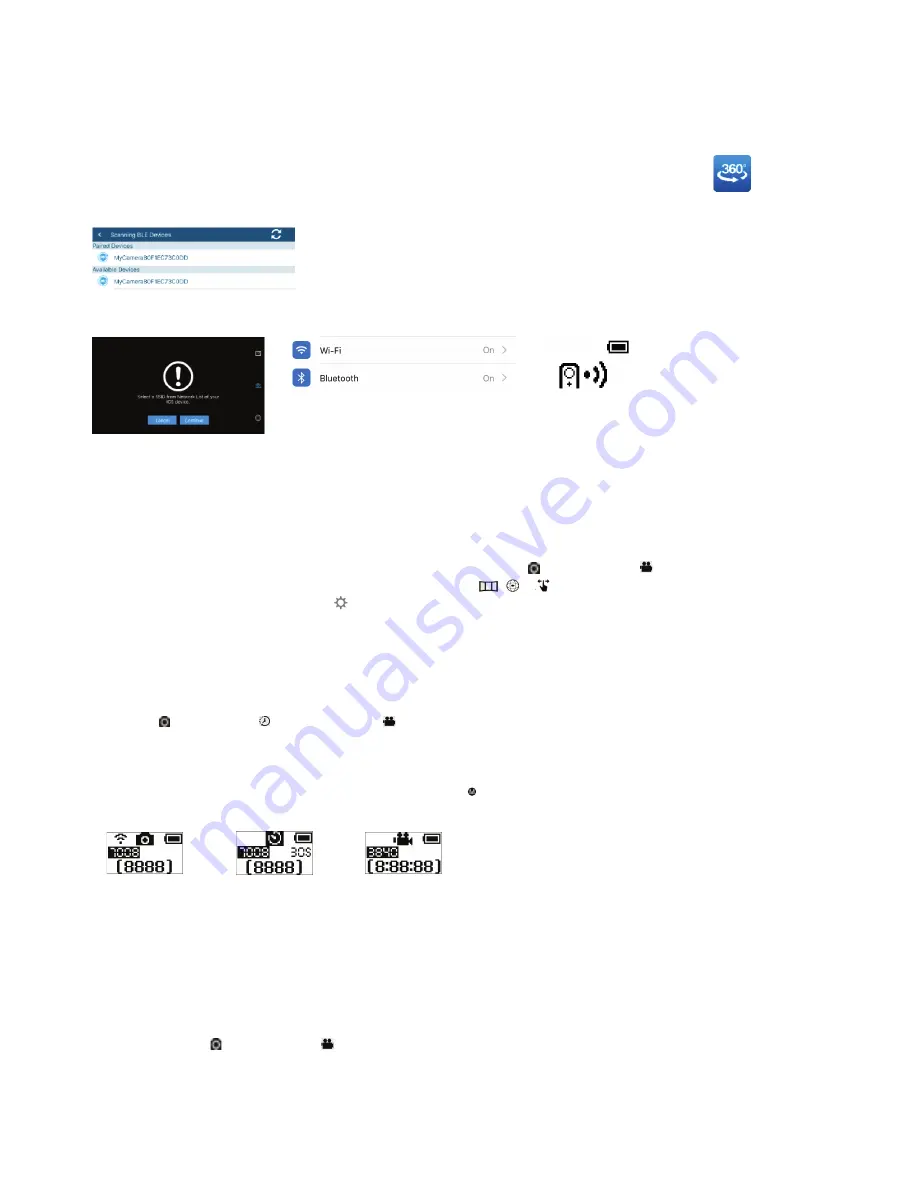
• Scan for available devices. Your camera will appear something like ‘
MyCameraB0F1EC73C0DD
’
• Select your camera.
• iOS users will then see a ‘Select SSID...’ message. Click continue and the camera will begin to beep.
Pocket360
SSID menu (iOS users only)
Wireless Menu
LCD Screen
5. Capture Mode
Adjusting the mode on the camera
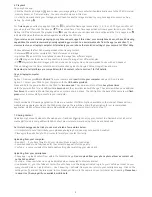
Single Shot ( ) Time Lapse ( ) Recording Video ( )
You can change the camera shooting mode manually and in the app.
• Make sure your Z360 camera is on, then push the Mode button ( )(9).
• Once chosen capture mode is selected, press the shutter button (7) on the front of the camera.
Single Shot
Recording Video
Time Lapse
Single Shot mode/Time Lapse - the camera will beep twice to confirm that the photo has been taken.
Video mode - a single beep will sound at the start of a recording and two beeps at the end.
Please note: time lapse mode will initially be set to 60
seconds. If you would like to change the interval time, you can alter
this on the phone app.
Adjusting the mode on the app
The second way is to connect the Pocket360 App on your smartphone to your camera and change the mode of shooting by
selecting the camera or video camera icons (refer to step 5 for full instructions).
Important: Artificial light and objects within 1 metre of your camera can cause imagery to become distorted. For this reason
we would recommend mounting your camera onto a tripod or selfie stick and shooting in a naturally lit open space.
2
SSID menu will not appear for Android users. Manually exit the app and go to your settings menu, but don’t do anything until
the camera begins to beep.
• Click on your wireless menu (all users) and select
MyCameraXXXXXXXX
and enter the password 12345678.
• Go back into the app.
•
Select the camera icon to begin shooting and choose between the camera or video camera mode icons.
•
Select the viewing mode you would like to capture your content in , or (this can be altered later when viewing content)
•
For Time Lapse click on the settings icon and set ‘Capture mode’ to Time Lapse. This can be set to 5, 10, 30 or 60 seconds.
• Return to the camera screen to initiate the Time Lapse function. The time interval will now have changed if you wish to use the
camera without the app.


