18
10.3
Spindle turning
Spindle turning takes place between the centers of
the lathe. It requires a spur or drive center in the
headstock and a live or dead center in the tailstock.
A cup center rather than a cone center in the
tailstock will often reduce the risk of splitting the
stock.
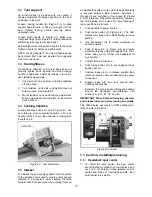
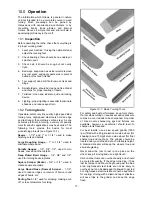
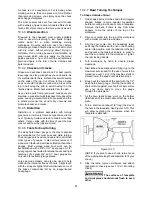
Figure 10-2 shows the basic profile shapes in
spindle turning.
Figure 10-2
10.3.1
Stock selection
Stock for spindles should be straight grained and
free of checks, cracks, knots and other defects. It
should be cut 1/8" to 1/4" larger than the finished
diameter and may require additional length so the
ends can be removed later. Larger stock should
have the corners removed to produce an octagon
making the piece easier to rough down to a cylinder.
1. With a combination square, or plastic center
finder for round stock, locate and mark center
on each end of the workpiece. Accuracy is not
critical on full rounds but extremely important on
stock where square sections are to remain. Put
a dimple in the stock with an awl or nail, or use
a spring-loaded automatic center punch.
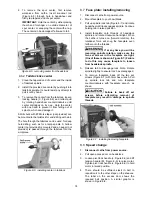
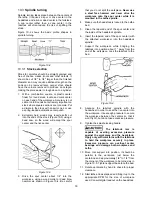
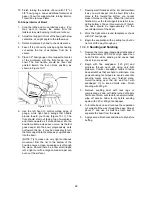
2. Extremely hard woods may require kerfs cut
into the ends of the stock (Figure 10-3) using a
band saw, so the wood will accept the spur
center and the live center.
Figure 10-3
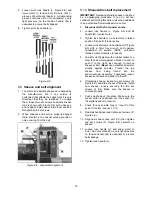
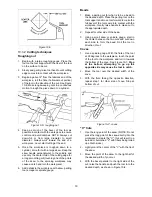
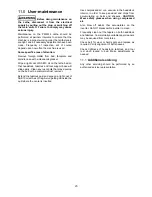
3. Drive the spur center about 1/4” into the
workpiece, using a wood mallet or dead blow
hammer as shown in Figure 10-4. Be careful
that you do not split the workpiece.
Never use
a steel face hammer and never drive the
workpiece onto the spur center while it is
mounted in the Lathe spindle.
4. Make sure the headstock is locked to the Lathe
bed.
5. Clean the tapered end of the spur center and
the inside of the headstock spindle.
6. Insert the tapered end of the spur center (with
the attached workpiece) into the headstock
spindle.
7. Support the workpiece while bringing the
tailstock into position about 1” away from the
end of the workpiece. Lock the tailstock to the
bed.
Figure 10-4
8. Advance the tailstock spindle with the
handwheel in order to seat the live center into
the workpiece. Use enough pressure to secure
the workpiece between the centers so that it
won’t fly off, but do not use excessive pressure.
9. Tighten the spindle locking handle.
The tailstock ram is
capable of exerting excessive pressure
against the workpiece and the headstock.
Apply only sufficient force with the tailstock
to hold the workpiece securely in place.
Excessive pressure can overheat center
bearings and damage both workpiece and
Lathe.
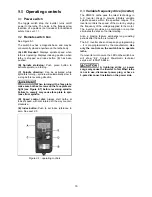
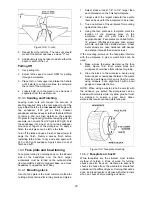
10. Move tool support into position. It should be
parallel to the workpiece, just below the
centerline and approximately 1/8" to 1/4" from
the corners of the workpiece to be turned, as in
Figure 10-5. Tighten support base to Lathe bed.
11. Rotate workpiece by hand to check for proper
clearance.
12. Start lathe at lowest speed and bring it up to the
appropriate RPM for the size of workpiece
used. Consult digital readout on the headstock.
Summary of Contents for PM2014
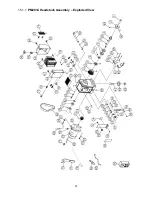
Page 27: ...27 15 1 1 PM2014 Headstock Assembly Exploded View ...
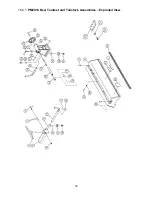
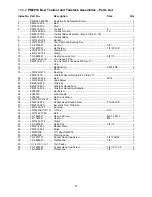
Page 30: ...30 15 2 1 PM2014 Bed Toolrest and Tailstock Assemblies Exploded View ...
Page 35: ...35 16 0 Electrical connections PM2014 Lathe cont next page ...
Page 36: ...36 cont ...
Page 38: ...38 This page intentionally left blank ...
Page 39: ...39 This page intentionally left blank ...
Page 40: ...40 427 New Sanford Road LaVergne Tennessee 37086 Phone 800 274 6848 www powermatic com ...

