After the cutting cycle is complete, or if you release the push buttons simultaneously, the clamp and blade return to the
up position. If you release either of the push buttons singly, the blade and clamp will stop, then return to the up position
when the the other push button is released.
After the initial cut, press the NEXT key to advance the back gauge to the next programmed position. Make the next
cut by following previous instructions. If the Auto Advance feature has been activated, the back gauge will automatical-
ly move to the next programmed position after each cut. If Auto Advance is not active, push the NEXT key to move the
back gauge to the next programmed position after each cut.
6.4 Programming the Back Gauge
6.4.1 Programming Fixed Back Gauge Positions
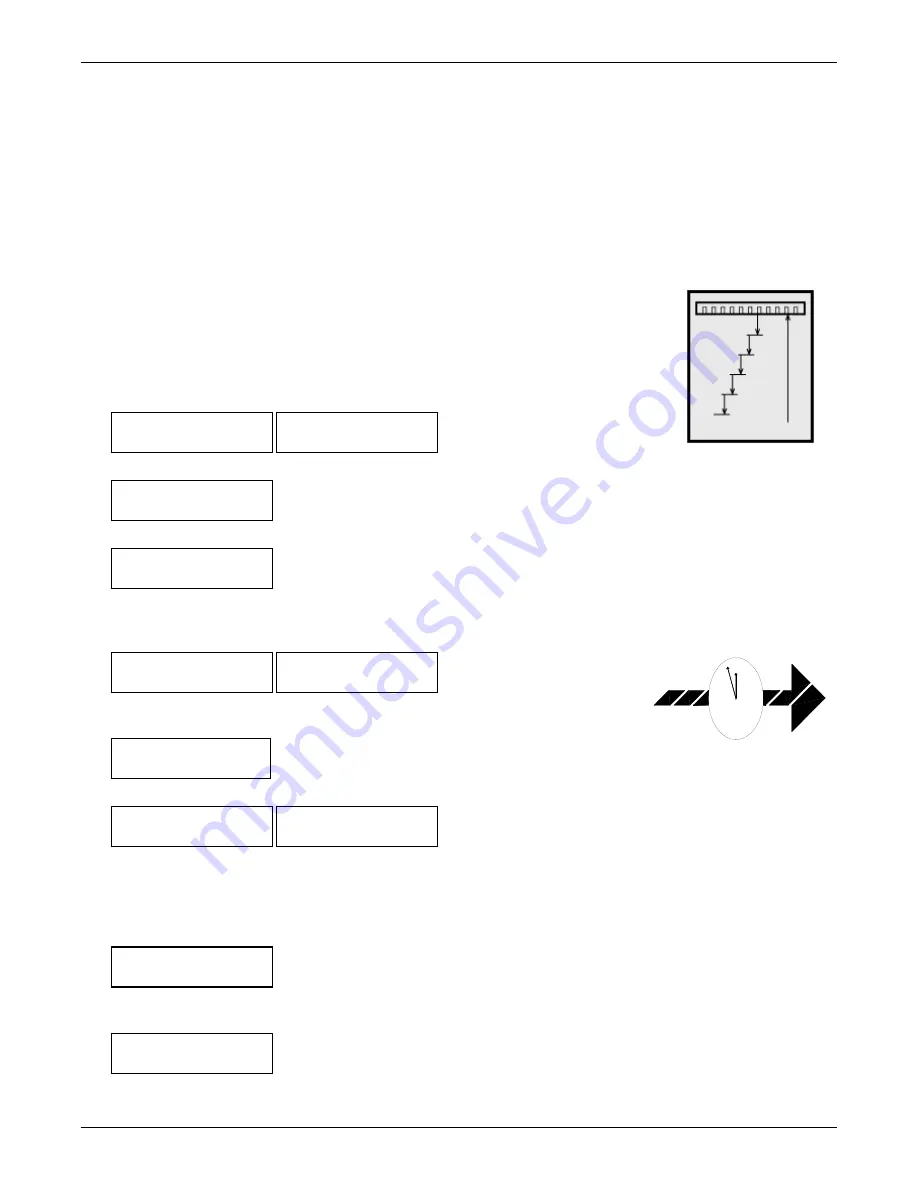
Fixed cutting programs are useful for cutting a series of identical stacks from a larger stack. A
fixed cutting program moves the back gauge toward the cut line in identical intervals. (See dia-
gram.) To define and store a fixed cutting program in your cutter:
1. Activate the cutter by turning the ON/OFF toggle switch and key switch to the on position.
Answer the false clamp prompt.
2. After the Back Gauge Position and Speed are displayed, press the SETUP key to change
the system to the automatic mode.
3. Press 1 on the keypad.
4. At the display prompt, select either 1) the running method or 2) the key entry method.
If you select the running method, press the jog keys to position the back gauge to the required starting location and
then press the ENTER key. If you select the key entry method, enter the back gauge starting position by pressing the
appropriate numerical and decimal point keys. Press the ENTER key to install the selected position.
5. At the display prompt, press the numerical and decimal keys to enter the required
dimension.
Press the ENTER key to install the interval.
6. At the display prompt, press 1 to not store the positions. (Positions not stored are deleted when cutter power is inter-
rupted or switched off.) After this selection, the back gauge moves to the first cutting position. Verify the positions by
pressing the NEXT key. To return the back gauge to the first operating position, press the CE key followed by the
ENTER key.
7. Press 2 to store this program in your PowerLine’s memory, where it will remain until you alter it.
8. Your PowerLine
TM
Cutter can store up to ten (0 - 9) programmed cutting sequences. Press the appropriate number on
the keypad to store this set.
9. The back gauge moves to the initial cutting position and the cutter changes to the automatic mode. You may begin to
cut.
Programmed Set
Number x Updated
Set Number (0-9)?
To Be Updated ___
Store This Set?
1=No 2=Yes
Fixed Set
Installed
Enter Position
xx.xxx Inches
Interval Amount? Enter Value
Initial Position Installed
Position: xx:xxx
Speed: Fast
Initial Position?
Enter Value or Jog
Choose Type of Set 1= Fixed
2= Variable
Define a New Set of Positions
PowerLine
TM
Operating Instructions
9
Fixed cutting programs start
at a programmed point and
move the back gauge by a
fixed interval after each cut.
12
Short Cut
Store settings for the jobs you’ll
need most often as one of your
cutter’s 5 programs. Both variable
and fixed programs can be stored
in your cutter’s memory.


