5
5.
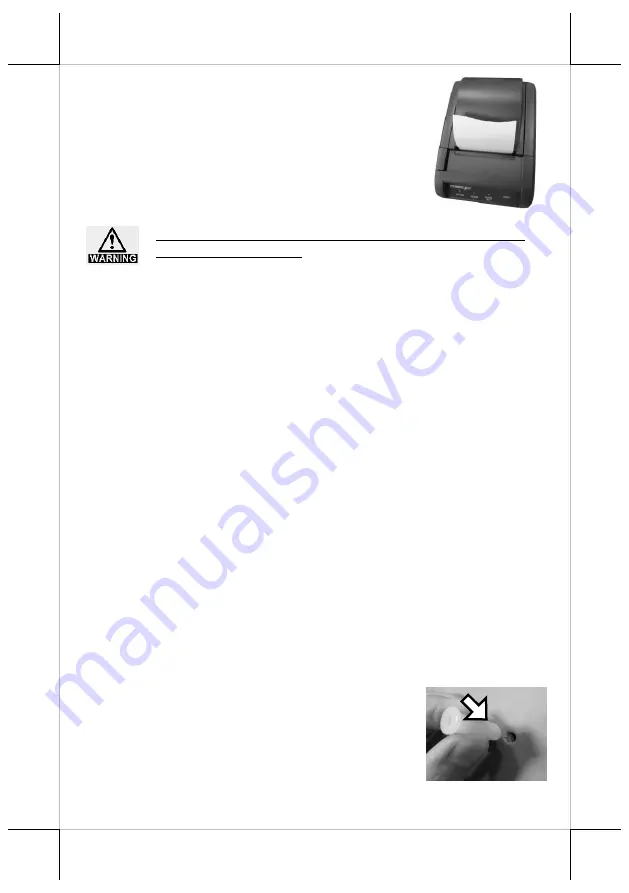
Make sure the loose end sticks out of the
opening of the paper roll compartment. Then,
close the top cover by gently pushing it back
at the center of the top side of the cover with
a click sound.
6.
Make sure the paper roll is well loaded with
the end of the paper sticking out as shown in
the figure.
To avoid paper jam occurring, do NOT press Cover Release
Button during printing.
Connecting Power Adapter and I/O Cables
Please connect power adapter and I/O cables before operating the printer.
1.
Well attach power adapter to DC-IN power connector on the I/O plate.
2.
Connect PP-8802/8803 to the POS system using either USB or RS-232
cable.
2.1.
If you are installing
USB interface cable
, plug Type-B
connector into Type-B USB port of printer. Then, properly
attach Type-A connector to your POS terminal.
2.2.
If you are installing
RS-232 cable
, well attach the male
connector of RS-232 cable to printer and the other end to the
POS terminal.
In order to allow the printer to successfully detect what interface you are
using to transmit data, make sure ONLY ONE type of interface cable is
connected to avoid confusion. Also,
reboot the printer after you
change the interface cable for the printer
, which enables the printer to
automatically re-detect the type of interface which is currently used.
Mounting PP-8802/8803 onto a Wall (Optional)
Please follow the steps described below to mount POS printer on the wall
using wall-mount kits.
1.
Define where the printer is mounted. Drill 2 holes about 3.15” or 80
mm apart. Each hole has to be at least 1/4” or 6.35 mm diameter
and at least 1 and 3/16” or 30 mm in depth.
2.
After inserting two plastic anchors into the
holes you drilled in Step 1, slightly tap the
plastic anchors with a hammer until they are
fully inserted into the drilled holes.


