56
57
Riding
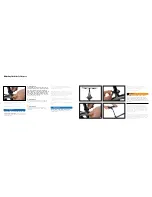
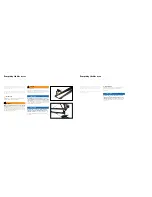
Find suitable terrain to check the suspension fork set-
ting. In doing so, ensure that you try out the complete
suspension travel range for the fork. The fork should
only use its full travel for extreme impacts.
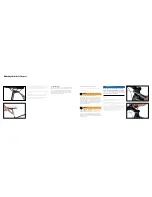
Special ‘Lock Out’ function
There is what is known as a ‘Lock Out’ function on the
right-hand fork leg [ when viewed in the direction of
travel ]. You can use this function to block the suspen-
sion fork, i.e. the fork no longer compresses when you
ride over obstacles. You should only use this function
on smooth surfaces with few bumps or when cycling
out of the saddle uphill.
Suspension fork manufacturers provide com-
prehensive operating instructions, which give
full details on setting options.
Read these
operating instructions carefully before making any
adjustments.
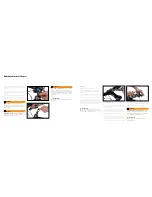
Damping adjustment [ DT Swiss XMM Fork only ]
Once you have set an optimum negative spring travel
on your suspension fork, you can now begin to adjust
the rebound setting, i.e. you change the fork rebound
speed. If the damping is too soft, this will result in a
rapid rebound process in the fork. The tighter you turn
the damping, the slower the fork will rebound. If damp-
ing is too taut, the fork will sink down after successive
impacts as it can no longer rebound quickly enough.
WARNING
Suspension fork
Risk of an accident when cycling downhill with
‘Lock Out’ function.
Always remember to release the
‘Lock Out’ function again before setting off or riding
across unknown terrain since sudden potholes or
bumps put a strain on the ‘locked-out’ fork. Such
sudden impacts are also transmitted to the wrist joints
directly, which may cause you to lose control and fall
from your bike.
INFORMATION
Adjusting the bike to the user
When you purchased the bike, you already decided
on a frame size that suits you.
When adjusting screw connections, please be sure
to never exceed the designated tightening torques!
For the tightening torques, consult the chapter
‘Recommended tightening torques’ on p. 80 and/or
the instructions of the part manufacturers and/or on
their website.
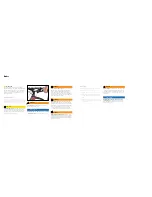
Adjusting the seat height
For optimal transfer of power to the pedal, you should
adjust the seat height to suit your leg length. For this,
place your foot on the pedal so that the ball of your
foot is over the pedal axle. Your leg should not be
completely extended in the lowest position. Now place
your heel on the pedal in the lowest position. Your leg
should now be completely extended and your hip
should be straight.
When making adjustments, wear the shoes you use
when cycling or special cycling shoes.
You can also make further adjustments to your bike in
addition to the frame size in order to better suit your
body posture. Adjustments include changing the seat
and stem position as well as other adjustments to your
cockpit.
After every adjustment, be absolutely sure to perform
a brief check as described in Chapter ‘Every time
before you use your bike’ on p. 14 and check your
bike in an area removed from public traffic. In this way,
you can safely check all your settings again.
With small frame sizes, make sure that there is no risk
of your foot coming into contact with the front wheel
when pedalling and steering.
A bike specialist can help you quickly adjust your bike
to accommodate your needs.
INFORMATION
INFORMATION
Summary of Contents for Porsche bike
Page 2: ...Porsche Bike RX ...
Page 3: ...Porsche Bikes Porsche Bike RS Porsche Bike ...
Page 46: ...www porsche com ...

