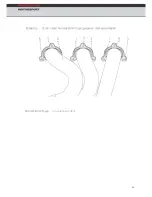
31
3.8.7.3.
Fitting
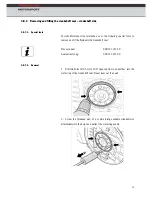
If visible carefully remove small edges or burrs from the crankshaft flange
chamfer with an oil stone, afterwards carefully clean the crankshaft journal
and the crankcase bore (use cleaning solvent or acetone with a clean, lint-
free cloth).
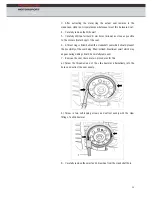
The crankshaft flange sealing face must not, under any circumstances, be
treated with emery cloth, polish compounds or wire brushes. Remove
corrosion on the crankshaft flange with a special metal polish wad.
Afterwards carefully clean the crankshaft flange with acetone or cleaning
solvent.
1.
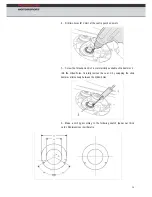
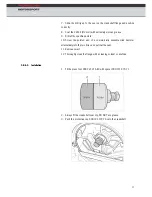
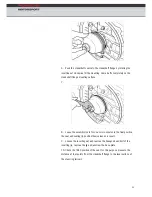
Fasten the insertion-jig base plate 000.721.971.90 hand tight and
evenly to the crankshaft flange using the hexagon-head bolt
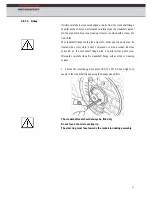
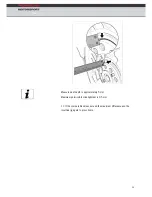
The crankshaft seal should always be fitted dry
Do not touch the micro sealing lip
The steel ring must face towards the technician during assembly
Summary of Contents for 911 GT3R 2010
Page 1: ...Technical Manual Model 2010...
Page 10: ...7 3 3 Engine power and torque curves...
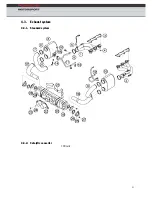
Page 44: ...41 4 3 Exhaust system 4 3 1 Standard system 4 3 2 Catalytic converter 100 cells...
Page 45: ...42...
Page 79: ...76 rm 6 3 2 4 Trailing a 8 mm Buchse 28 mm Buchse...
Page 107: ...104 r 9 2 1 Front bumper 9 2 Exterio...
Page 108: ...105 9 3 Rear wing P1 P12 Left wing support Gurney 10mm...
Page 139: ...136 10 12 Relay and fuse ass 10 12 1 Fuse holder ignment...
Page 141: ...138 10 12 4 MS4 sensor system...

