background image


5


Caution  


Notes on discs:

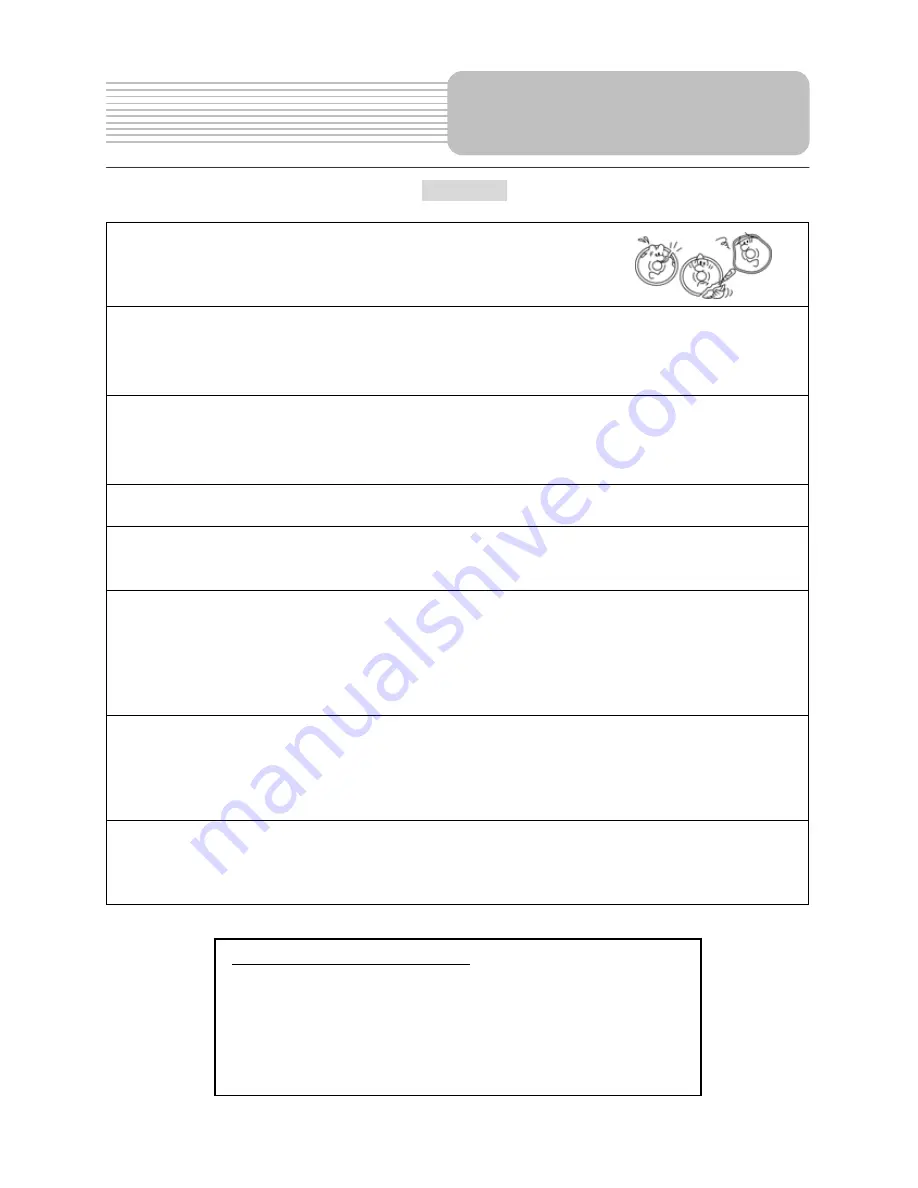
 Do not play discs that are damaged   

or warped, including discs with cracks, scratches   
or parts missing; discs with burrs; poor quality discs. 


Route all cords so that they do not interfere with driving or with entering or 
exiting the car.

 Run the cords so that they do not wrap around the steering wheel, 

brake pedal, etc. or around your feet. Secure all the cords together.


Use the product at the proper volume setting.   

Driving while you are unable to hear sounds around you or from outside the car can 
cause accidents.


Do not touch the color TFT LCD screen.


Do not place any heavy objects on the product. 

Never put any heavy objects on the product. Doing so may cause damage to product.


Do not damage the cords. 

Broken wires and short circuits can cause electrical shock or fire. Run the cords so 
that they do not get tangled in moving parts. Do not damage, tighten up, twist, or work 
on the cords. Do not place the cords near heat sources or put heavy objects on the 
cords.


Do not play discs in the wrong format.   

For instance, if you add the ".cda" extension to a file that is not formatted as a CD file, 
a loud noise may be heard through the speakers, possibly damaging them and 
hurting your eardrums.


Do not swing from the product or pull it.   

This may cause an accident, injury and/or malfunction. Be particularly careful that 
children follow this rule.


Safety Instructions 

IMPORTANT FOR LASER PRODUCTS 
1.  

CLASS 1 LASER PRODUCT 

2.  DANGER:

 Visible laser radiation when open and interlock failed or 

defeated.  Avoid direct exposure to beam. 

3.  CAUTION: 

Do not open the top cover.    There are no user service-able 

parts inside the unit. Leave all servicing to qualified service personnel. 

This unit complies with FDA regulation for radiation control of laser products.

Summary of Contents for PDM-0722

Page 1: ...1 7 Portable DVD Player PDM 0722 Operation Manual 20050125...

Page 2: ...operation Prevent objects and liquid from contacting the player In order to avoid the risk of electric shock and fire caused by short circuits do not insert objects into the player and do not spill l...

Page 3: ...th the driver s field of vision either in front or behind or in a place where it interferes with the driver s ability to drive the car This may lead to traffic accidents and or injury Follow the instr...

Page 4: ...tning storms Never operate the product during lightning storms as this could cause the product to malfunction Do not operate the product if there is visible damage to the product If damage occurs imme...

Page 5: ...shock or fire Run the cords so that they do not get tangled in moving parts Do not damage tighten up twist or work on the cords Do not place the cords near heat sources or put heavy objects on the co...

Page 6: ...ry place avoid direct sunlight and moisture Caution Unplug the product when not used for a long period of time Copyright Protection This product incorporates copyright protection technology that is pr...

Page 7: ...ance Multi speed fast forward fast backward and slow forward slow backward Search by Time Search for a certain track of a disk by selected time Last Memory Playback Memorizes the stopped playback trac...

Page 8: ...trol with battery 1 Operation Manual 1 Power Supply Cord with AC Adapter 1 Audio Video Cable 1 Rechargeable Battery Pack 1 DC Adapter Car Adapter 1 NOTE Accessories and their parts numbers are subject...

Page 9: ...w of Side Panels View of Unit Bottom Power Supply Preparation Rechargeable Battery Notes on Discs Playback Operation System Connections Accessories View of Unit 2 7 8 10 12 13 14 15 18 20 21 24 25 26...

Page 10: ...nd color 5 ZOOM button Press to realize various zoom effects 6 Setup button Press to enter the player s system setup 7 MENU button 8 Press to display or cancel the menu TITLE button Press to display t...

Page 11: ...SLOW button Press to activate the slow playback function 16 Stop button Press to stop playback Then press PLAY button to resume playback from the stopped spot Press this button twice to stop playback...

Page 12: ...Jack For connecting to an external amplifier or audio source 4 VIDEO input output Jack For connecting to an external monitor or video source 5 DVD AV IN Switch Switch to AV IN to input the external AV...

Page 13: ...rnal Docking Station for expanded functions The Docking Station features an electrical connection interface that enables the portable DVD to effectively serve as a desktop DVD It is integrated with co...

Page 14: ...rtical to the operation panel B 2 Revolving the screen horizontally around it s axis in the clockwise only The maximum revolving degree is 180 position C If you want to return to initial position A pl...

Page 15: ...ection buttons Press to select different options 5 ENTER button Press to access playback or confirm your selection 6 SETUP button Press to enter the player s system setup 7 0 9 Number buttons Press to...

Page 16: ...STOP button Press to stop the playback Then press PLAY button to resume playback from the stopped spot Press this button twice to stop playback completely 18 PLAY button Press to begin to play 19 GOT...

Page 17: ...Type CR2025 3V Battery Life Approximately 1 year under normal use at room temperature Caution 1 Improper use of the battery may cause overheating explosion or ignition which can result in an injury or...

Page 18: ...e the color coding when connecting audio and video cables Connecting to TV Audio Video connections Follow the drawings below to connect the DVD player to a TV s Audio Video inputs with Audio Video cab...

Page 19: ...etc After connecting switch the DVD AV IN to AV IN NOTE Noise may occur in speakers when there is an external audio signal input while playing a DVD disc Unplug the audio cord to clear the noise Conn...

Page 20: ...video software while driving a vehicle Place the unit in a proper position for viewing Detach the battery pack when using the AC or car adapter as the power source Disconnect the player from the Car...

Page 21: ...re or water Do not expose the battery to high temperatures or store in hot sunny places Maintain well ventilated conditions around the product to avoid overheating Don t put the product on a bed sofa...

Page 22: ...the battery pack with holes on the player and push the battery pack into the DVD player 4 The battery pack will click into place Charging the Battery Pack The battery pack must be attached to the DVD...

Page 23: ...consuming some power in STANDBY mode This will eventually discharge the battery Make sure the power is turned OFF and the AC or car adapter is disconnected before detaching the Battery Pack To detach...

Page 24: ...f Discs Handling Discs Cleaning When loading or removing discs do not touch their playing surfaces Hold the disk as shown at the right Fingerprints or stains on the disc may affect the quality of soun...

Page 25: ...he unit to open the disc tray cover put a disc in the disc tray with printed side facing up Close the disc cover See below 4 The player will search the disc and play it automatically 5 Adjust the volu...

Page 26: ...op playback completely Then when you press button the player will play from the beginning Playback Operation During playback press STOP button once to stop playing then press PLAY button to resume nor...

Page 27: ...ow playback will start at the speed of 1 2 1 4 1 8 1 16 forward playback in sequence Press PLAY button to resume normal playback MENU button Press MENU button during play The root menu will appear on...

Page 28: ...e recorded with up to 32 subtitles Press SUBT button repeatedly the mode of subtitles will cycle as follows SUBTITLE 1 N Subtitle 1 appears on the screen SUBTITLE 2 N Subtitle 2 appears on the screen...

Page 29: ...iew from different angle NOTE This function is only available for the DVD discs coded with multi angle material DVD Playback continued Press GOTO button to select desired disc title chapter or time GO...

Page 30: ...ed point Press this button twice to stop playback completely During playback press button once to stop playback Then press button the player will resume playback from the stopped point Press button tw...

Page 31: ...Use 0 9 buttons on the remote control to enter the desired time and press ENTER button to confirm Press it repeatedly to cancel the item Press INFO button repeatedly for detailed information about the...

Page 32: ...n to last folder or directory or move the yellow bar to then press ENTER button on the remote control or front panel to return to the last folder or directory STOP button PAUSE button Press PAUSE butt...

Page 33: ...nued Press REP button to repeat a track all or cancel the repeat REP button Press GOTO button to select the desired folder or file Press 0 9 buttons to select your favorite folder or file directly GOT...

Page 34: ...rotate the picture Press button to rotate the current picture clockwise Press button to rotate the current picture anti clockwise Press button to rotate the current picture flip horizontal Picture CD...

Page 35: ...pressing SETUP button again at any time during the setting 2 Press or direction buttons to select a sub menu that you want to set up 3 Press or button to select the item that you want to set up in th...

Page 36: ...title language Press or button to highlight this item Press to enter the setup of this item There are several languages for you to choose English by default Press or button to choose the preferred Lan...

Page 37: ...wing angles are available Off There will no angle icon appear on the screen Press or button to select on or off Press ENTER to confirm your selection Press to exit from this item System Setup 1 TV DIS...

Page 38: ...n the player Press or button to highlight this item Press to enter the setup of this item The default setting of this item is ON Press or button to choose on or off Press ENTER to confirm your selecti...

Page 39: ...some large sections titles or some small sections chapters Each section is numbered these numbers are called Title number or Chapter number Title 1 Title 2 Chapter 1 Chapter 1 Chapter 2 Chapter 2 Trac...

Page 40: ...with the label side up The disc may be dirty or warped Clean or change the disc The player s region code may not be the same as the region code of DVD disc Make sure the player s region code is the s...

Page 41: ...ist consult your service center or qualified technician Troubleshooting PROBLEM POSSIBLE CAUSE POSSIBLE SOLUTION There is no picture The LCD may be off or not be in correct video mode Turn on the LCD...

Page 42: ...z Audio Out Analog Audio Out Out Level 1 5V 0 2 1 0 Load 10K Video Out Video Out Out Level 1VP P 0 1 Load 75 Unbalanced Negative Power AC 100 240V 50 60Hz Power Consumption 25W Dimensions 195mmX149mmX...

Page 43: ...roidelectronics com or in the US call 1 866 289 5168 in Canada call 1 866 301 7922 and in Mexico call 01 800 400 2443 Polaroid is a registered trademark of Polaroid Corporation of Waltham MA USA and l...

Reviews: