PDC-800 Quick Start – Page 22
Changing the camera date and time
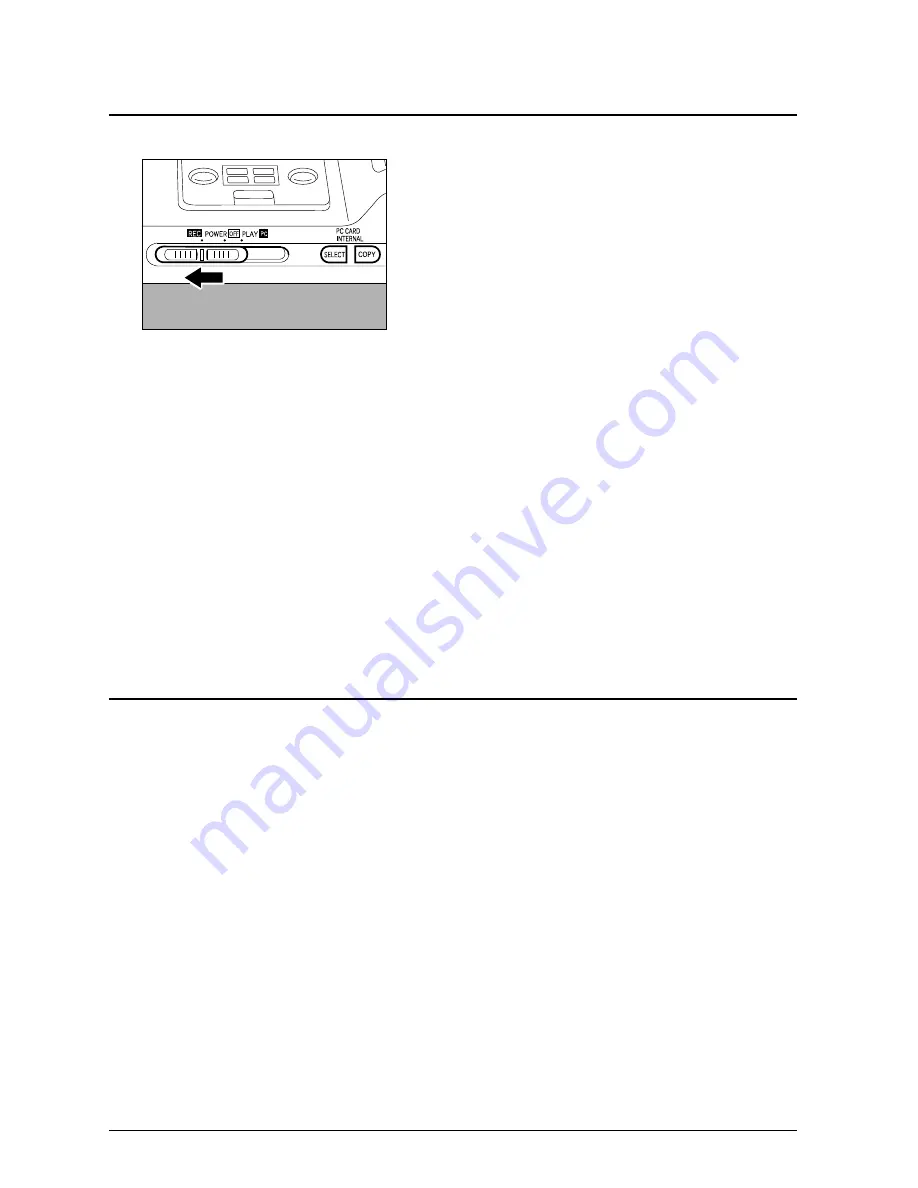
1 Slide the camera main switch to REC.
2 Press and hold the DATE button until the year on the display panel starts
flashing.
3 Press the FWD or REV button to display the current year.
4 Press the DATE button again to start the month designation flashing, and
press the FWD or REV button to display the current month.
5 Continue pressing the DATE button, then changing the flashing value with
the FWD or REV button until you have set the day, hour and minute
correctly.
6 Press the DATE button to exit from the date and time adjustment mode
and start the clock.
Selecting the image quality mode
The PDC-800 offers three image quality modes: fine (F), normal (N), and
economy (E). The F (fine) and N (normal) image quality modes provide
excellent results when pictures are printed at normal size (3.75" x 5").
Use the E (economy) mode only when the pictures will be displayed on a
screen or printed at smaller sizes. When you do not require maximum image
quality, the E (economy) mode lets you store more pictures in the camera
internal memory or on an image card. (See page 18 and 19 for internal
memory and memory card capacities at various mode settings.) Pictures taken
in the E mode also download more quickly to your computer.
To change the image quality mode, slide the camera main switch to REC.
Then press the PIC button until F, N, or E appears on the display panel.
Note: You cannot change the image quality mode when a live image is visible
on the LCD monitor. Press the LIVE button to turn off the LCD display, press
the PIC button to choose the desired image quality, then press the LIVE
button again to display a live image.


