- 10 -
2. Initial Recorder Setup
:
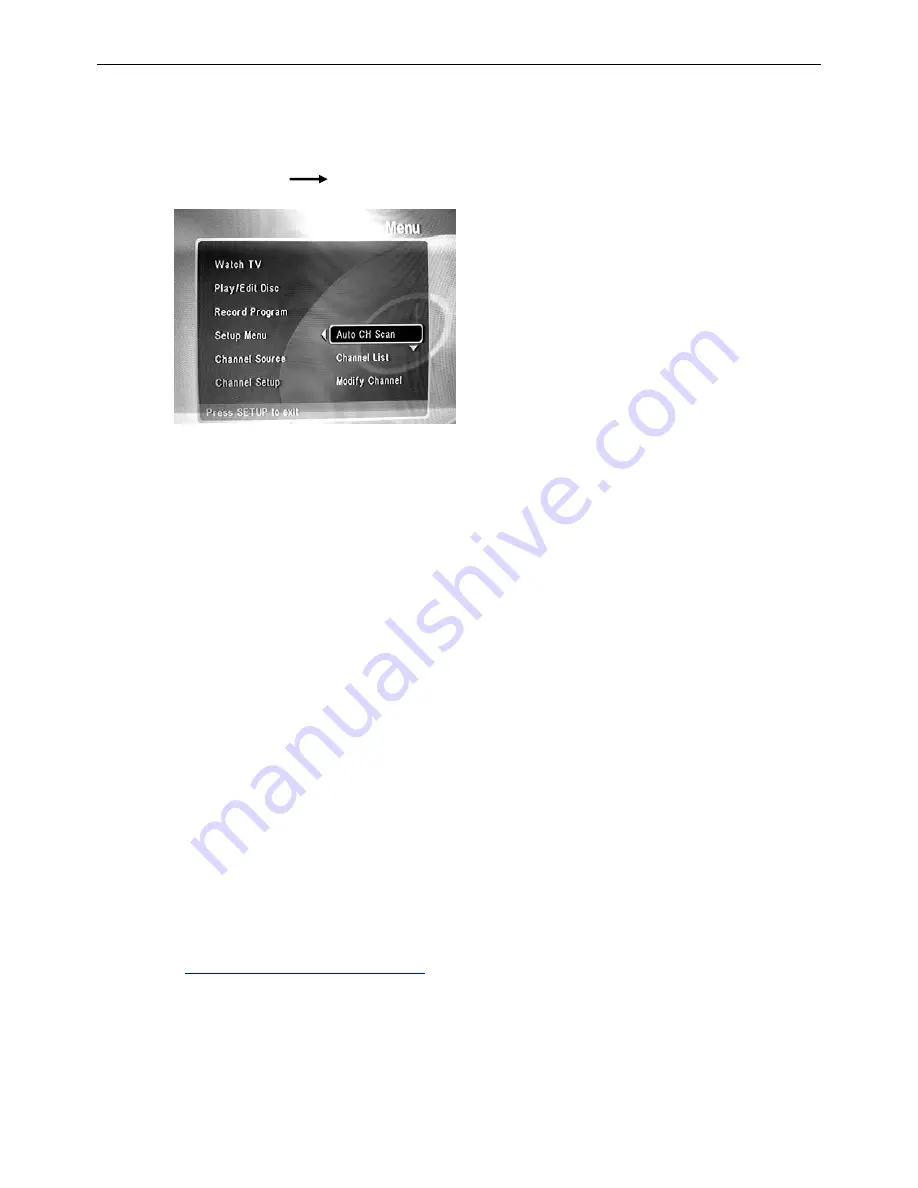
Press
the
SETUP
button on your remote and toggle as follows:
Channel Setup Auto CH Scan
Press the
SETUP
button on your remote 2 times to get back to main menu.
Press the
WATCH TV
button to watch TV or see #3 to watch a DVD movie
3. Watch a Movie
-
Insert a DVD movie disk. The DVD will automatically play bringing you to the
title menu.
NOTE:
The DVD Recorder has its default channel list. This function allows you to watch TV without
going through the Auto CH Scan process. From the
Setup Menu
go to
General
setup option. Use
the Factory Default function to set the unit to factory default mode.
4. Record your favorite TV shows to DVD
-
Insert a DVD+RW or DVD+R disk, and press the
REC
button on your remote control or on the unit while watching the TV show you wish to record.* It’s
that easy! *Expect a few seconds delay when recording starts and a slight delay when recording ends.
When a blank disc or recordable disc is inserted for the first time it will take about 30 seconds to read it.
5. Copy video to DVD –
Connect the Video/Audio OUT jacks on your VCR or camcorder to the
color coordinated INPUT jacks on the DVD Recorder. Insert a DVD+RW or DVD+R disk. Press the
SOURCE
button on the remote to select a recording source, press the
REC
button when ready to
record.
DO NOT RECORD ANY DVDs until you read this!
All DVD disks are not equal! In fact, certain DVD disk manufactures have perfected video recording
media. For best results, we recommend using the following brands of DVD disks when recording:
•
DVD+RW: Use Hewlett Packard®, TDK®, Memorex® or Maxell®
•
DVD+R: Use Hewlett Packard®
Visit
www.polaroidelectronics.com
for more product information and updates.


