E – 35
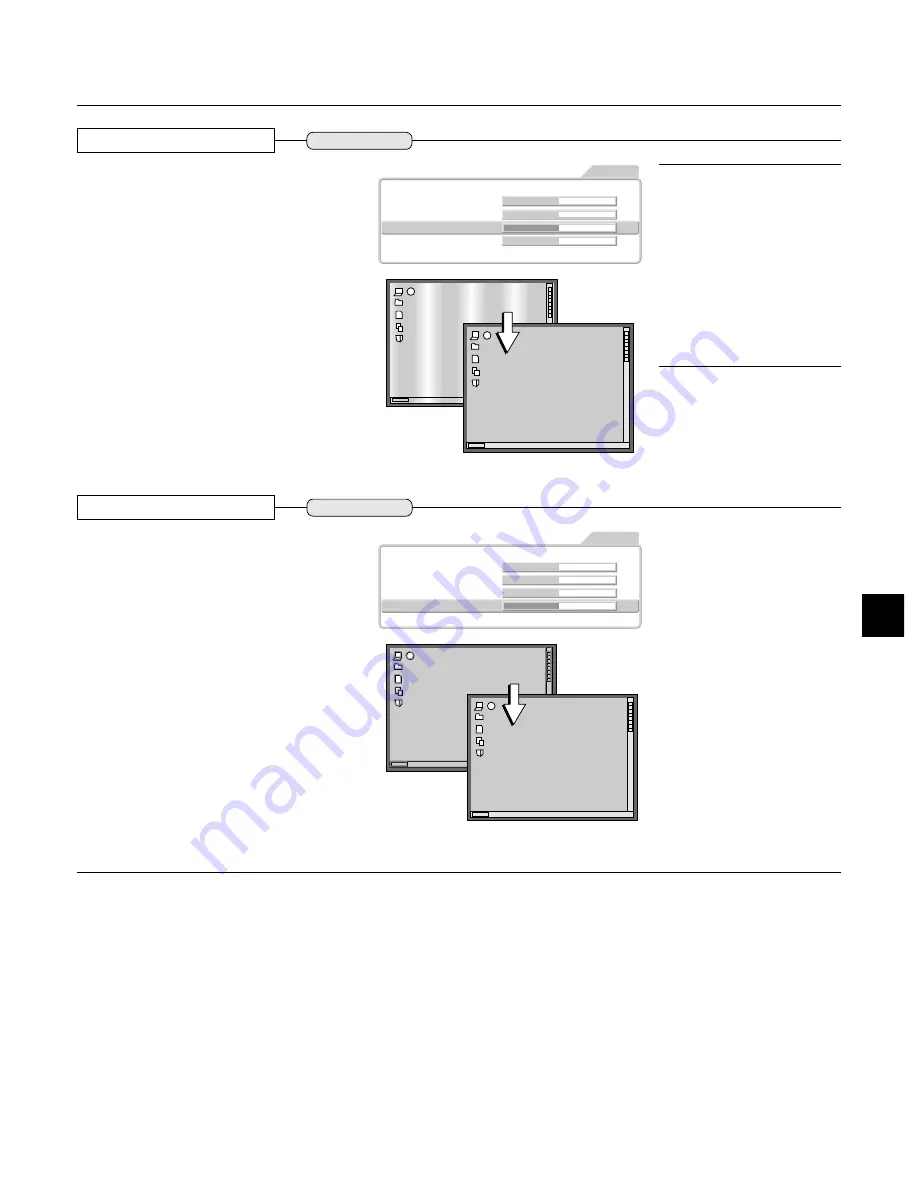
Clock frequency
Adjusting the Clock Frequency of
the Input Signal
This is adjusted when light and dark vertical
bands appear on the projection screen of the
RGB and YPbPr input signal.
This is usually adjusted automatically at the
time of signal selection; however, this adjust-
ment is made when the automatic adjustment
cannot effectively make the adjustment.
Press the cursor (
왖왔
) buttons and align the cur-
sor with [Clock frequency], then use the cursor
buttons (
왗 왘
) to remove the vertical bands and
render the screen brightness uniform.
Picture1
Brightness
0
Contrast
0
Clock Frequency
0
Phase
0
Color Temp.
Low
Normal
High Custom
Picture2
Setup
Info.
RGB
Option
Note:
* A light and dark striped pattern will
appear when there is lack of corre-
spondence between the input signal
and the pixel position of the projec-
tor. This is adjusted by the adjust-
ment of the clock frequency.
* When the image extends beyond the
screen or is smaller than the screen,
check whether the [Aspect] setting
is set to "Full."
→
Pages E-23 and E-
27 "Selection of Aspect Ratio (i.e.,
Ratio of Screen Width to Screen
Height)
Phase
Adjusting the Phase of the Input
Signal
This is adjusted when a color shift or flickering
appears on the projection screen of the RGB
or YPbPr input signal.
This is usually adjusted automatically at the
time of signal selection; however, this adjust-
ment is made when the automatic adjustment
cannot effectively make the adjustment.
Press the cursor (
왖왔
) buttons and align the cur-
sor with [Phase], then use the cursor buttons
(
왗 왘
) to make the color shift or flickering incon-
spicuous.
Picture1
Brightness
0
Contrast
0
Clock Frequency
0
Phase
0
Color Temp.
Low
Normal
High Custom
Picture2
Setup
Info.
RGB
Option
RGB and YPbPr
Video Adjustments [Picture 1]
RGB and YPbPr


