4
Remove the hardware from the corner
fitting prongs. Align the two sets of holes
for each leg and replace the hardware
through the corner fitting prongs to secure
the legs. Do not over tighten the screws.
After all parts are assembled you will need
to tighten again.
Part Ref. #: PSHW10
5
Repeat the process for the center legs.
Then stand the swing set onto its legs.
Part Ref. #: PSHW10
6
Remove the hardware from the middle
section of a leg. Match up the holes of the
mid-leg and support bar and re-insert the
hardware through both. Repeat the process
for the opposite side and center legs. It
may be necessary to pull both legs towards
each other in order for the holes to align
properly.
NOTE:
One support bar has holes for the
slide attachment. The holes should be
positioned toward the front of the swing set.
Part Ref. #: PSHW12
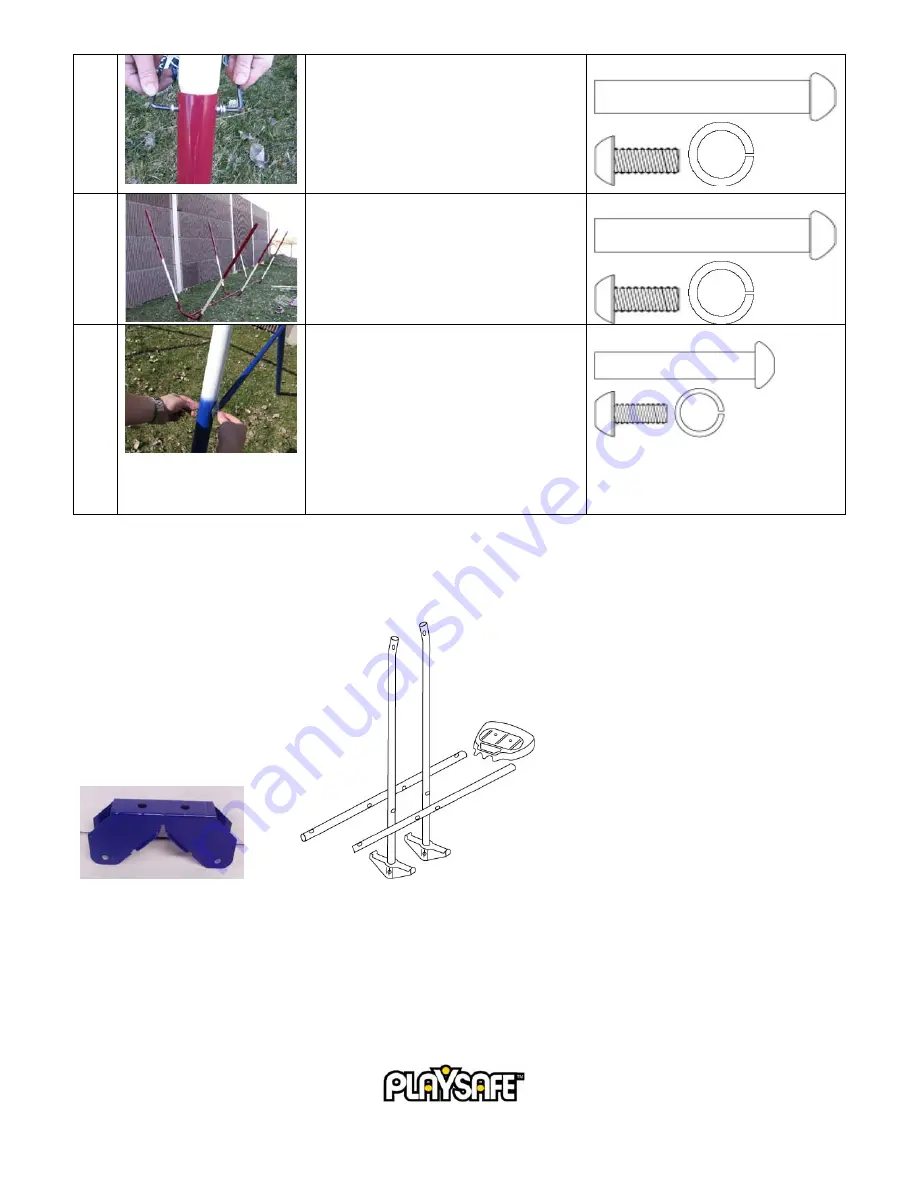
GLIDER ASSEMBLY
Required
Parts:
Vertical
Poles
x2
(Footrests
attached)
Horizontal Poles x2 (Seats attached)
Glider attachment x1
Pre-Assembled Parts:
•
The seats should be attached to the horizontal poles. These must be disassembled to complete the steps below.
•
The foot rests should be attached to the vertical poles.
7
©
2006 Pacific Cycle, Inc.


