10828200.B
Introduction
9
The model becomes larger.
Moving the Model
The model can be moved without being rotated.
1
Position the pointer on the model.
2
Press and hold down the mouse wheel.
3
Drag the model to the desired position and release the
mouse wheel.
System Options and Default Settings
Individual tabs are used to design the restoration: Setup, Scan, Margin, Design, and Mill. The
tabs are dynamic. The choices you make on each tab affect the options available on that and
related tabs. The typical restoration utilizes the tabs from left to right. Moving backwards in
the process (e.g., modifying the settings in the Margin tab after completing the design in the
Design tab) can cause settings and designs to be discarded. The system warns you when your
actions will cause design data to be discarded.
Some system configurations will restrict the use and access of individual tabs.
Screenshots
Save an image of the screen for communicating with associates or Customer Support. To take
and save a screenshot:
ASUS: Press
+
Prt Sc
keys simultaneously.
HP: Press
+
Fn
+
Prt Sc
keys simultaneously.
The computer takes a screenshot and saves it in Libraries - Pictures - Screenshots.
The screenshots are automatically numbered. You can rename them if desired.
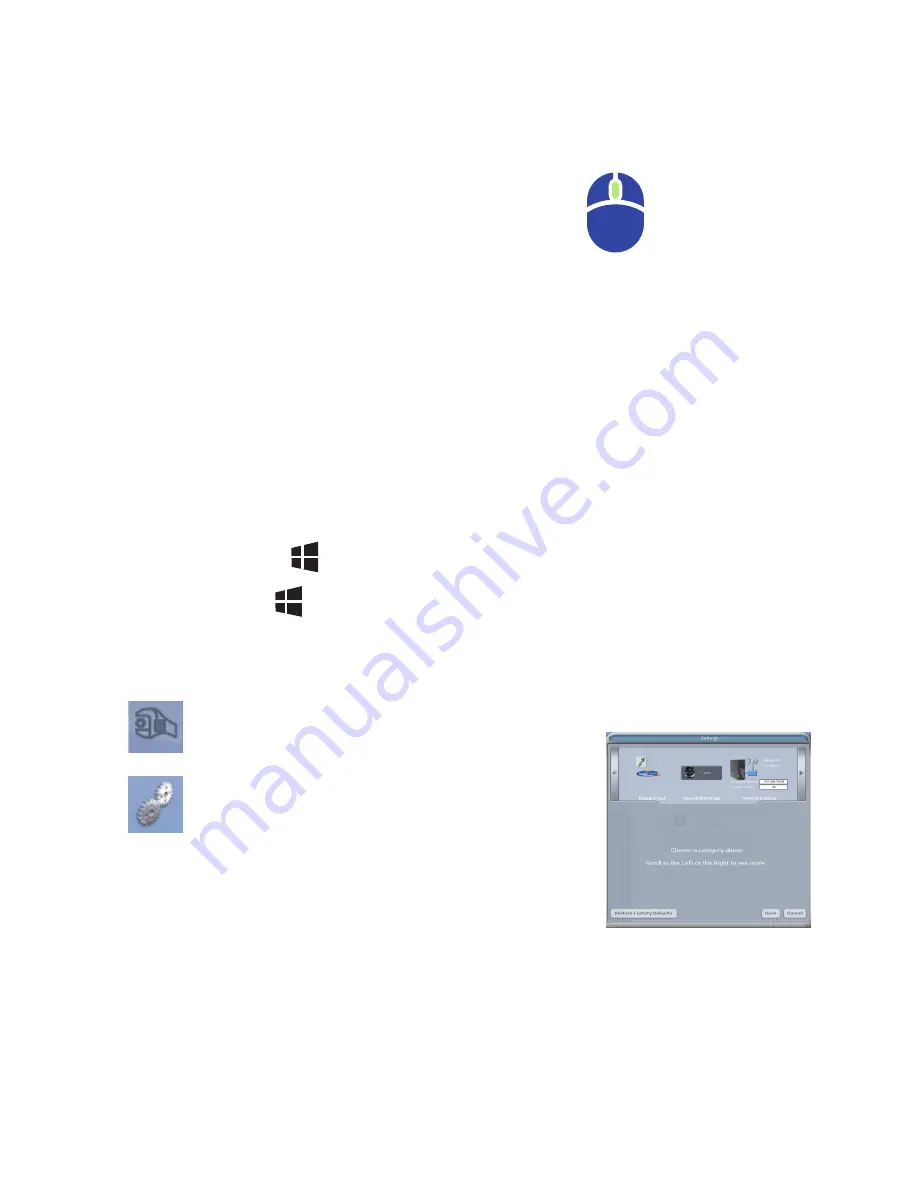
The Settings Screens
Click the Settings button on the CAD/CAM screen or
the Settings button on each tab. These screens contain
preference settings that modify the default behavior of the
software. The settings are based on each screen. Use the
arrows to scroll right or left. Click a category to select it.
Selected categories display in the bottom of the screen.
Click Restore Factory Defaults to revert to original settings,
click Save to save changes, or click Cancel to exit without
saving.
Version
Displays the version of the software and imaging systems.
Reset Warnings
The warning and reminder screens have an option to Do Not Show This Message Again. If a
new operator is using the system, you can reactivate these warnings.
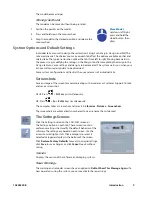
Move Model
up/down, left/right:
press and hold the
wheel button, then
drag.
Summary of Contents for PlanScan
Page 1: ...Planmeca PlanScan User Manual ...
Page 2: ......


