Scanning a Pre-op
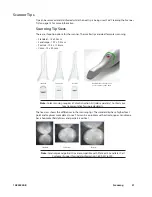
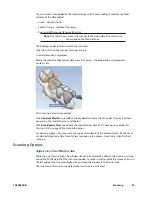
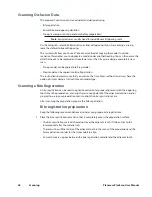
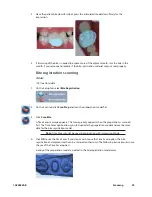
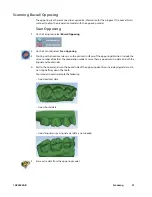
Use Scan Pre-op when you want to scan a pre-operative tooth or a wax-up. Pre-op scans can be
used in combination with the Library tooth or can be used as a template, like a bite registration.
1
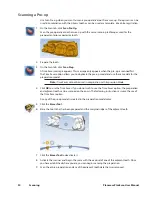
On the Scan tab, click Scan Pre-Op.
Scan the pre-operative tooth or wax-up with the same scanning techniques used for the
prepared anterior or posterior tooth.
2
Prepare the tooth.
3
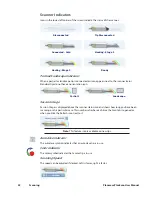
On the Scan tab, click Scan Prep.
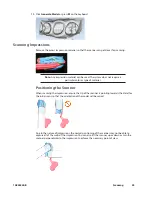
A Time Saver message appears. This message only appears when the pre-op is scanned first.
The Time Saver option allows you to duplicate the pre-op model and use the same data for the
preparation model.
Note: Time Saver cannot be used in conjunction with Impression Mode.
4
Click OK to use the Time Saver. If you do not wish to use the Time Saver option, the preparation
and adjacent teeth can be scanned on their own. The following instructions assume the use of
the Time Saver option.
A copy of the pre-op model is created in the preparation model color.
5
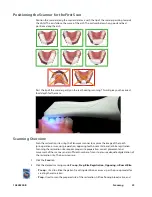
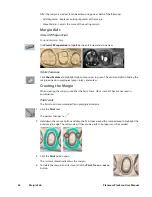
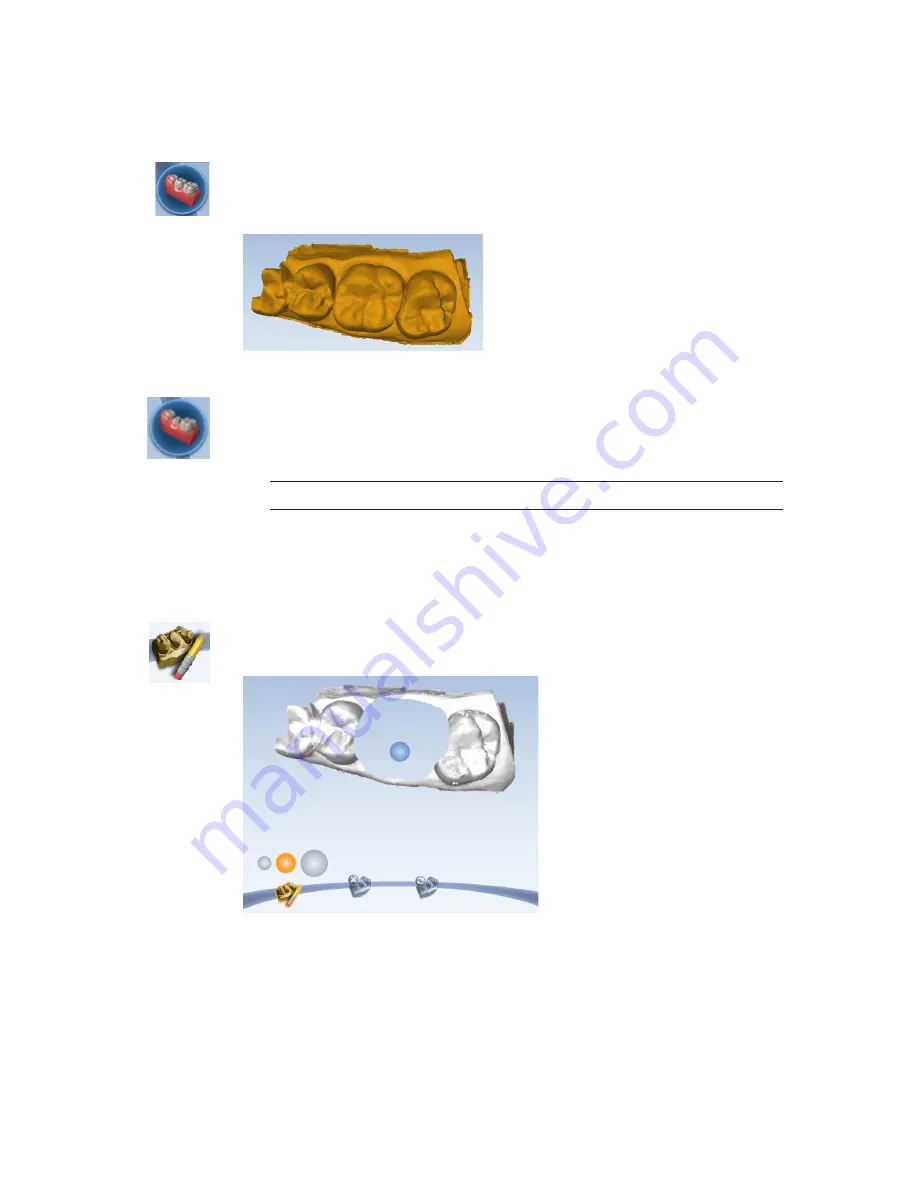
Click the Eraser Tool.
6
Erase the tooth that has been prepared and the marginal ridges of the adjacent teeth.
7
Click the Eraser Tool to deactivate it.
8
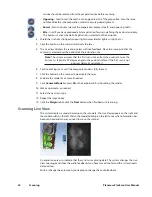
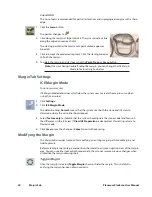
Activate the scanner and begin the scans with the occlusal of one of the adjacent teeth. Once
you have established where you are, you can begin scanning the preparation.
9
Scan the entire preparation and any of the adjacent tooth data that was removed.
34
Scanning
Planmeca PlanScan User Manual
Summary of Contents for PlanScan
Page 1: ...Planmeca PlanScan User Manual ...
Page 2: ......


