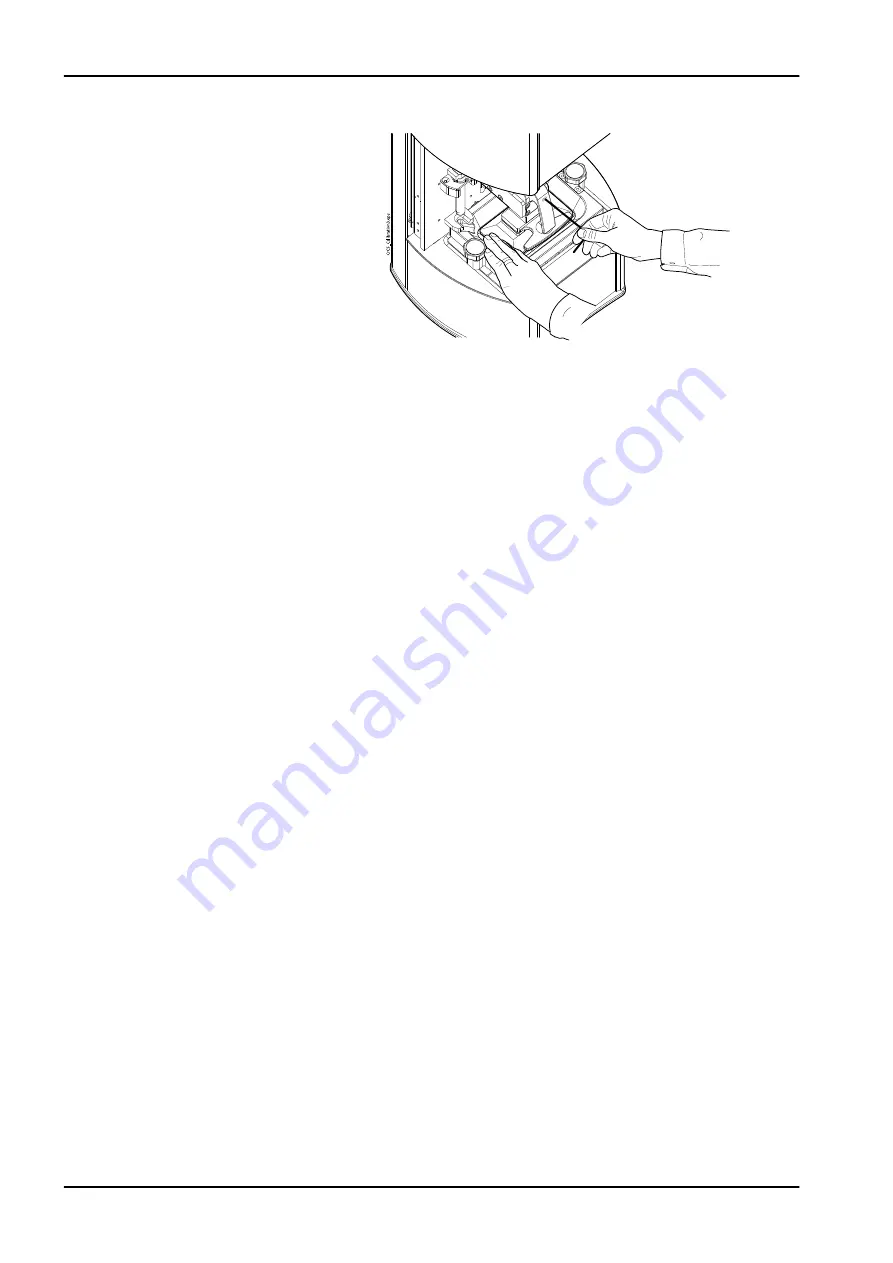
9. Tighten the build platform attachment screw with 5 mm Allen key.
10. Touch the Ready button to complete and close the calibration mode.
10.3 Attaching resin cartridges
CAUTION
The basin bottom film is very easy to damage using scraper, tools or
fingernails.
NOTE
Planmeca Creo C5 has an automatic material fill function with a cartridge
system. Do not pour materials directly in to the basin, only add cartridges to
the machine when asked.
NOTE
Always add cartridges to the machine with the 3D printing material chosen
for the print job. The material is chosen in the print job configuration in
Planmeca Creo C5 Studio software.
NOTE
To protect your hands and eyes (the resin can cause reactions over time),
and to avoid getting oil from skin onto sensitive surfaces, wear gloves at all
times.
NOTE
In Planmeca Creo C5 Studio, when you generate a print job disregard the
“resin required” amount. This refers only to the total resin cured into the print
itself, not to the amount required inside the basin for a successful print. The
Creo C5 will inform the user if and when it needs more material.
NOTE
Use one build platform and basin per material.
NOTE
Any spills should be cleaned immediately with isopropyl alcohol (IPA) (96%)
or ethanol (96%), if left they will cure making cleaning more difficult.
1. Install the basin and the build platform into the printer before adding
material cartridges to the cartridge holder.
2. Shake the resin cartrige for 5 minutes before use. This mixes the
pigment properly and ensures even spread of colour.
10 Preparations before printing
22 Planmeca Creo C5
User's manual
Summary of Contents for Creo C5
Page 1: ...PlanmecaCreo C5 user s manual EN 30018643...
Page 2: ......
Page 5: ...Table of contents User s manual Planmeca Creo C5...
Page 34: ...2 Select the printer you want to use for the job 11 Printing 28 Planmeca Creo C5 User s manual...
Page 40: ...11 Printing 34 Planmeca Creo C5 User s manual...
Page 51: ...13 Settings User s manual Planmeca Creo C5 45...
Page 60: ......
Page 61: ......


