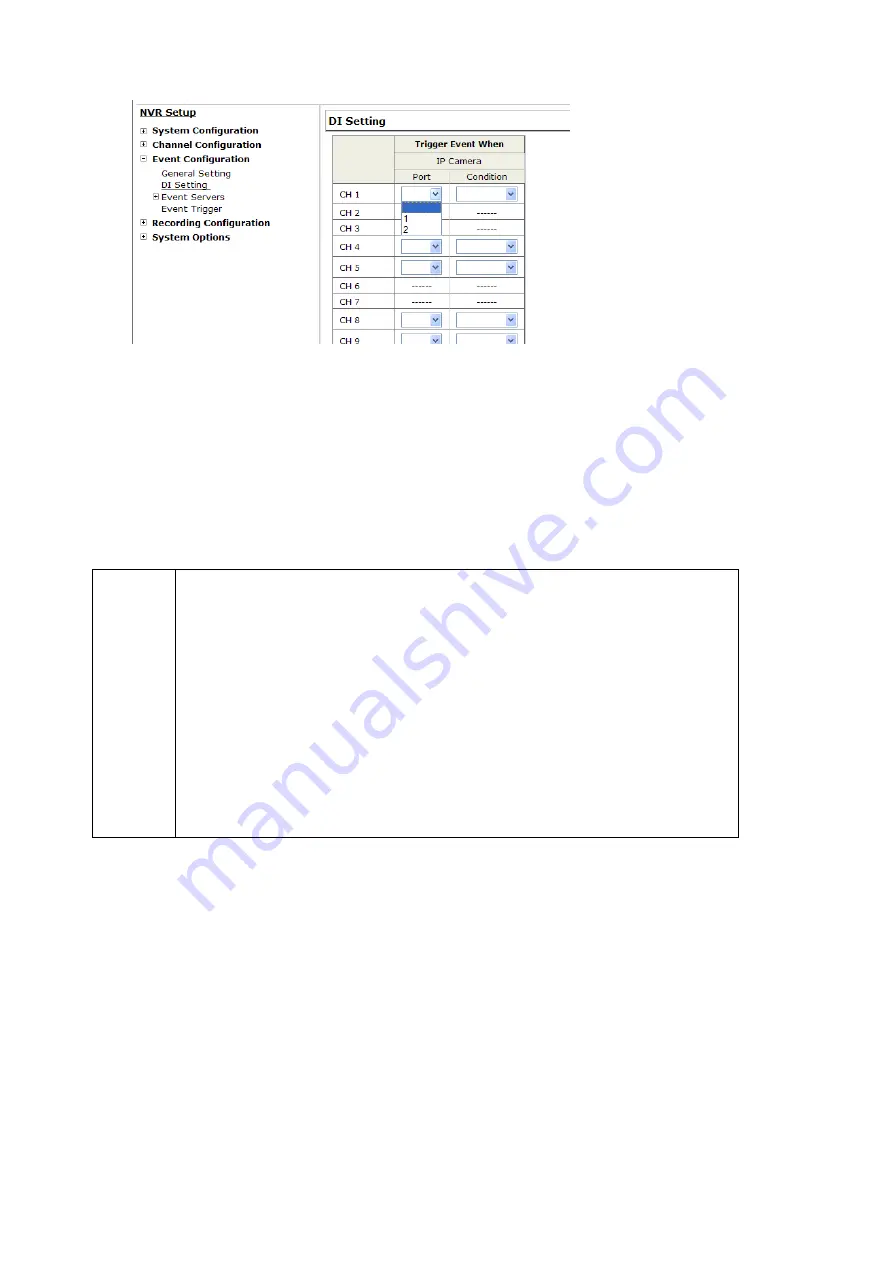
1. For cameras that come with physical digital input ports, their ports will be listed in the far left
drop-down menu.
2. Pick the desired channel for I/O mapping, and then select the camera’s input port from the
drop-down menu.
3. Select the trigger condition from the “Condition” drop-down menu.
4. Select the recorder’s input port if you would also like to use the recorder’s input port for event
trigger. And then select the trigger condition as well.
5. Next, select the recorder’s output port and the trigger action.
6. Finally, define the trigger duration.
"
NOTE
1. The recorder does not control camera’s input or output ports in a way
to let you pair recorder itself with a camera’s input or output port for
event receiving or triggering.
2. The recorder only acts as a medium for pairing up input/output ports
between cameras and the recorder.
3. Only connected cameras will be displayed in the list.
4. Some cameras only allow one trigger source be configured at a
time, e.g.: if the camera has the motion detection function turned on,
its digital input will be disabled and vice versa. Under such
circumstance, if you set to use camera’s digital input port as the event
trigger source, you will not be able to select motion detection as the
/trigger source for this camera under “Event Configurations” >> “Event
Trigger” setup page.
6.3.3 Event Servers
Event servers are to be used with event trigger actions. In case of unusual motion detected by the
camera or a disk failure, the recorder can send notification with the acceptable format (image/txt)
to a destined event server according to the configuration.
Configuring an FTP server
62
Summary of Contents for NVR-3250
Page 1: ...User s Manual NVR 3250 32 Channel Network Video Recorder...
Page 50: ...50...


