- 11 -
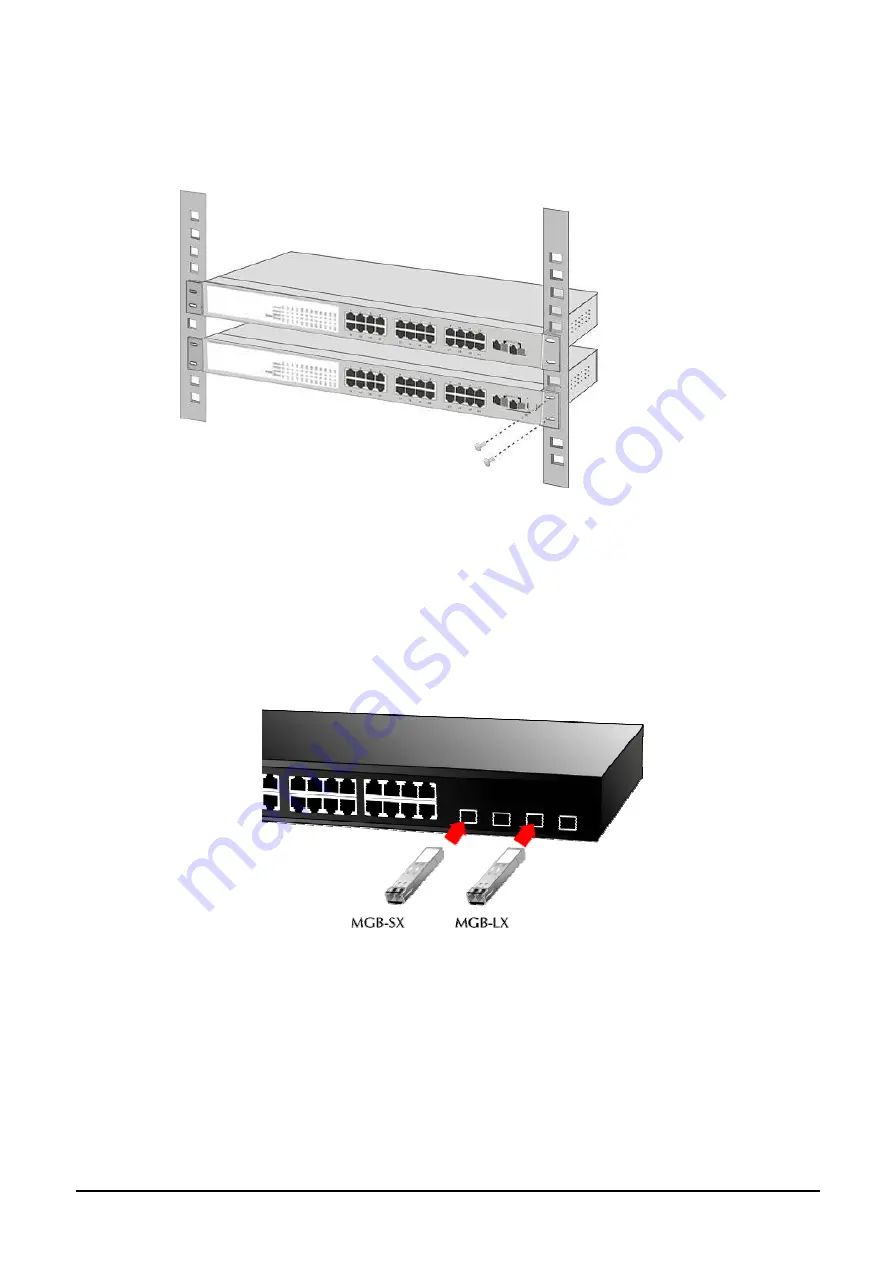
Step 3: Secure the brackets tightly.
ached to the Web Smart Switch, use suitable screws to securely attach the brackets to
2-7
.
Step 4: Follow the same steps to attach the second bracket to the opposite side.
Step 5: After the brackets are att
the rack, as shown in
Figure
Figure 2-7
Mounting the Web Smart Switch in a Rack
Step 6: Proceed with the steps 4 and steps 5 of section
2.3.1 Desktop Installation
to connect the network cabling and
supply power to your Web Smart Switch.
he sections describe how to insert an SFP transceiver into an SFP slot.
The SFP transceivers are hot-plug e and hot-swappable. You can plug-in and out the transceiver to/from any SFP port
e Figure 2-8 appears.
2.3.3 Installing the SFP transceiver
T
without having to power down the Switch. As th
Figure 2-8
Plug-in the SFP transceiver
Approved PLANET SFP Transceivers
PLANET Web Smart switches support both single mode and mu
he following list of approved
LANET SFP transceivers is correct at the time of publication:
ransceiver )
■
■
lti mode SFP transceiver. T
P
■
MGB-SX SFP (1000BASE-SX SFP t
■
MGB-LX SFP (1000BASE-LX SFP transceiver )
MFB-FX SFP (100Base-FX SFP transceiver - 2Km)
MFB-F20 SFP (100Base-FX SFP transceiver -20Km)
Summary of Contents for FGSW-2402VS
Page 4: ... 4 Case 5 Deny Specify Protocol HTTP WWW 86 Case 6 Deny Specify Protocol SMTP 88 ...
Page 24: ... 24 Figure 4 16 Port based VLAN Setting Web Page screen ...
Page 42: ... 42 Figure 4 45 QoS Configuration Web Page screen ...
Page 65: ... 65 Figure 4 82 Factory Default Web Page screen Figure 4 83 Factory Default Web Page screen ...
Page 67: ... 67 Figure 4 86 Reboot Web Page screen Figure 4 87 Reboot Web Page screen ...
Page 70: ... 70 Figure 4 90 Logout Web Page screen Figure 4 91 Logout Web Page screen ...
Page 71: ... 71 Figure 4 92 Logout Web Page screen ...
Page 79: ... 79 ACL Policy Entry ...
Page 81: ... 81 ACL Policy Entry ...
Page 83: ... 83 ACL Policy Configuration ACL Policy Entry ...
Page 85: ... 85 ...
Page 87: ... 87 ACL Policy Entry ...


