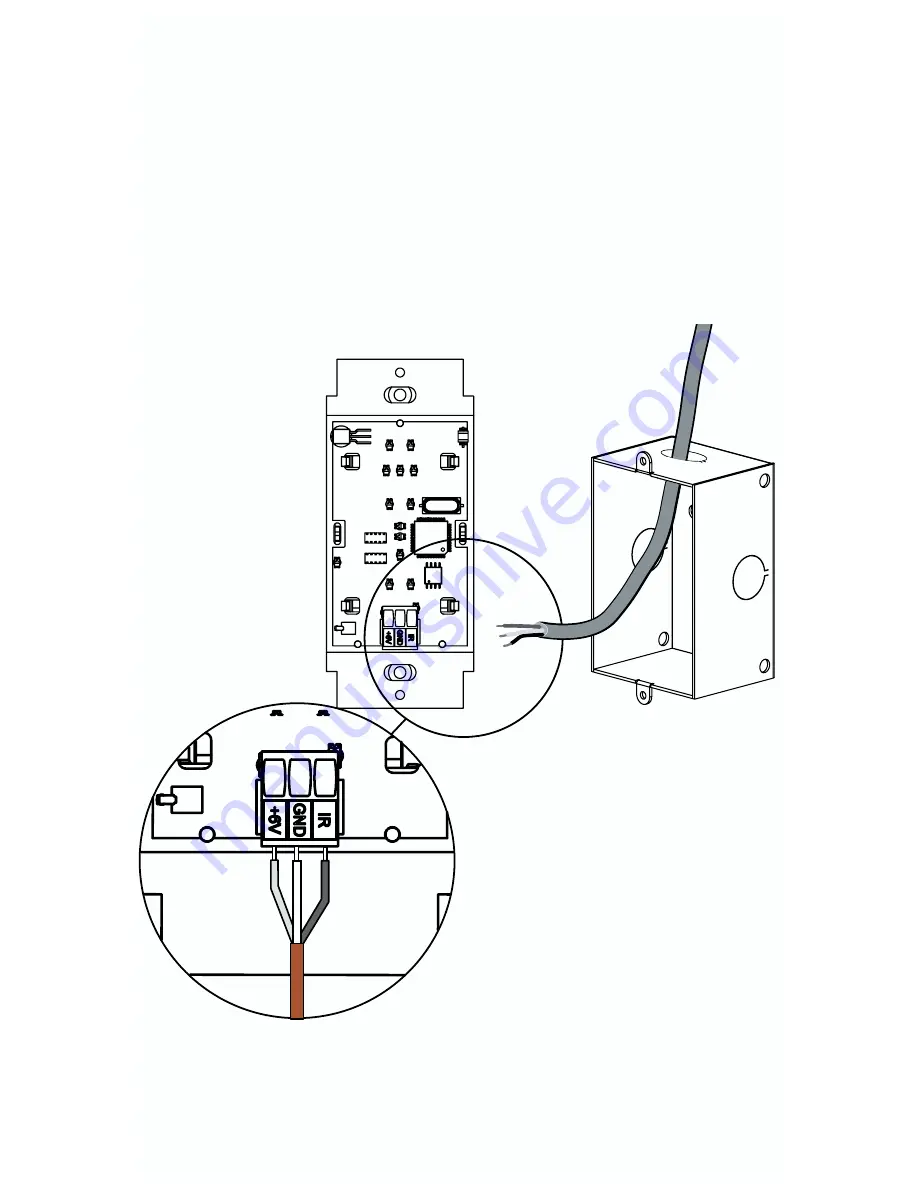
3. Wiring Controller
IV. Pixie Installation cont’d
Connect the 3-conductor cable to the captive screw connector on the back of the
Pixie. Be sure that the wires agree with the connections on the cable assembly
block end (page 4). For example, the wire landing at the
6V
position on the cable
assembly block should connect to
6V
position on the Pixie, et cetera.
Note
: Verify the captive screw connectors are fully open (turned counterclockwise)
before inserting the wires. If the screws are turned the wrong way to secure the
wires, they can make a physical connection without making an electrical connec-
tion.
Note
: The sequence of labeling is the same on the cable assembly block and the
Pixie; e.g. the Pixie uses cross-over wiring.
Wire landing must match
landing on cable assembly
block at the display device
side (see pg. 4).
7


