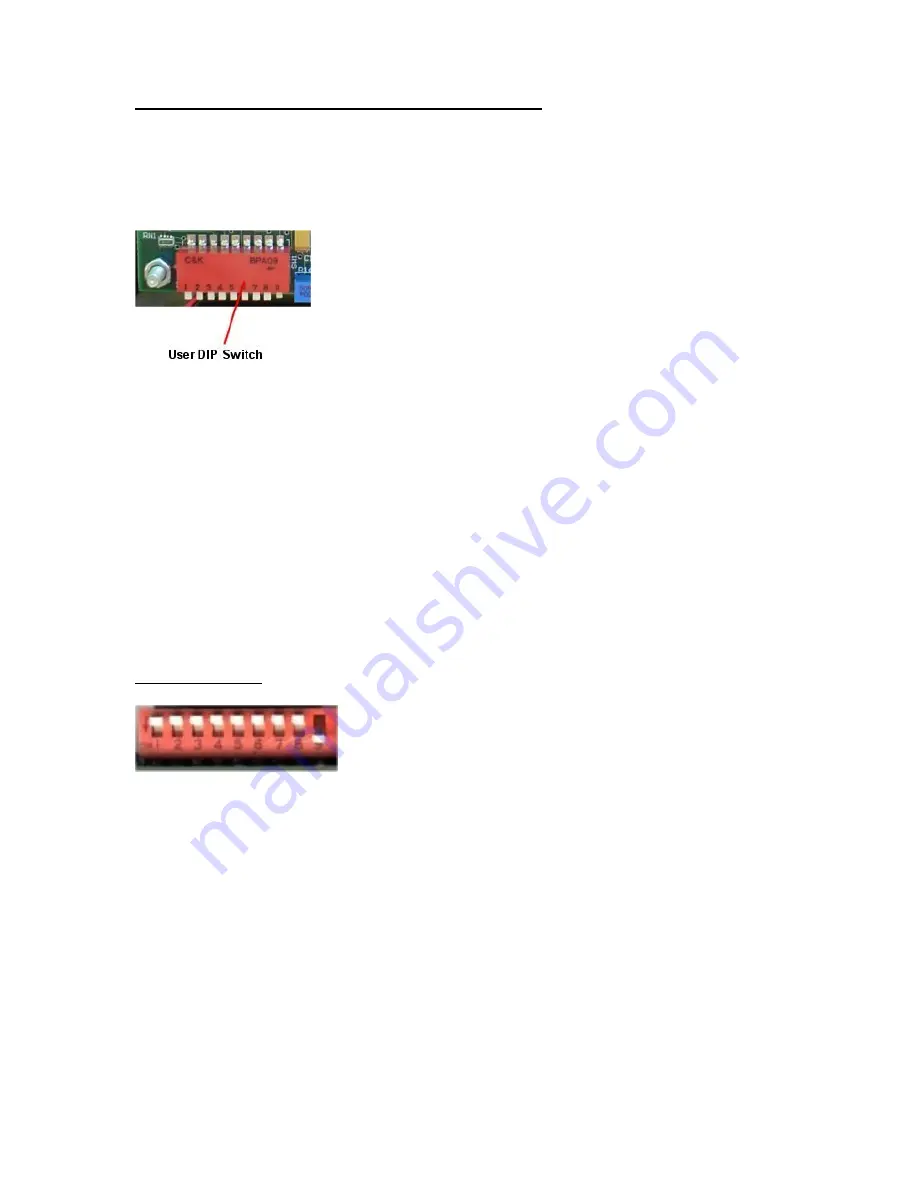
How to Setup the “User Switch Settings”
The User Switch will let you customize how the Camera Control Board will trigger the attached
camera. Here you can adjust the time delay between pictures, operating only at day, night, or 24
hours, setting up a walk-test mode for testing PIR range/area, capturing Digital Stills or Movie
Files, movie length, and turning the control board LED’s on or off.
The user switch setting can be found here on the control board.
Note: You must reboot the controller for changes to take place.
Note1: When turning power on to your DigitalEye both the red and green LED will light up. They
will both stay on for 30 seconds. This time will allow the PIR circuit to warm up. After this time
expires the green LED will turn off and the red LED will blink 5 times letting you know that the
board is entering a 1 minute automatic walk-test phase. At this point you can move around the
camera setup and check out the PIR area. Both the green and red LED’s will light when motion is
detected. After the 1 minute automatic walk-test phase expires the red LED will blink 5 times
letting you know the camera system will now become active.
Default Setting
All switches “UP” except switch 9 which is “DOWN”.
10 Second Delay between pictures, 24 Hour Recording, 15 second MPEG movie length, Capture
Still Picture, Control LED On, PIR LED On.
Red indicates the switch position for all graphics below. You may also refer to the switch
detail located on the interior lid label of your DigitalEye.


