43
En
English
08
Using Other Functions
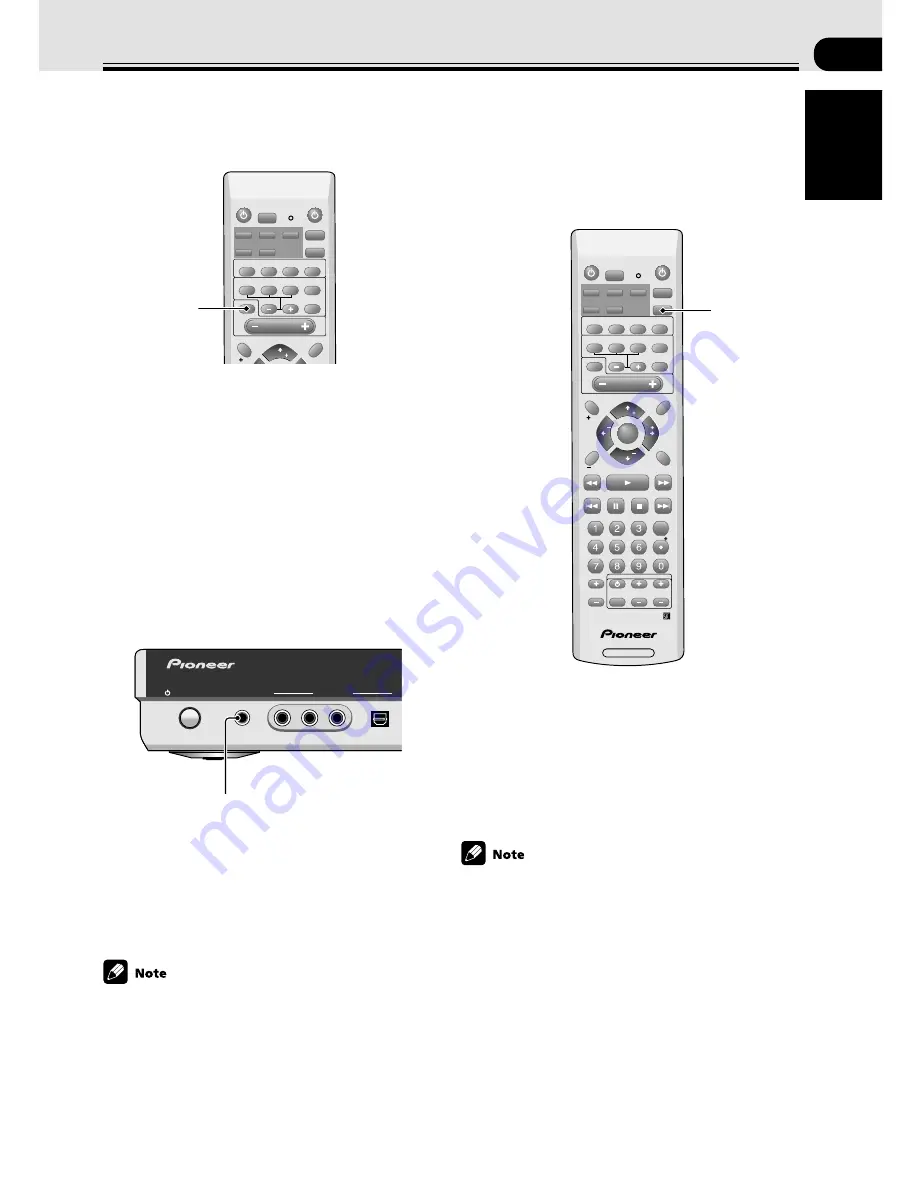
Muting the Sound
Use this feature to mute the volume.
Changing the Display
Brightness (DIMMER button)
The display on the receiver has four brightness settings.
Use the instructions below to adjust the brightness of
the display.
SOURCE
RECEIVER
SLEEP
AUTO
SURROUND
SIGNAL SELECT
ADVANCED
SOUND
MODE
DIMMER
SETUP
ENTER
TEST TONE
TOP MENU
MENU
MENU
P
T.EDIT
DISPLAY
CH_SELECT
ROOM
SETUP
MUTE
TUNE
MASTER
VOLUME
DVD
DVR/ VCR
TV / SAT
F M / A M
FRONT
SOURCE
RECEIVER
SLEEP
AUTO
SURROUND
SIGNAL SELECT
ADVANCED
SOUND
MODE
DIMMER
SETUP
EXIT
SEARCH
E
CLASS
C
MPX
D
TV CONTROL
D.ACCESS
E
A
ENTER
TEST TONE
TOP MENU
MENU
MENU
AUDIO
SUBTITLE
EON
CHANNEL
CHANNEL
VOLUME
INPUT
SELECT
P
10
GUIDE
T.EDIT
DISPLAY
RF ATT
CH_SELECT
ROOM
SETUP
RECEIVER
MUTE
ST
TUNE
MASTER
VOLUME
ST
TUNE
P
DVD
ENTER
ENTER
DVR/ VCR
TV / SAT
F M / A M
FRONT
1 Press the
MUTE
button on the remote
control.
No sound will be audible until the MUTE button is
pressed again to cancel the muting. Alternatively,
you can press the MASTER /
−
buttons to
cancel the muting.
1 Use the
DIMMER
button to cycle through the
different display brightness settings.
There are four brightness settings, including display
off.
• In the off mode all the lights in the display are off
except for the master volume indicator, which
appears very dimly.
• If you operate the receiver when the display is in the
off or dimmed modes the display will light for about
two seconds and then go off again.
1
1
Using the Headphones
The headphone features are explained here.
Plug headphones into the PHONES jack on the front
of the receiver.
No sound will be audible from the speakers when
headphones are plugged in.
• When using the headphones you can only select
STEREO or PHONES SURROUND listening modes.
STANDBY/ON
PHONES
FRONT INPUT
VIDEO
AUDIO
DIGITAL IN
L
R
STANDBY/ON
PHONES
FRONT INPUT
VIDEO
AUDIO
DIGITAL IN
L
R
PHONES jack


