<DRB1239>
17
Basic Installation
3. Click on
Administration
to access Administration
pages. You will be prompted to supply the Server
password for the initial session. The defauit password
is set to
'pass'
.
From the main menu you may access any of the
following Administration tools:
÷
This server -
To specify system settings related
to a DRM-6NX, To refresh the hard disk cache.
To Upgrade firmware on the changer
÷
File Rights -
To set up access rights to volumes,
files and folders
÷
Discs & Drives -
To manage the drives and the
inserted CD-ROM discs
÷
Network Settings -
To specify settings for the
network protocols to use
÷
Event Log -
To view the event log that contains
occurrences involving the DRM-6NX
÷
Statistics -
To display statistics on the DRM-6NX
NOTES:
7
To prevent users from accessing the volumes from the web interface
disable the
Enable access to volumes via Web browser (HTTP)
parameter on the
Network Settings - Web (HTTP)
page
7
Online help is available from all the DRM-6NX web pages. If you
need help on a specific task, click Help
.
Server Password
To protect the system files, it is important that you set
the
Server Password
. The Server password is used in
all primary protocols, (i.e. HTTP, NetWare (NCP),
Windows (SMB), SNMP and FTP). For example, a
user will be prompted for the Server password when
accessing the Administration web pages for the first
time each session.
To set the Server password, follow these steps:
1. From the
This Server
page, click
Edit
to open
the Server Settings dialog box
2. Open the
General
page
3. Specify and confirm the
Server Password
4. Click
Close
NOTE:
7
If you lose the Server password, you must restore the factory
default settings. See "
Restoring Factory Default Settings
" on
page 48.
Date and Time
1. On the
This Server
page, click
Edit
to open the
Server Settings dialog box
2. Open the
Date/Time
page
3. Specify the appropriate time zone in which the
DRM-6NX Changer operates
4. To set the time using a time synchronization source,
choose
Automatically
and specify the time source:
÷
Network Time Protocol (NTP)
- for TCP/IP
networks
÷
Novell Directory Services (NDS)
- for NetWare
To set the time manually, choose
Manually
and
specify the date in
yy-mm-dd
format and time in
hh:mm:ss
format using the 24 hour clock
5. Click
Close
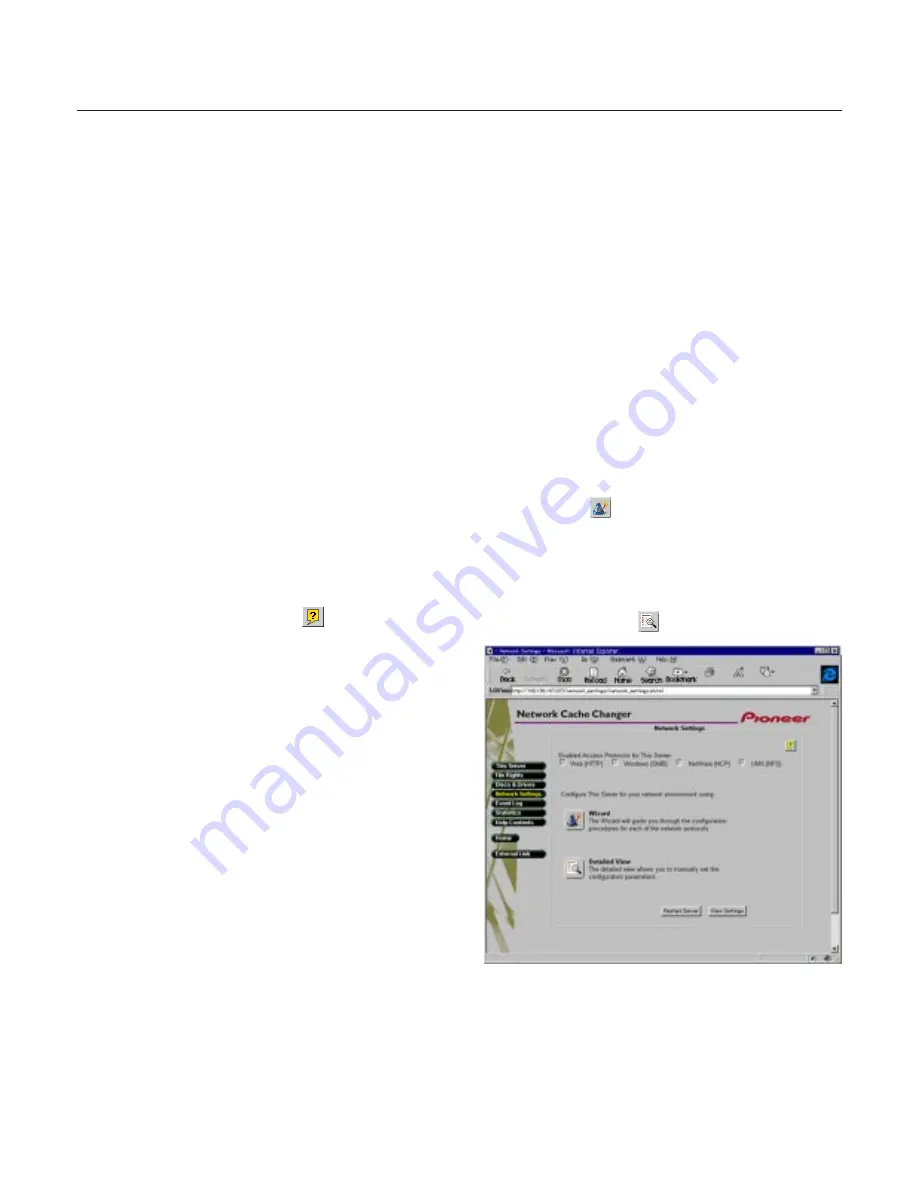
TCP/IP
The installation wizard is a convenient way to set up
the DRM-6NX for your network environments.
1. Click
Network Settings
2. Click
Wizard
and the Wizard dialog appears
3. Choose
TCP/IP
to set up the DRM-6NX for the TCP/IP
environment. Click
Start
to proceed with the
installation. Follow the instructions on the screen
without skipping any steps
4. Click
Close
when finished
5. Click
Detailed View
to verify the settings


