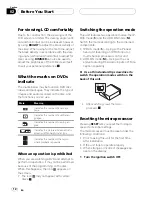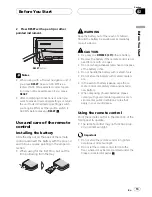
For viewing LCD comfortably
Due to its construction, the view angle of the
LCD screen is limited. The viewing angle (verti-
cal and horizontal) can be increased, however,
by using
BRIGHT
to adjust the black density of
the video. When using for the first time, adjust
the black density in accordance with the view-
ing angle (vertical and horizontal) to adjust for
clear viewing.
DIMMER
can also be used to
adjust the brightness of the LCD screen itself
to suit your personal preference.
What the marks on DVDs
indicate
The marks below may be found on DVD disc
labels and packages. They indicate the type of
images and audio recorded on the disc, and
the functions you can use.
Mark
Meaning
2
Indicates the number of audio sys-
tems.
2
Indicates the number of subtitle lan-
guages.
3
Indicates the number of viewing an-
gles.
16 : 9 LB
Indicates the picture size (aspect ratio:
screen width-to-height ratio) type.
1
ALL
Indicates the number of the region
where playback is possible.
When an operation is prohibited
When you are watching a DVD and attempt to
perform an operation, it may not be performed
because of the programming on the disc.
When this happens, the icon
appears on
the screen.
!
The icon
may not appear with certain
discs.
Switching the operation mode
This unit features two operation modes: the IP-
BUS mode (
S
) and the ADD-ON mode (
M
).
Switch the mode according to the combined
components.
!
IP-BUS mode (
S
)
Using with a Pioneer
head unit featuring an IP-BUS input or
multi-channel processor control unit
!
ADD-ON mode (
M
)
Using with a car
stereo featuring RCA audio inputs or FM re-
ception capability
%
Use a thin standard tip screwdriver to
switch the operation mode switch on the
back of this unit.
!
After switching, reset the micro-
processor.
Resetting the microprocessor
Pressing
RESET
lets you reset the micropro-
cessor to its initial settings.
The microprocessor must be reset under the
following conditions:
!
Prior to using this unit for the first time
after installation
!
If the unit fails to operate properly
!
When strange or incorrect messages ap-
pear on the display
1 Turn the ignition switch OFF.
Before You Start
En
12
Section
02


