- 128 -
X:\print\Pioneer\18AVH_H_N\18_Navi_UC_CRI1052(A6_Vertical)_EN\020Chapt
er.fm
AVIC-W8400NEX/AVIC-W6400NEX
18_Navi_UC_CRI1052(A6_Vertical)
En
g
lis
h
2
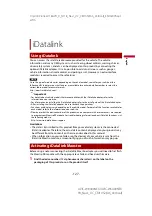
Access the following website and follow the on-screen instructions to configure
the desired firmware.
http://maestro.idatalink.com/
NOTE
When the serial number input is required, input the device number of this product.
3
Install the vehicle/head unit specific firmware on your iDatalink Maestro module.
4
Connect this product to iDatalink Maestro, and then install this product to the
vehicle.
The iDatalink function will be active.
NOTES
•
Device number input is required for updating the iDatalink Maestro module. Take a note of the device
number as necessary.
•
For details on installing the firmware, refer to iDatalink Maestro website.
•
For details on connecting this product to iDatalink Maestro, refer to the Installation Manual.
•
You can also check the device number on the [Firmware Information] screen of this product
(page 139).
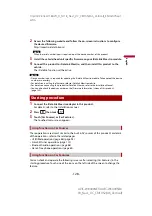
1
Connect the iDatalink Maestro adapter to this product.
For details, refer to the Installation manual.
2
Press
then touch
.
3
Touch [Car Sources] or [Car Features].
The touched menu screen appears.
These operations are almost similar to the built in AV sources of this product. For details
of the operations, refer to the related pages.
•
USB/iPod operations (page 86) (page 94)
•
SiriusXM tuner operations (page 112)
•
Bluetooth audio operations (page 68)
•
Hands-free phone operations (page 63)
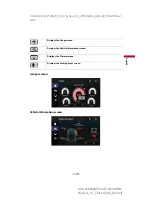
You can check and operate the following screens after selecting [Car Features] in the
starting procedure. Touch one of the icons on the left side of the screen to change the
feature.
Starting procedure
Using functions in Car Sources
Using functions in Car Features

