


16
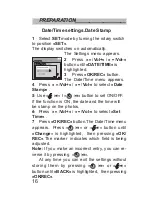
Date/Time settings.Date Stamp
1
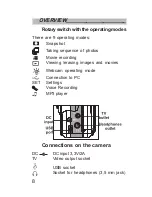
Select SET mode by turning the rotary switch
to position »SET«.
The display switches on automatically.
The Settings menu appears.
2
Press »
5
/Vol+« / »
6
/Vol-«
button until »DATE/TIME« is
highlighted.
3
Press »OK/REC« button.
The Date/Time menu appears.
4
Press »
5
/Vol+« / »
6
/Vol-« to select »Date
Stamp« .
5
Use »
:
« / »
9
« button to set ON/OFF.
If the function is ON ,the date and the time will
be stamp on the photos.
6
Press »
5
/Vol+« / »
6
/Vol-« to select »Set
Time« .
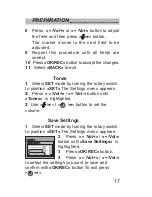
7
Press »OK/REC« button.The Date/Time menu
appears. Press »
9
« or »
:
« button until
»Change« is highlighted, then pressing »OK/
REC«.The marker indicates which field is being
adjusted.
Note: If you make an incorrect entry, you can re-
verse it by pressing »
9
«.
At any time you can exit the settings without
storing them by pressing »
9
« or »
:
«
button until »BACK« is highlighted, then pressing
»OK/REC«.
PREPARATION__________________


