background image

                  MIDI Hub User's Manual 

PHONIC CORPORATION

page 8

page 9

PHONIC CORPORATION 

MIDI Hub User's Manual

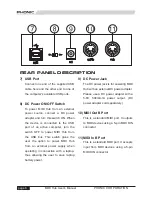
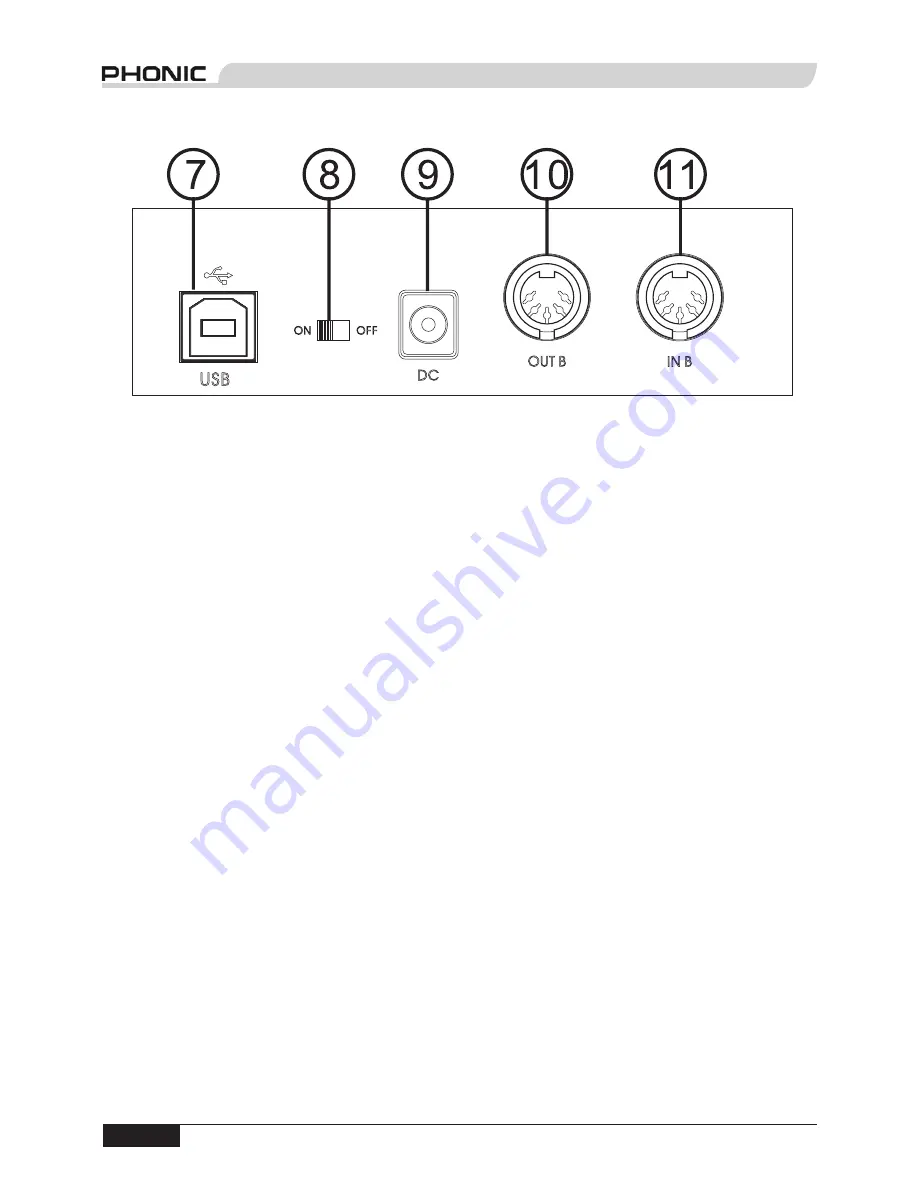
REAR PANEL DESCRIPTION

9)  DC Power Jack

The DC power jack is for powering MIDI 
Hub with an external DC power adapter. 
Please use a DC power adapter with a 
5-9V,  500mA-1A  power  output.  (DC 
power adapter sold separately.) 

10) MIDI Out B Port

This is a standard MIDI port. It outputs 
to MIDI devices using a


5-pin MIDI DIN 

connector.

11) MIDI In B Port

This is a standard MIDI port. It accepts 
input  from  MIDI  devices  using  a  5-pin 
MIDI DIN connector.

7)  USB Port

Connect one end of the supplied USB 
cable here and the other end to one of 
the computer's available USB ports.

8)  DC Power ON/OFF Switch

To  power  MIDI  Hub  from  an  external 
power  source,  connect  a  DC  power 
adapter and turn this switch ON. When 
the  device  is  connected  to  the  USB 
port  of  an  active  computer,  turn  the 
switch  OFF  to  power  MIDI  Hub  from 
the  USB  bus.  This  switch  gives  the 
user  the  option  to  power  MIDI  Hub 
from  an  external  power  supply  when 
operating  in  connection  with  a  laptop, 
thus  allowing  the  user  to  save  laptop 
battery power.

Summary of Contents for MIDI HUB

Page 1: ......

Page 2: ......

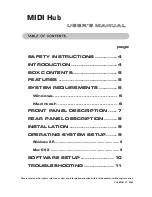
Page 3: ...ument without prior notice V1 0 MAR 31 2005 SAFETY INSTRUCTIONS 4 INTRODUCTION 4 BOX CONTENTS 5 FEATURES 5 SYSTEM REQUIREMENTS 6 Windows 6 Macintosh 6 FRONT PANEL DESCRIPTION 7 REAR PANEL DESCRIPTION 8 INSTALLATION 9 OPERATING SYSTEM SETUP 9 Windows XP 9 Mac OS X 9 SOFTWARE SETUP 10 TROUBLESHOOTING 11 ...

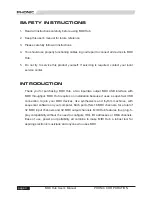
Page 4: ... Thank you for purchasing MIDI Hub a two input two output MIDI USB interface with MIDI throughput MIDI Hub requires no installation because it uses a super fast USB connection to join your MIDI devices like synthesizers and rhythm machines with sequencer software on your computer Each port offers 16 MIDI channels for a total of 32 MIDI input channels and 32 MIDI output channels MIDI Hub features t...

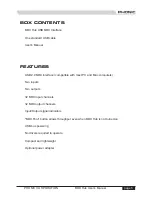
Page 5: ...ES USB 2 0 MIDI interface compatible with most PC and Mac computers Two inputs Two outputs 32 MIDI input channels 32 MIDI output channels Input Output signal indicators MIDI Thru button allows throughput even when MIDI Hub is not turned on USB bus powering No drivers required to operate Compact and lightweight Optional power adapter ...

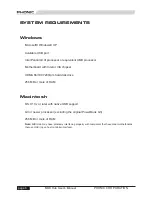
Page 6: ...r Motherboard with Intel or VIA chipset UDMA 66 100 7200rpm hard disk drive 256 MB or more of RAM Macintosh OS X 10 x or later with native USB support G3 or newer processor excluding the original PowerBook G3 256 MB or more of RAM Note MIDI Hub may have problems interfacing properly with computers that have older motherboards that use OHCI open host controller interface ...

Page 7: ...rs 5 USB Power Indicator The LED will illuminate to indicate that MIDI Hub is powered on and ready to send and receive signals The computer must be turned on and MIDI Hub must be connected to a properly functioning USB port on the computer 6 USB MIDI Thru Switch Leave this switch out to operate in USB mode Press this switch in to operate in MIDI Thru mode MIDI Thru mode matches corresponding input...

Page 8: ...t It accepts input from MIDI devices using a 5 pin MIDI DIN connector 7 USB Port Connect one end of the supplied USB cable here and the other end to one of the computer s available USB ports 8 DC Power ON OFF Switch To power MIDI Hub from an external power source connect a DC power adapter and turn this switch ON When the device is connected to the USB port of an active computer turn the switch OF...

Page 9: ...and Apple Macintosh computers However please note under System Requirements that MIDI Hub does not work with all operating systems Windows XP To confirm that MIDI Hub has been installed correctly go to Control Panel and double click on System The System Properties box will open Select the Hardware tab and then click the button under Device Manager The Device Manager box will open Single click the ...

Page 10: ...SB Audio Device select the Hardware Routing tab and in the Midi In to MIDI Out Mapping section confirm the settings under Midi In Ports Logic You have the option to select a port for a MIDI track and to choose whether or not to transmit the MIDI clock To select a port for a MIDI track open the Arrange window and select the MIDI track you want in the instrument parameter box For better performance ...

Page 11: ... box to select Port 1 Port 2 or All MIDI Inputs Click on the arrow to the right of the out box to select Port 1 or Port 2 Logic To select a port for a MIDI track open the Arrange window and select the MIDI track you want in the instrument parameter box Nuendo In the Track List area select Port 1 or Port 2 from the drop down box under MIDI 01 Reason Open the Preferences window and select the MIDI p...

Page 12: ...e n stands for a number you select as the buffer size Make sure that the buffer size is larger than the Send Receive data Save the file and restart the program MIDI OX After installing MIDI OX go to View then Sysex and select Configure Set the Low Level Input Buffers and Low Level Output Buffers so that the buffer size is larger than the Send Receive data You may not need to set the input buffer s...

Page 13: ...e visit our website at www phonic com and click on Get Gear CUSTOMER SERVICE AND TECHNICAL SUPPORT We encourage you to visit our website at www phonic com There you can browse our FAQs found on our Support page Your questions may already be answered there If not email us and we will get back to you within 24 hours U S inquiries please e mail us at techsupport phonic com International inquiries ple...

Page 14: ......

Page 15: ......

Page 16: ......

Reviews: