background image

Xen Advanced Option 

X

S

K

M

A
w
m

D
n
m

In
in
u

T
m
s

R

If
s

1
2

Emergency/Direct Call/One-Touch Pre-programmed Dialling

Your phone is equipped with a special one touch pre-programmed dialling function. It is designed 
for the elderly or children at home on their own.

This function allows you to programme your own mobile or office number into the phone. It then 
allows your elderly relative or child when alone to press a simple button and the phone dials the 
number automatically. This means that the elderly relative or child does not need to be able to dial 
or remember the full phone number in an emergency.

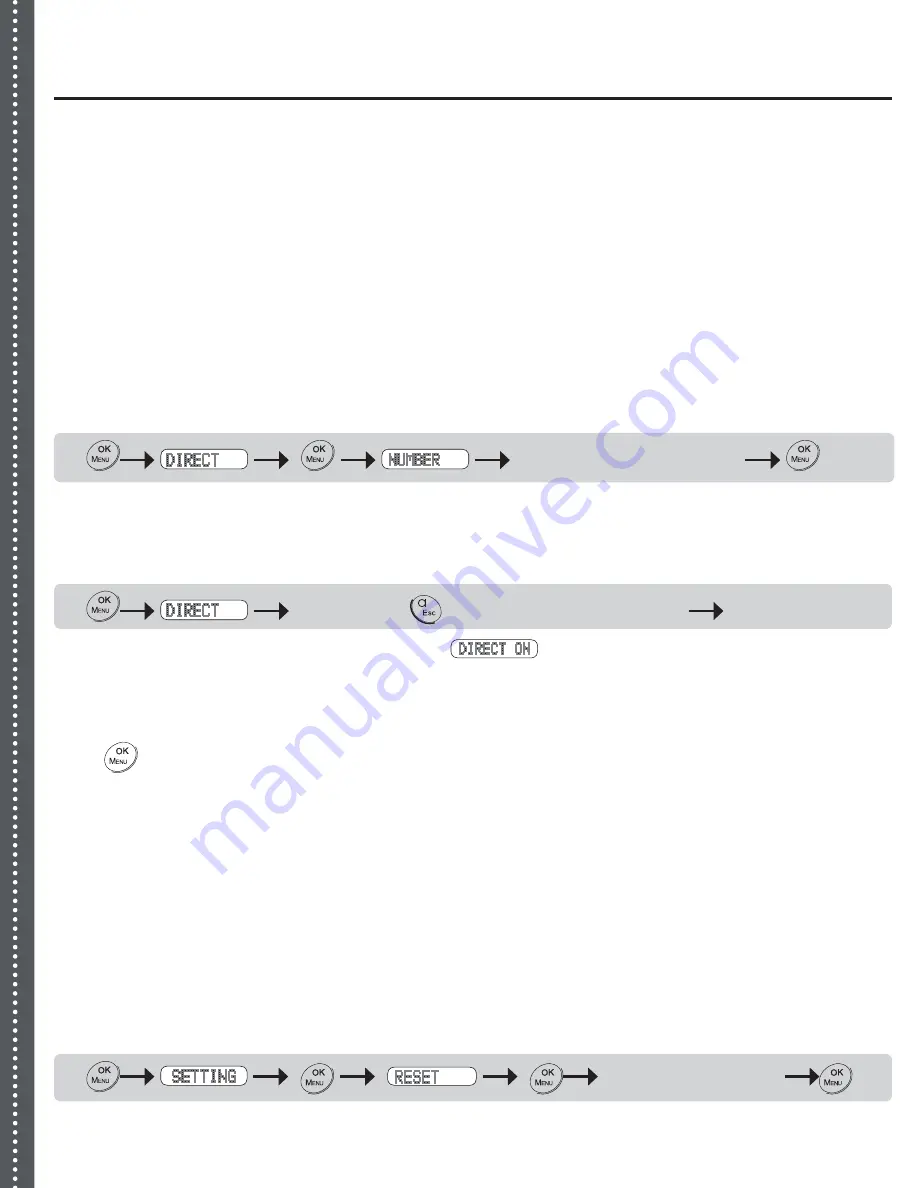
Enter a Number into Emergency/Direct Call Memory

Key Map:


 enter a telephone number 


A long beep will be heard as confirmation.

Turn ON Emergency/Direct Call Mode:

Key Map:


 keep holding 

 button for around 2 seconds 

A long beep will be heard as confirmation and 

 will show on the screen indicating that 

Emergency/Direct mode is ON.

Turn OFF Emergency/Direct Call Mode:

Press 

 button twice, and Emergency/Direct mode is turned OFF.

Reverting to Factory default Settings

You can change all of the settings in your phone back to the factory default settings. All 
programming and settings you have made to the phone will be erased automatically.
The following memory banks will remain unchanged after resetting to factory default:

Caller ID memory
Last number re-dial list
Base unit and handsets registration

To change all settings back to factory default:

Key Map:


 enter PIN to continue 


A long beep will be heard as confirmation.


20

Summary of Contents for Xen Enhanced

Page 1: ...For more information visit www phonicear com UK User guide Xen Enhanced Cordless Phone...

Page 2: ...his cordless DECT telephone is intended for connection to the public switched analogue telephone network and may be operated in AT BE CH CZ DE DK ES FI FR GB GR HU IE IS IT LI LV LU MT NL NO PL PT SE...

Page 3: ...ry and Redial List to Phone Book Delete Caller ID Memory Delete all Records in Caller Memory Message Waiting Indicator 15 Xen Personalizing Your Phone 16 Setting Key Click Ringer Volume and Melody Nam...

Page 4: ...Xen 4...

Page 5: ...harger contacts Silhouette or headset jack socket Belt clip 1 2 3 4 5 6 7 8 9 Base Unit Base charger contacts Page button Charge In use ringing indicator Power adaptor connection port Phone line conne...

Page 6: ...lume flash and vibration For complete hearing aid compatibility a Silhouette is included which is an ear hook with a built in teleloop This allows the user to benefit from the flexibility of a cordles...

Page 7: ...g base station to power socket The connection for power input is located on the underside of the base station and 1 2 Charging handset When batteries are charged and installed correctly the base unit...

Page 8: ...Enter Send tone signal of Enter To enter and press and hold for key lock Send tone signal of Enter Switch between 2 lines Down arrow when browsing View caller ID records Switch on 2 way speaker phone...

Page 9: ...tor Ringer off Talk mode Handset microphone muted Caller ID CID review mode Boost mode Constant antenna symbol shows good radio reception Flashing antenna symbol indicates out of range or no power on...

Page 10: ...Use button to browse until is shown on the display Press button to confirm 1 2 3 4 5 Setting Language English is the standard factory programmed display language Key Map Use buttons to browse through...

Page 11: ...button to confirm A long beep will be heard as confirmation NOTE Depending on caller ID system and operator date time information may be recorded automatically Setting Dialling Mode tone pulse Key Ma...

Page 12: ...ot good Adjust Receiver Volume The phone has 5 receiver volume levels During conversation press button then press 1 5 to select desired volume Boost Receiver Volume During conversation press button to...

Page 13: ...ephone Make a Call from Phone Book Memory Key Map Use the alphanumeric key pad to enter first letter of a desired name then press button The first record starting with the entered letter will be shown...

Page 14: ...Cursor is positioned at the end of name Use the button to delete letters and alphanumeric key pad to edit name press button to store Cursor will be positioned at the end of number Use button to delete...

Page 15: ...st press button When finished press button A long beep will be heard as confirmation Delete Caller ID Memory You may delete either a single or all records in the caller ID memory Use buttons to brows...

Page 16: ...button confirm A long beep will be heard as confirmation NOTE Switch off external ringer by setting ring volume to 0 A symbol will be shown Setting Key Click ON and OFF Key Map select ON OFF to confir...

Page 17: ...ng Handset PIN 18 Make and Receive Internal Calls Intercom 18 Make an Internal Call to another Handset 18 Call Transfer and 3 Parties Conference 18 Call Transfer or Conference Setup 18 19 Call Barring...

Page 18: ...al communication INTERCOM can be made between handsets including call transfer and conference conversation Make an Internal Call to Another Handset You can talk between two handset registered to the s...

Page 19: ...st Set BARR number list Key Map enter PIN code select BARR list There is an area within the barring section where up to five numbers can be stored Enter numbers to be listed and press button to confir...

Page 20: ...e number A long beep will be heard as confirmation Turn ON Emergency Direct Call Mode Key Map keep holding button for around 2 seconds A long beep will be heard as confirmation and will show on the sc...

Page 21: ...er manuals for compatibility and maximum number of units that can be registered In principle your phone base unit and handset work with any makers of digital cordless phones in the DECT system GAP com...

Page 22: ...n mode Press and hold the Page button on the base unit for around 10 seconds until the LED starts to blink then release the button NOTE The base unit will remain in registration mode for 1 minute You...

Page 23: ...of 5 handsets The base unit will reject subscription if there are already 5 handsets registered with the base unit You may remove any unused handset from the base unit to create room for a new handset...

Page 24: ...base unit you may switch among base stations switch among different telephone lines Key Map select auto manual If you have selected AUTO base selection your handset may switch to any registered base...

Page 25: ...is too weak You should get closer to the base unit and try again A1 If your handset rejects to dial a number check if the number is barred refer to Call Barring section page 19 A1 If the handset is wi...

Page 26: ...your phone service provider A4 If a call is made from abroad the caller s number cannot be transmitted Q5 My handset does not work after I have registered my handset to a base unit from adifferent ma...

Page 27: ...Xen Desktop Installation Wall Mounting Appendix B Appendix A ll Mounting Template for wall mounting Screw position in actual 35 mm 27...

Page 28: ...indicates that waste electrical and electronic equipment may not be disposed of with unsorted household waste and that it must be collected separately In developing and manufacturing your Phonic Ear p...

Page 29: ...nd damages resulting from delay or loss of this instrument The exclu sive remedy under this warranty is strictly limited to repair or replacement as herein provided 6 Products damaged in transit unles...

Page 30: ...Your local representative Manufactured by 921 30 010 00 Rev A 0207 Connected to life 2007 Phonic Ear A S Kongebakken 9 2765 Sm rum Denmark Phone 45 3917 7101 Fax 45 3927 7900 E mail mail phonicear com...

Reviews: