


Operation
Operation
22
23
Telephone conversations
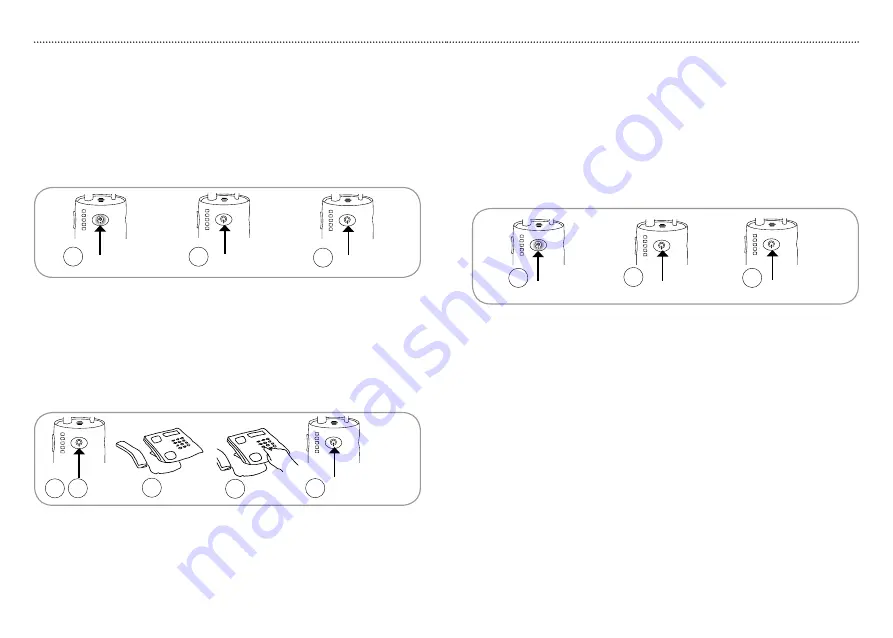
Accepting an incoming call
When a call comes in a ringing tone will be heard in the hearing aid or
1.
headphones and the receiver indicator
R1
starts blinking blue.
Press receiver button
2.
R1
briefly to accept call.
To end the call press receiver button
3.
R1
.
R1
R1
R1
2
1
3
R1
2
1
R1
4
3
5
Mobile telephone conversations
Accepting an incoming call
1. When a call comes in a ringing tone will be heard in the hearing aid or
headphones and the receiver indicator
R1
starts blinking blue.
2. Press receiver button
R1
to accept the call.
3. Press receiver button
R1
to end the call.
R1
R1
R1
2
1
3
Making a call
1. Turn on the receiver by pressing receiver button
R1
for up to five seconds.
2. Press receiver button
R1
briefly and wait for dial tone.
3. Pick up the handset, place it next to the telephone and wait for the dial tone.
4. Enter the desired telephone number.
5. To end the call press receiver button
R1
.
Please note:
Only make a single short push to accept or end a call. It may take a couple
•
of seconds before the call is completely connected or disconnected.
The telephone handset may be on the hook or off the hook during
•
the conversation. This allow others to listen in or participate in the
conversation.
Please note:
You can accept a call from the mobile telephone or the landline
•
telephone when listening to the television.
Only make a single short push to accept or end a call. It may take a
•
couple of seconds before a call is completely connected or disconnected.
The ringing tone of the mobile telephone call may be the same sound as
•
heard from the mobile telephone itself depending on the mobile telephone
used.
The receiver does not have to be in close proximity to transmitter or
•
charger as it works independently as a mobile telephone headset while
travelling.
If the receiver is turned off when a mobile telephone call comes in, that
•
specific call cannot be answered or ended using HearIt All.
Summary of Contents for hearlt all
Page 19: ...34 36 37...
Page 20: ...38...


