Installation
MC11 Control Unit
18
66650 6.0
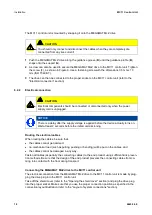
The MC11 control unit is mounted by snapping it onto the MEGAMAT MLZ drive.
CAUTION
You should only connect and disconnect the cables when they are completely dis-
connected from any live current!
1
Push the MEGAMAT MLZ drive along the guidance groove (
D
) until the guidance profile (
B
)
snaps onto the support (
G
).
2
A screw can also be used to secure the MEGAMAT MLZ drive to the MC11 control unit. Tighten
the screw (F), as shown in Figure 9. Use a fastening screw with the dimensions 3.5 mm x 13
mm (ISO 7049-ST).
3
The drive can then be connected to the proper socket on the MC11 control unit (refer to the
"Electrical connection" section).
6.2.2
Electrical connection
CAUTION
Electrical components should be connected or disconnected only when the power
supply cord is unplugged.
NOTICE
There is a delay after the supply voltage is applied before the device actually turns on.
Wait at least 2 seconds before the initial commissioning.
Routing the electrical cables
When routing the cables, be sure that:
•
the cables cannot get jammed,
•
no mechanical load (such as pulling, pushing or bending) will be put on the cables, and
•
the cables cannot be damaged in any way.
Fasten all cables (especially the connecting cables) to the end product using sufficient kink preven-
tion methods. Be sure that the design of the end product prevents the connecting cables from co-
ming into contact with the floor during transport.
Connecting the MEGAMAT MLZ drive to the MC11 control unit
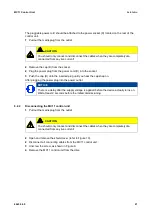
The electrical connection from the MEGAMAT MLZ drive to the MC11 control unit is made by plug-
ging the drive plug into the MC11 control unit.
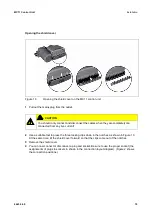
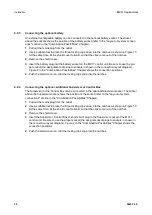
Take off the shield cover (refer to the "Opening the shield cover" section) and plug the drive plug
into the proper socket. Make sure that you use the proper connection position as specified in the
connection layout illustration (refer to the "Layout of system connections" section).


