background image

EN

8. Other Functions

Changing the video (colour) system

If you playback recordings made on other video
recorders or you want to record from external
sources (via the scart socket), the automatic
video (colour) system switch-over may lead to
colour distortion.
You can switch off the automatic TV system
switch-over as follows.

1.

1.

Press 

on the remote control to

select the TV (colour) system with the least
disruptions during playback.

Each pressing 

, the display will

change cyclicaly; AUTO, ME-SECAM, PAL.

2.

2.

After 5 seconds, the OSD will disappear.

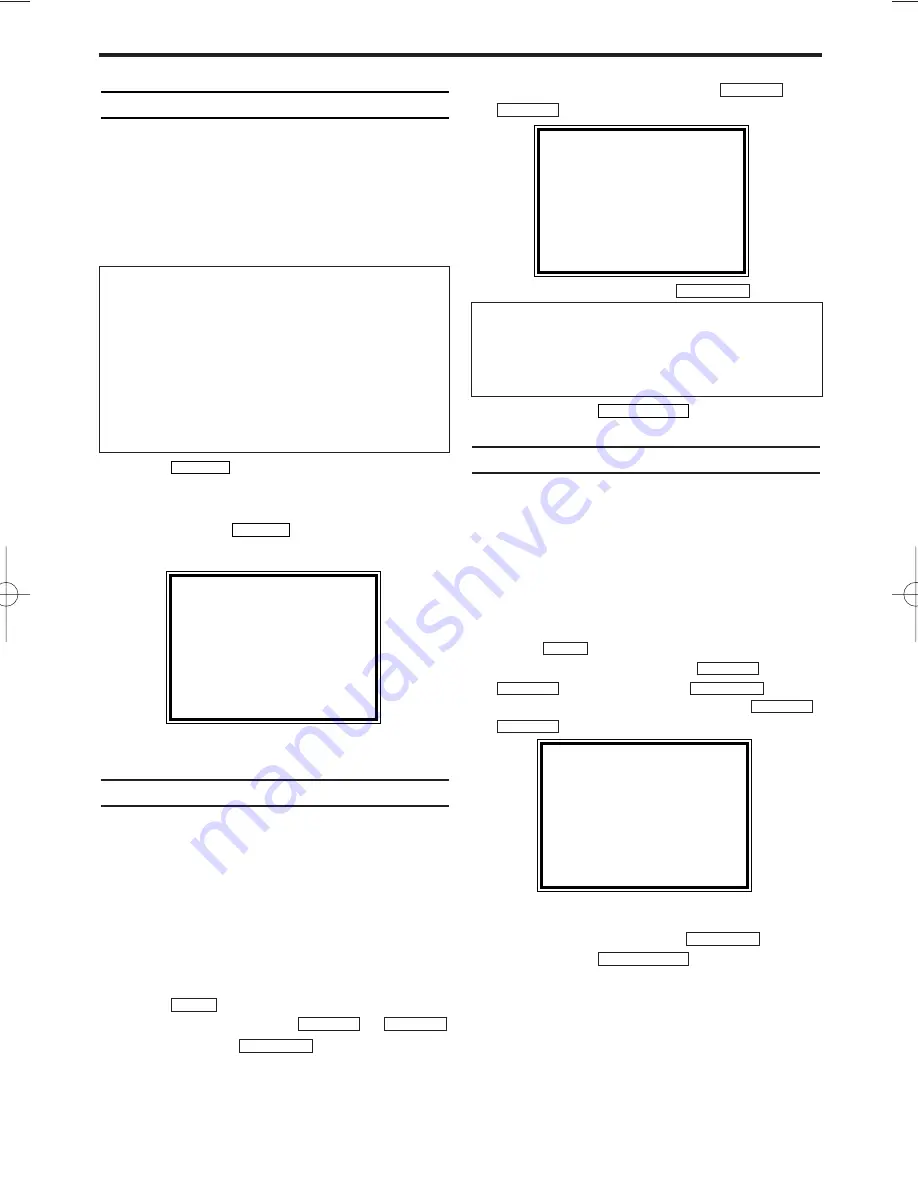
Switching the status display off or on

Along with the on screen menu, the status dis-
play also displays information on the current
operating status (counter, playback, recording,
TV channel, etc.) on the TV screen. You can
switch off the information about the operating
status so that the status display is not recorded
when copying videocassettes.

1.

1.

Switch on the TV. If required, select the pro-
gramme number for the video recorder.

2.

2.

Press 

. The main menu will appear.

3.

3.

Select 'VCR SET UP' with 

or 

and confirm with .

4.

4.

Select 'STATUS DISPLAY' with 

or

.

5.

5.

Select 'ON' or 'OFF' with 

.

6.

6.

To end, press 

.

Blue Background on or off

If you want the TV screen to be solid blue when
a weak signal is received, set BLUE BACK-
GROUND to ‘ON’. The screen will be blue and
the sound will be muted. Or, if you want to
receive the weak signal, set BLUE BACK-
GROUND to ‘OFF’.

1.

1.

Switch on the TV. If required, select the pro-
gramme number for the video recorder.

2.

2.

Press

. The main menu will appear.

3.

3.

Select 'VCR SET UP' using 

and confirm with 

.

4.

4.

Select 'BLUE BACKGROUND' with 

.

5.

5.

Select 'OFF' (no blue background) or 'ON'

(blue background on) with 

.

6.

6.

To end, press 

.

STATUS/EXIT

FWD

1

B

STOP

C

-

L

PLAY

B

-

K

FWD

1

B

STOP

C

-

L

PLAY

B

-

K

MENU

STATUS/EXIT

FWD

1

B

STOP

C

-

L

PLAY

B

-

K

FWD

1

B

STOP

C

-

L

PLAY

B

-

K

MENU

SYSTEM

SYSTEM

SELECT 

K L

CHOOSE 

B

STATUS DISPLAY

[ON]

BLUE BACKGROUND [ON]
AUTO STANDBY

[ON]

CLOCK DISPLAY

[ON]

END=EXIT

Which settings can I choose?

'ON': Shows the status display 

for a few seconds only.

'OFF': Switches off the status display.

SELECT 

K L

CHOOSE 

B

STATUS DISPLAY

[ON]

BLUE BACKGROUND [ON]

AUTO STANDBY

[ON]

CLOCK DISPLAY

[ON]

END=EXIT

13

Video (colour) systems

Other countries, other video (colour) systems:
In central Europe transmissions are broadcast
in the PAL system (Phase Alternation Line)
standard. France uses SECAM (Séquentiel à
mémoire). Middle East countries use ME-
SECAM (Middle East SECAM).In some coun-
tries (USA and Japan), TV viewers receive their
programmes as an NTSC signal (National
Television System Committee).

AUTO

HG273ED(EN).qx3  04.2.3  10:54 AM  Page 13

Summary of Contents for VR150/58

Page 1: ...ply Make sure that air can circulate freely through the ventilation slots on the video recorder Do not place the device on an unsteady base Make sure that no objects or liquids enter the video recorder Do not place vases or the like on the video recorder If liquid is spilt into it immediately disconnect the video recorder from the power supply and call After sales Service for advice Do not place a...

Page 2: ...r during fast forwarding and fast rewinding To change video colour system To call up main menu of VCR When tape playback is stopped press to fast forward the tape at high speed During playback press to fast forward the tape while the picture stays on the screen To store or confirm entry in the menu When tape playback is stopped press to rewind the tape at high speed During playback press to rewind...

Page 3: ...fast forward the tape while the picture stays on the screen When tape playback is stopped press to rewind the tape at high speed During playback press to rewind the tape while the picture stays on the screen To play back a tape To stop the tape and eject the cassette Back of your VCR To connect the TV To connect the aerial cable To connect the TV RF OUT AERIAL TV STOP EJECT PLAY REW FWD RECORD PRO...

Page 4: ... AERIAL at the back of the video recorder 2 2 Insert one end of the supplied aerial cable into the RF OUT at the back of the video recorder and the other end into the aerial input socket at the back of the TV 3 3 Plug one end of a scart cable into the scart socket TV at the back of the video recorder and the other end into the suitable scart socket on your TV reserved for the video recorder operat...

Page 5: ...u wanted to save a new TV channel until the next screen appears see your TV s oper ating instructions 7 7 Save this programme number setting on your TV for video recorder operation Then read the section Preparation for use in the chapter Installing your video recorder My screen is empty Many TVs are switched to the programme number for the scart socket by way of a con trol signal sent through the ...

Page 6: ...Y B K FWD 1 B STOP C L PLAY B K FWD 1 B STOP C L PLAY B K FWD 1 B STOP C L PLAY B K MENU STATUS EXIT 0 9 0 9 P MENU STOP C L PLAY B K EN Aim correctly In the following sections you require the remote control for the first time When using always aim the front of the remote control at the video recorder and not at the TV Connecting additional devices After you have connected additional devices satel...

Page 7: ...automatic channel search you may not agree with the sequence in which the individual TV channels have been allo cated to the programme positions programme numbers of the video recorder You can use this function to individually sort the TV channels already saved 1 1 Switch on the TV If required select the pro gramme number for the video recorder 2 2 Press The main menu will appear 3 3 Select TUNER ...

Page 8: ... set transmission RF out channel fre quency on the video recorder 1 1 Switch on the TV If required select the pro gramme number for the video recorder 2 2 Press The main menu will appear 3 3 Select INITIAL SET UP with or and cconfirm with 4 4 Select RF OUT with or and confirm with 5 5 Press 6 6 Press or to select a free channel between channel 22 and channled 69 in your area 7 7 Press 8 8 Select T...

Page 9: ...press insert a tape or press To remove vertical jitter in a Still picture press or P P PROGRAMME PROGRAMME PLAY B K STOP C L P P PROGRAMME PROGRAMME STOP C L FWD 1 B REW0 s STOP C L PLAY B K STILL 2 PLAY B K FWD 1 B REW0 s FWD 1 B REW0 s STOP EJECT STOP EJECT STOP C L PLAY B K REW0 s FWD 1 B STOP C L PLAY B K EN 5 Playback DIGITAL STUDIO PICTURE CONTROL Philips has developed a system which produce...

Page 10: ...ording on it a short blank flicker can appear between the old and the new recording or the picture itself can flicker To help reduce these from occurring proceed as follows 1 1 Find the tape position of the old recording where you want to insert the new recording 2 2 Look at the last minute of the old recording playback 3 3 Press at the tape position where the new recording is to go and press 4 4 ...

Page 11: ...quired select the pro gramme number for the video recorder 2 2 Press The main menu will appear 3 3 Select TIMER with or Then press 4 4 Select TIMER LIST with or and confirm with 5 5 Select timer block with 6 6 To cancel the recording press 7 7 To end press 8 8 Switch off with STANDBY ON y y STATUS EXIT CLEAR FWD 1 B FWD 1 B STOP C L PLAY B K FWD 1 B STOP C L PLAY B K MENU STANDBY ON y y STANDBY ON...

Page 12: ...tte was inserted Insert a cassette and switch off the video recorder using Cassette was ejected as soon as the button was pressed A cassette without the security tab was inserted Undo the erase protection chapter Manual recording section Preventing accidental eras ing or insert a different cassette TURN OFF VCR FOR TIMER RECORDING flashes on the TV screen The video recorder is switched on several ...

Page 13: ...you want the TV screen to be solid blue when a weak signal is received set BLUE BACK GROUND to ON The screen will be blue and the sound will be muted Or if you want to receive the weak signal set BLUE BACK GROUND to OFF 1 1 Switch on the TV If required select the pro gramme number for the video recorder 2 2 Press The main menu will appear 3 3 Select VCR SET UP using and confirm with 4 4 Select BLU...

Page 14: ...VCR dis play off It is useful in case you feel disturbed by the display brightness while watching TV in a dark room It also reduces the power consump tion 1 1 Switch on the TV If required select the pro gramme number for the video recorder 2 2 Press The main menu will appear 3 3 Select VCR SET UP using or and confirm with 4 4 Select CLOCK DISPLAY using or 5 5 Select OFF no clock display or ON cloc...

Page 15: ... may be caused by the following reasons Your video recorder does not respond to any button being pressed There is no power supply check the power sup ply A programmed recording is currently being made if desired cancel the programmed recording Please see the section Problems and solutions for programmed recordings in chapter Programming a recording TIMER There is a technical problem disconnect fro...

Page 16: ...mer Information Centre Newstead Clonskeagh DUBLIN 14 Phone 01 7640292 PHILIPS CONSUMER ELECTRONICS Servizio Consumatori Via Casati 23 20052 Monza Milano ITALY Phone 199 118899 PHILIPS MAGYARORSZÁG KFT Fehérvári út 84 a Budapest 1119 HUNGARY Phone 01 382 1700 PHILIPS PORTUGUESA S A Consumer Information Centre Rua Dr António Loureiro Borge nr 5 Arquiparque Miraflores P 2795 L A VEHLA PORTUGAL Phone ...

Reviews: