9
Smart Help
After returning to MAIN CONTROLS . . .
...to continue to ADJUST SIDE ANGLES, start with step 5 under
ADJUST SIDE ANGLES and follow the directions.
...to exit completely, press the
button twice.
...to adjust only the BALANCED pincushion, follow steps 1 - 4 above,
then press the
button, and follow steps 7 - 9.
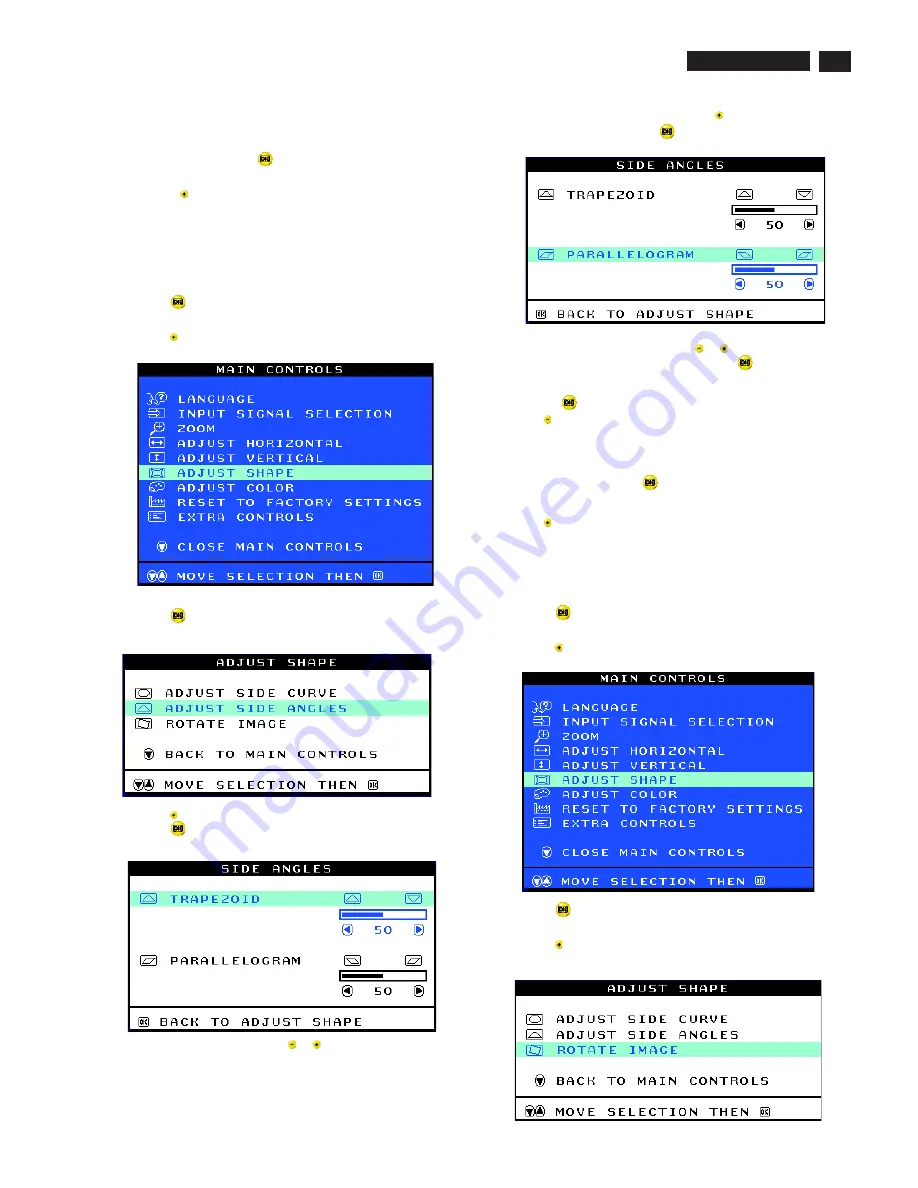
ADJUST SIDE ANGLES under ADJUST SHAPE allows you to adjust
two of the five preset options. These two options are TRAPEZOID and
PARALLELOGRAM. Note: use these features only when the picture is
not square.
1) Press the
button on the monitor. The MAIN CONTROLS window
appears.
2) Press the
button until ADJUST SHAPE is highlighted.
3) Press the
button. The ADJUST SHAPE window appears.
ADJUST SIDE CURVE should be highlighted.
4) Press the
button to highlight ADJUST SIDE ANGLES.
5) Press the
button. The SIDE ANGLES window appears.
TRAPEZOID should be highlighted.
6) To adjust the trapezoid, press the
or
button.
ADJUST SIDE ANGLES
7) When the trapezoid is adjusted, press the
button to highlight
PARALLELOGRAM or press the
button to return to the ADJUST
SHAPE window.
8) To adjust the parallelogram, press the
or
button.
9) When the parallelogram is adjusted, press the
button to return to
the ADJUST SHAPE window. BACK TO MAIN WINDOWS will be
highlighted.
10) Press the
button to return to the MAIN CONTROLS window, or
press the
button until ROTATE IMAGE is highlighted.
After returning to MAIN CONTROLS . . .
...to continue to ROTATE IMAGE, start with step 5 under ROTATE
IMAGE and follow the directions.
...to exit completely, press the
button twice.
...to adjust only the PARALLELOGRAM, follow steps 1 - 4 above, then
press the
button, and follow steps 7 -9
ROTATE IMAGE under ADJUST SHAPE allows you to adjust one of
the five preset options. These two options are PINCUSHION and
BALANCED pincushion. Note: use this feature only when the picture is
not square.
1) Press the
button on the monitor. The MAIN CONTROLS window
appears.
2) Press the
button until ADJUST SHAPE is highlighted.
3) Press the
button. The ADJUST SHAPE window appears.
ADJUST SIDE CURVE should be highlighted.
4) Press the
arrow until ROTATE IMAGE is highlighted.
ROTATE IMAGE
Smart Help
9
Go to cover page
OSD Adjustments (Continued)
107T5
Summary of Contents for V30 107T00
Page 14: ...Wiring Diagram 14 Go to cover page 107T5 ...
Page 32: ...32 107T5 9 Go to cover page C B A of Main board ...
Page 33: ...33 9 Go to cover page 107T5 C B A of Main board ...
Page 35: ...35 9 Go to cover page 107T5 C B A of Video board ...
Page 36: ...36 107T5 9 Go to cover page C B A of Video board ...
Page 38: ...X Go to cover page 38 107T5 C B A of Control board ...


