


4
Press
to start slideshow play.
In slideshow mode, press
•
/ to
display the next/previous photo.
In slideshow mode, press
•
to toggle
between slideshow, browse, and
calendar mode.
Tip
In slideshow mode, the PhotoFrame displays all
•
photos automatically.
In browse mode, the PhotoFrame displays the
•
current photo and you can press / to display
the next/previous photo.
In calendar mode, the PhotoFrame displays
•
photos with the calendar.
Play video
Note
You can play only M-JPEG video
fi
les (in *.avi
•
format) on the PhotoFrame.
For best compatibility, you can use bundled
•
PC software, Philips PhotoFrame Manager
(for Windows) to transfer video
fi
les to your
PhotoFrame and play.
1
In the main menu, select
[Video]
and then
press
OK
to con
fi
rm.
2
Select a source, and then press
OK
to
con
fi
rm.
3
Select an album/folder, and then press
OK
to con
fi
rm.
To select
fi
les in a sub-folder, repeat
•
step 3.
4
Select
a
fi
le to play.
To select all
fi
les, press and hold
•
OK
.
5
Press
to start play.
During play
:
To stop, press and hold
•
.
To pause, press
•
OK
.
To resume, press
•
OK
again.
To play in full screen, press
•
.
To stop play in full screen, press
•
.
To adjust volume, press
•
/ .
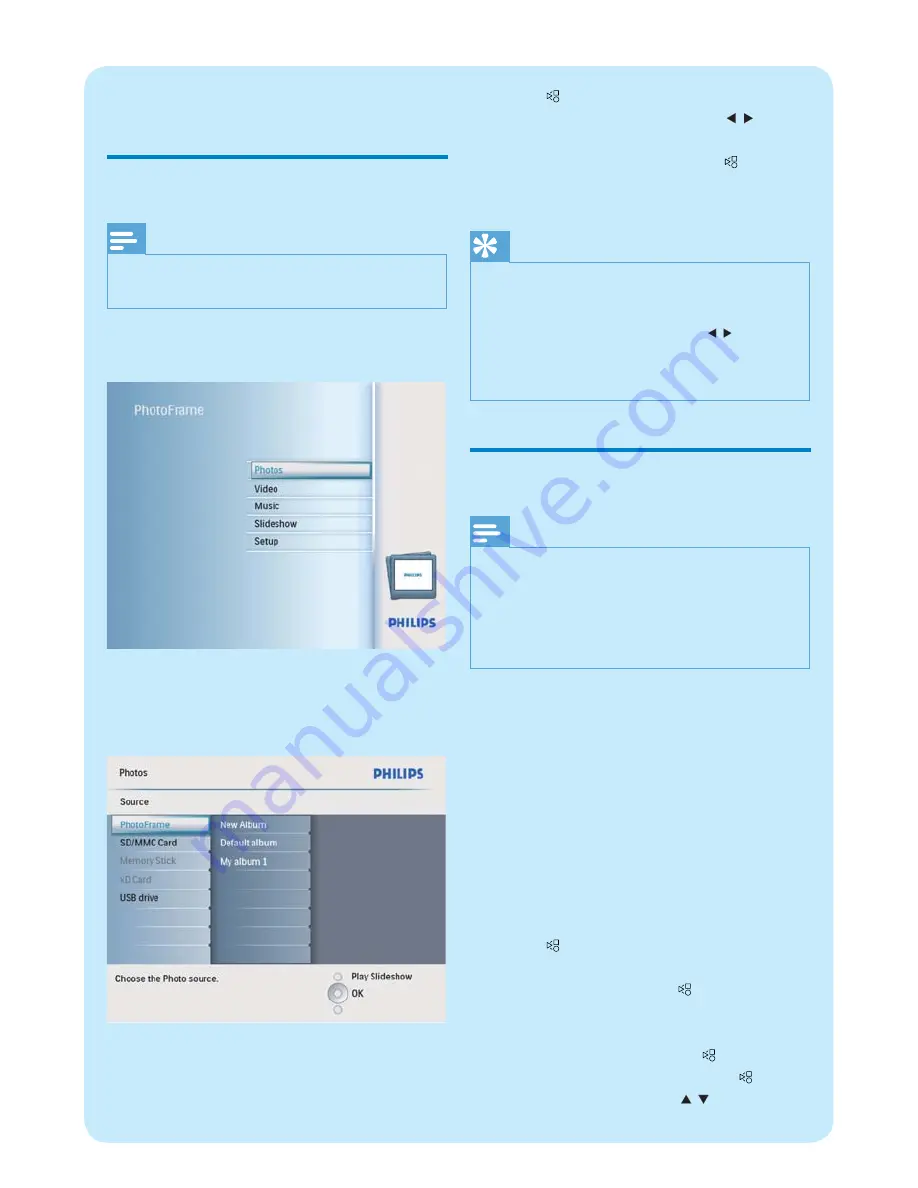
2 Play
Display photos
Note
You can play only JPEG photos on the
•
PhotoFrame.
1
In the main menu, select
[Photos]
and
then press
OK
to con
fi
rm.
Available photo sources are displayed.
»
2
Select a photo source, and then press
OK
to con
fi
rm.
3
Select an album, and then press
OK
to
con
fi
rm.
Photos in the album are displayed in
»
thumbnail mode.


