


12
Philips · HDP15x0 & HDP15x0TV
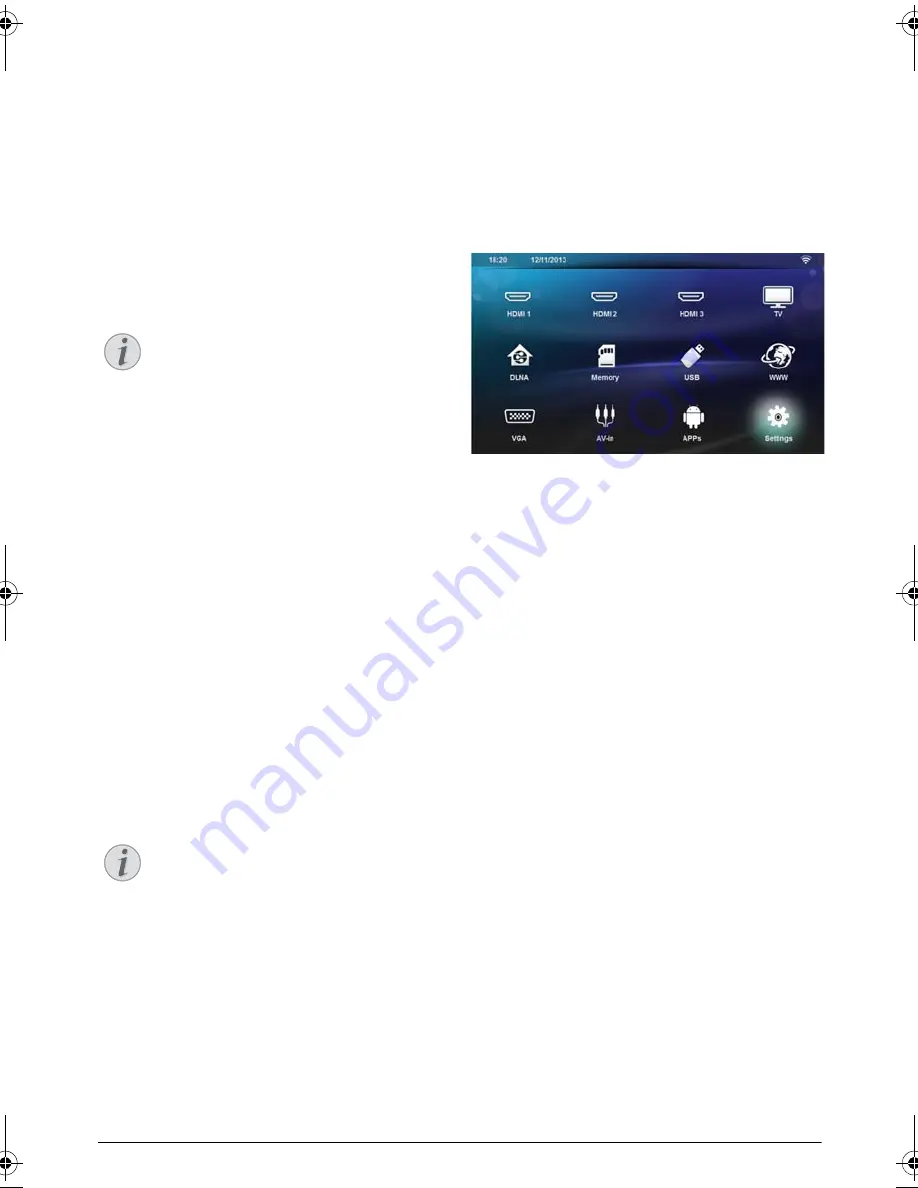
Initial Installation
1
Push the POWER
B
button for 5 seconds till the
power indicator turns to red to turn the device on.
2
Turn the device towards a suitable projection sur-
face or wall. Note that the distance to the projection
surface must be a minimum of 0.1 meter and a max-
imum of 0.5 meter (see Setting up the Device,
page 4). Make sure the projector is in a secure posi-
tion.
3
Use the focus wheel on the font of the device to
adjust the image sharpness.
4
The first time you turn on the device, you should set
the following settings.
5
Use the keys
¡/¢
to select the language and con-
firm with
OK
.
6
Use the keys
¡/¢/À/Á
to select the symbol
+
or
-
to set the date (day, month and year) and con-
firm with
OK
.
7
Use the keys
¡/¢
to select the date format and
confirm with
OK
.
8
Use the keys
¡/¢
to select the time zone and
confirm with
OK
.
9
Use the keys
¡/¢/À/Á
to select the symbol
+
or
-
to set the date (hour and minute) and confirm
with
OK
.
10
Use the keys
¡/¢
to select the time format (12h
or 24h) and confirm with
OK.
11
Use the keys
¡/¢
to select the location (Home
or Shop) and confirm with
OK
.
Home
: for normal use.
Shop
: when you choose this option, the projector
starts in demonstration mode. In this mode, the pro-
jector automatically displays the pictures or videos
stored in the internal memory in loop.
12
A message is displayed to give the address web site
where the user manual can be downloaded. Press
OK
to continue.
Turning off the projector
Press the
B
button on the panel control of the device
or on the remote control more than 5 seconds.
ECO mode
Press shortly the
B
button on the panel control or on
the remote control to put the device in ECO mode.
To wake up the device, press shortly again on the
B
button.
Setting up the Language
The device has already been installed. In order to
change the menu language, proceed as follows:
1
Use the navigation keys to select
Settings
.
2
Confirm with
OK
.
3
Select
Language/ Language
with
¡/¢
.
4
Confirm with
OK
.
5
Select
Menu Language
with
¡/¢
.
6
Confirm with
OK
.
7
Select you desired language with
¡/¢
.
8
Confirm with
OK
.
9
Exit with
u
.
Notice
During the first installation, use
OK
key to
validate your choice and continue to the next
step, and the
¿
key to return on the previ-
ous step.
Notice
The demonstration mode can be activated or
deactivated on the menu
Setting
/
Mainte-
nance
/
Demo mode
.
LU UST.book Page 12 Jeudi, 26. décembre 2013 9:48 09