


20
English
DVD Setup
Language Setting
Language options are not available with some discs.
1
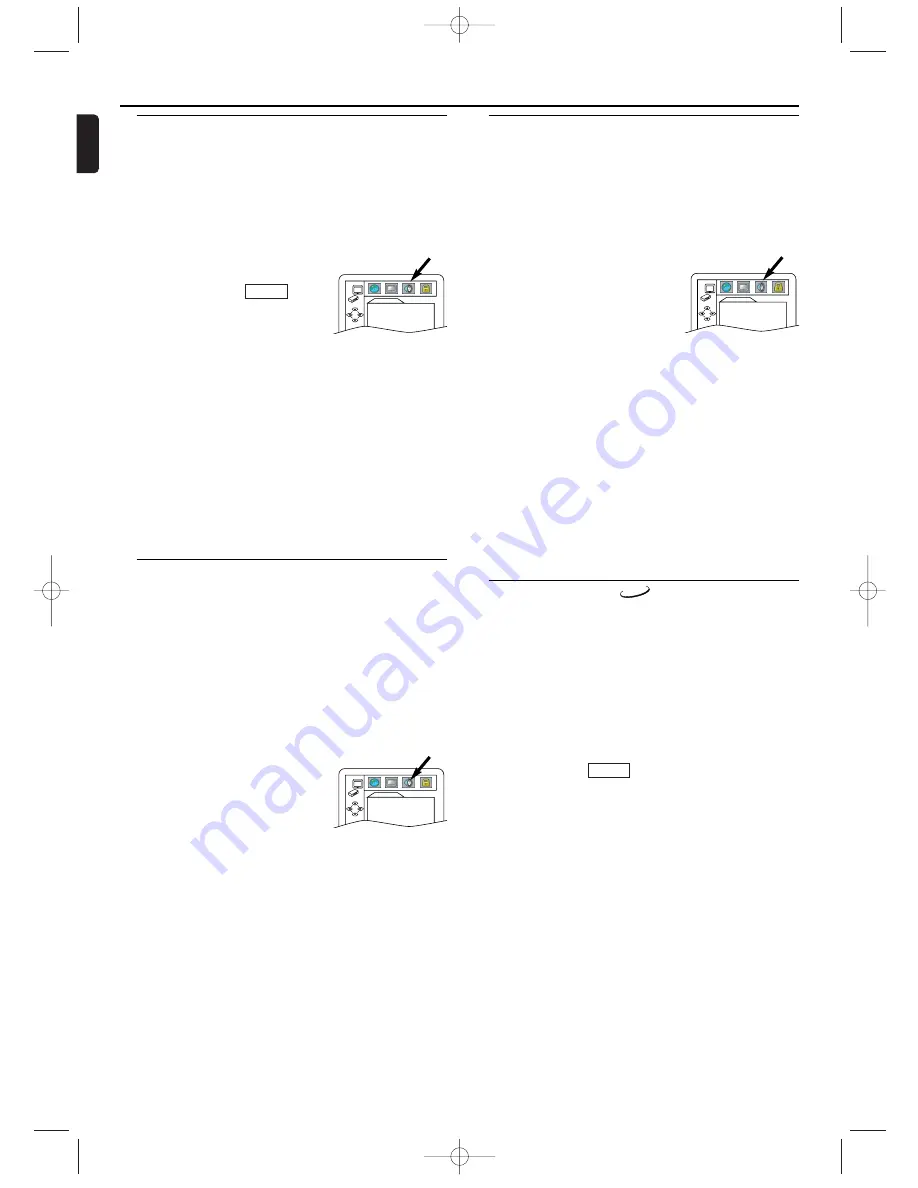
Press SYSTEM MENU/PROG in STOP mode.
2
Press
B
to select CUSTOM, then press OK.
• CUSTOM mode will appear.
3
Press
s
or
B
to select LANGUAGE, then OK to confirm.
4
Press
K
or
L
to select the below items, then press OK.
AUDIO :
Sets the audio language.
SUBTITLE :
Sets the subtitle language.
DISC MENU :
Sets the language for DVD Menu.
PLAYER MENU :
Sets the language for the On-Screen display.
5
Press
K
or
L
to select a setting, then press OK.
• If OTHER is selected in the AUDIO, SUBTITLE or DISC
MENU screen, press four-digit number to enter the code for
the desired language. (Refer to the language code list on page
21).
• Only the languages supported by the disc can be selected.
6
Press SYSTEM MENU/PROG to exit.
Note:
- Language Setting for Audio and Subtitle is not available
with some discs.Then use AUDIO and SUBTITLE. Details
are on pages 18-19.
QUICK
DVD-V
Audio Setting
Choose the appropriate Audio settings for your equipment as it
only affect during the playback of DVD discs of the DVD sys-
tem.
1
Press SYSTEM MENU/PROG in STOP mode.
2
Press
B
to select CUSTOM, then press OK.
• CUSTOM mode will appear.
3
Press
s
or
B
to select AUDIO, then OK to confirm.
4
Press
K
or
L
to select the below items, then press OK.
DRC (Dynamic Range Control) :
To compress the range of sound volume
.
The default setting is OFF.
DOLBY DIGITAL :
Set to ON when the player is connect-
ed to Dolby Digital Decoder.
(ON : Output by Dolby Digital)
(OFF : Convert the Dolby Digital to PCM)
The default setting is ON.
DOWN SAMPLING :
Set to ON when outputting in 48kHz.
The default setting is ON.
When playing disc with copyright Protection
• If you select OFF, copyright protection will be activated and
sound will be down sampled at 48kHz.
MPEG :
Set to ON when the player is connected MPEG Decoder.
(ON: Output by MPEG)
(OFF: Convert the MPEG to PCM)
• The default setting is OFF.
5
Press SYSTEM MENU/PROG to exit.
QUICK
AUDIO
DRC
OFF
DOLBY DIGITAL
ON
DOWN SAMPLING ON
MPEG
OFF
5.1CH
Delay Time
Set the delay time for the Center and Rear (Surround) speakers
to suit your listening position. If you usually sit closer to the
Center speaker than the Front speakers, increase the Center
delay time to improve the Surround Sound effect. If you plan to
sit closer to the Rear speakers than the Front speakers,
increase the Rear delay time.
1
Press DVD to put the DVD system in DVD mode.
• The red DVD light will be on the front of the DVD system.
Press STOP
C
to stop Disc playback if necessary.
2
Press SYSTEM MENU/PROG.
• The QUICK SETUP screen will appear.
3
Press
B
to select CUSTOM at the top of the menu, then press
OK.
• This menu will appear.
4
Press
B
to select AUDIO at the top of
the menu, then press OK.
5
Press
p
to select 5.1CH, then press
OK.
6
DELAY TIME will be selected. Press
OK.
7
Press
o
or
p
to select CENTER or SURROUND (for the
REAR speakers), then press OK.
8
Press
o
or
p
to select a delay time in milliseconds, then press
OK.
• The default setting for the CENTER Delay time is 0 ms.The
default setting for the SURROUND (rear) Delay time is 5 ms.
9
Press SYSTEM MENU/PROG to remove the menu.
AUDIO
DRC
OFF
DOLBY DIGITAL
ON
DOWN SAMPLING ON
MPEG
OFF
5.1CH
Speaker Balance
You can test the volume balance of each speaker with this pro-
cedure.
1
Press DVD to put the DVD system in DVD mode.
• The red DVD light will be on the front of the DVD system.
Press STOP
C
to stop Disc playback if necessary.
2
Press SYSTEM MENU/PROG.
• The QUICK SETUP screen will appear.
3
Press
B
to select CUSTOM at the top of the menu, then press
OK.
• This menu will appear.
4
Press
B
to select AUDIO at the top of
the menu, then press OK.
5
Press
p
to select 5.1CH, then press
OK.
6
Press
p
to select BALANCE, then
press OK.
7
TEST will be selected. Press OK.
• The test sound will come from each speaker (in the order
indicated in the menu) so you can check the volume of each
speaker.
8
Press OK to stop the test.
9
Press
o
or
p
to select the speaker for which you want to
adjust the volume, then press OK.
• You will hear the test sound from that speaker.
10
Press
o
or
p
to adjust the volume of the selected speaker,
then press OK.
• The BALANCE menu will reappear, showing the value you
selected for that speaker.The available volume range is -6 dB
to +6 dB. Press
o
or
p
to see all the available dB values.
11
Press SYSTEM MENU/PROG to remove the menu.
Note:
- You cannot hear the test sound from the Subwoofer.
AUDIO
DRC
OFF
DOLBY DIGITAL
ON
DOWN SAMPLING ON
MPEG
OFF
5.1CH
E9015ED_EN.qx3 03.7.29 6:32 PM Page 20


