26
English
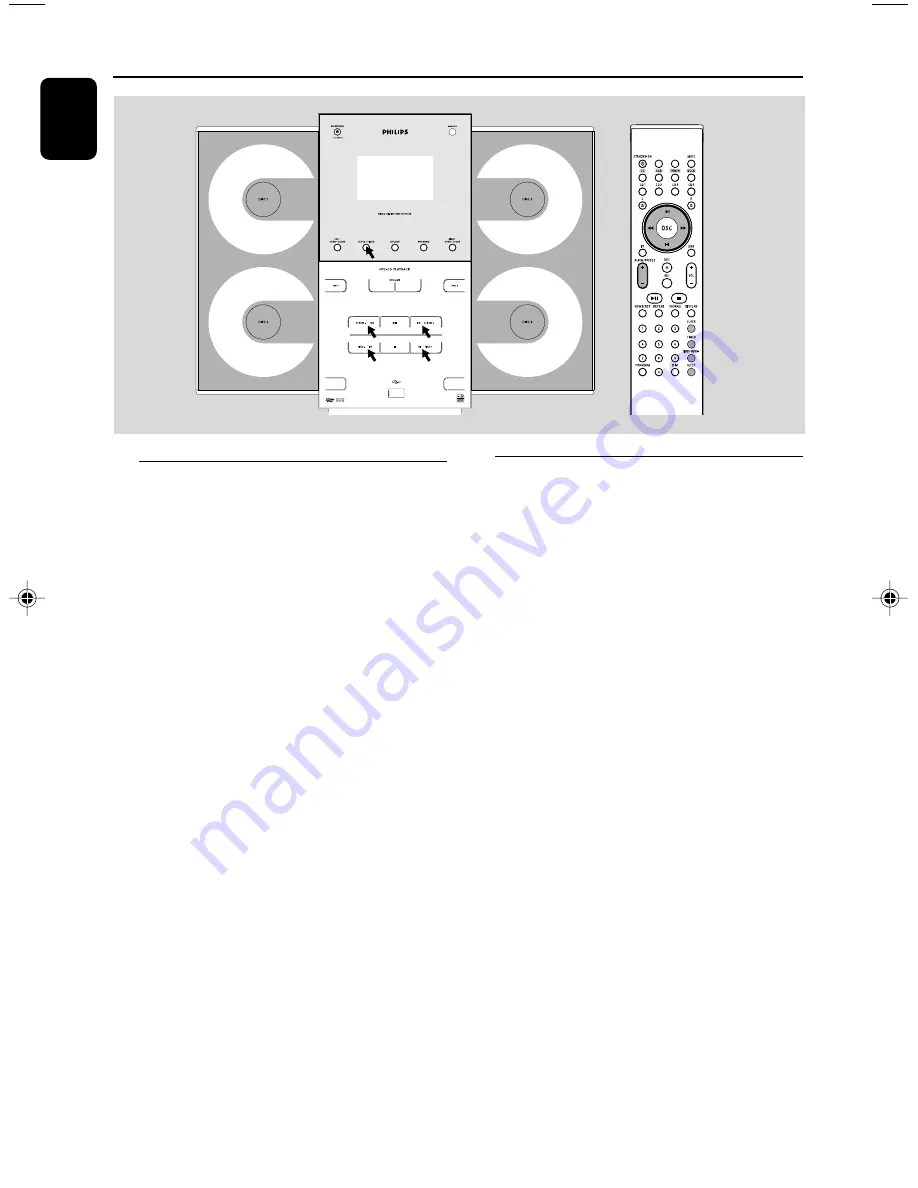
Clock/Timer
Clock setting
The system only supports 12-hour time mode.
1
In active mode, press
CLOCK•TIMER
(
CLOCK
on the remote) repeatedly until the
time digits flash.
2
Press
ALBUM-/+
à á
(
à á
on the
remote) repeatedly to set the hour.
3
Press
TITLE -/+
í
/
ë
(
ALBUM/PRESET
+/-
on the remote) repeatedly to set the
minute.
4
Press
CLOCK•TIMER
(
CLOCK
on the
remote) again to store the setting.
➜
The clock starts working.
To exit without storing the setting
●
Press
Ç
on the system.
Notes:
– The clock setting will be cancelled when the
power cord is disconnected or if a power failure
occurs.
– During clock setting, if no button is pressed
within 70 seconds, the system will exit clock setting
mode automatically.
Timer setting
The system can switch on to CD or TUNER
mode automatically at a preset time, serving as
an alarm to wake you up.
IMPORTANT!
– Before setting the timer, ensure that the
clock is set correctly.
1
Press and hold
CLOCK•TIMER
on the front
panel of the system for more than
two
seconds
or press
TIMER
on the remote to
select timer mode.
➜
The last timer setting star ts flashing.
➜
The selected source will be lighted.
2
Press
SOURCE
(
CD
or
TUNER
on the
remote) to select the desired source.
●
You can press
DISC 1/2/3/4
(
CD 1/2/3/4
on
the remote) to select the specific disc you would
like to play.
●
Before setting timer, make sure the music source
has been prepared.
CD
– Load the disc(s). To start from a specific
track, make a program (refer to “CD/MP3 CD
Operation - Programming the disc tracks”).
TUNER
– tune to the desired radio station.
USB
– connect a USB mass storage device.
3
Press
ALBUM-/+
à á
(
à á
on the
remote) repeatedly to set
the hour for the timer
to start.
DISC 2
DISC 4
USB DIRECT
pg001-033_MCM309R_37_Eng
2007.1.30, 9:58
26
Summary of Contents for MCM309R
Page 3: ...3 3 5 7 4 0 9 9 9 8 2 7 7 9 1 3 6 7 DISC 2 DISC 4 USB DIRECT ...
Page 4: ...4 1 2 3 4 9 0 5 8 7 6 6 7 ...
Page 5: ...5 ...
Page 33: ...33 ...


