16
English
Basic Functions
Important!
Before you operate the system, complete
the preparation procedures.
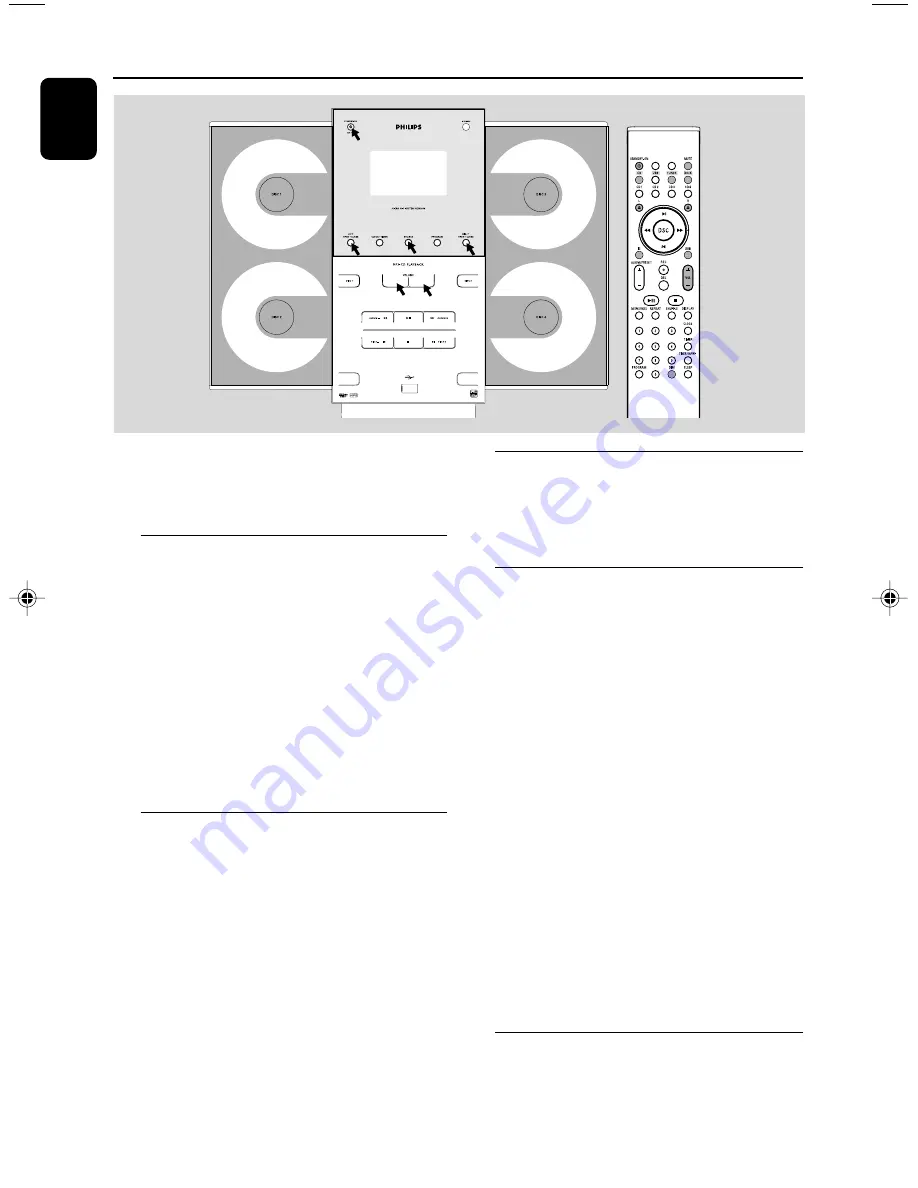
Switching the system on
●
Press
STANDBY-ON/ECO POWER
2
.
➜
The system will switch to the last selected
source.
●
Press
SOURCE
on the front panel or
CD
,
USB
,
TUNER
or
DOCK
on the remote
control.
➜
The system will switch to the selected source.
●
Press
LEFT OPEN • CLOSE
or
RIGHT
OPEN • CLOSE
on the front panel (
L
ç
or
R
ç
on the remote).
➜
The system will switch to the CD source.
Switching the system to Eco
Power Standby mode
●
Press
STANDBY-ON/ECO POWER
2
in
the active mode.
➜
The system enters Eco power standby (the
ECO POWER LED is on) or normal standby
with clock display.
●
If the system is in normal standby with clock
display, press and hold
STANDBY-ON/ECO
POWER
2
for 3 seconds or more to switch
to Eco power standby or vice versa.
●
The volume level (up to a maximum volume
level of 13), interactive sound settings, last
selected mode, source and tuner presets will be
retained in the player's memory.
Power Saving Automatic Standby
As a power-saving feature, the system
automatically switches to Standby 30 minutes
after a CD has reached the end and no control
is operated.
Adjusting volume and sound
1
Press
VOLUME -/+
(
VOL +/-
on the remote)
to decrease or increase the volume.
➜
Display shows the volume level VOL and a
number from MIN1, 2, ...30, 31 MAX.
2
Press
DSC
on the remote repeatedly to select
the desired sound effect:
ROCK/ JAZZ/ POP/
CLASSIC
.
3
Press
DBB
on the remote to switch bass
enhancement on or off.
➜
Display shows:
DBB
.
4
Press
IS
on the remote repeatedly.
➜
If activated,
INCR SUR
is displayed.
➜
If deactivated,
IS OFF
is displayed.
5
Press
MUTE
on the remote to interrupt sound
reproduction instantly.
➜
Playback will continue without sound and the
display shows
MUTE
.
●
To activate sound reproduction you can:
– press
MUTE
again;
– adjust the volume controls;
– change source.
Dimming the display screen
●
Press
DIM
on the remote repeatedly to turn on
or off the dim function for the display screen.
DISC 2
DISC 4
USB DIRECT
pg001-033_MCM309R_37_Eng
2007.1.30, 9:58
16
Summary of Contents for MCM309R
Page 3: ...3 3 5 7 4 0 9 9 9 8 2 7 7 9 1 3 6 7 DISC 2 DISC 4 USB DIRECT ...
Page 4: ...4 1 2 3 4 9 0 5 8 7 6 6 7 ...
Page 5: ...5 ...
Page 33: ...33 ...


