


Erica Sommer
Page 4
4/10/2006
Philips Jetstream to Codonics EP-1000 Printer Setup
EP-1000 Interface Selection
Printing to the EP-1000 is done over the network, but the Ethernet converter plugs into the EP-1000 parallel
interface port. Therefore, the parallel interface must be selected at the EP-1000. That is accomplished as
follows:
1. Turn on power to the EP-1000. After it boots up there should be no red indicators on the top panel. If
there are, resolve the problem first. For example, be sure the door is closed and that a loaded media
cassette is installed.
2. The two interface indicators are to the right of the EP-1000. If the uppermost light is lit, then the parallel
interface is selected and no further action is required. Go to the next section.
3. If the lower light is lit then the wrong interface is selected. Do the following to select the parallel
interface:
A. Momentarily press the ONLINE button. This will cause the selected interface light to flash, indicating
that the printer is offline.
B. Momentarily press the INTERFACE button. This will toggle the interface selection.
C. When the Parallel interface has been selected (top interface light is flashing) press the ONLINE
button to return the EP-1000 to the ready mode. The top interface light should now be lit
continuously.
Windows Test Print
At this point, it is a good idea to send a test print from the Windows XP system to ensure proper connectivity
and printer operation.
1. Click
the
Windows
Start
button. Then click
Settings...
then
Printers and Faxes
.
2. Right click on the icon for the Codonics EP-1000.
3. Click
Properties
and then select the General tab. Click
Print Test Page
, which will immediately
initiate the sending of a test page to the EP-1000. Within about 10 seconds you should see the interface
lights on the EP-1000 begin to flash indicating transmission in progress.
4. Click
OK
when asked if the test page printed. Click OK even if there was a problem and the test page
did not print.
5. If the Windows test print was not successful, determine and fix the problem before proceeding to the
next step.
Printing from JET
Stream
1. After the EP-1000 has been correctly set up on Windows XP, the JETStream application must be
restarted in order for it to see a newly installed printer.
2. If the EP-1000 has been set as the default Windows
printer, no additional configuration needs to be done at
the JETStream. This is the recommended installation. If
the EP-1000 is not the default Windows printer, consult
the JETStream manual for how to configure multiple
Windows printers.
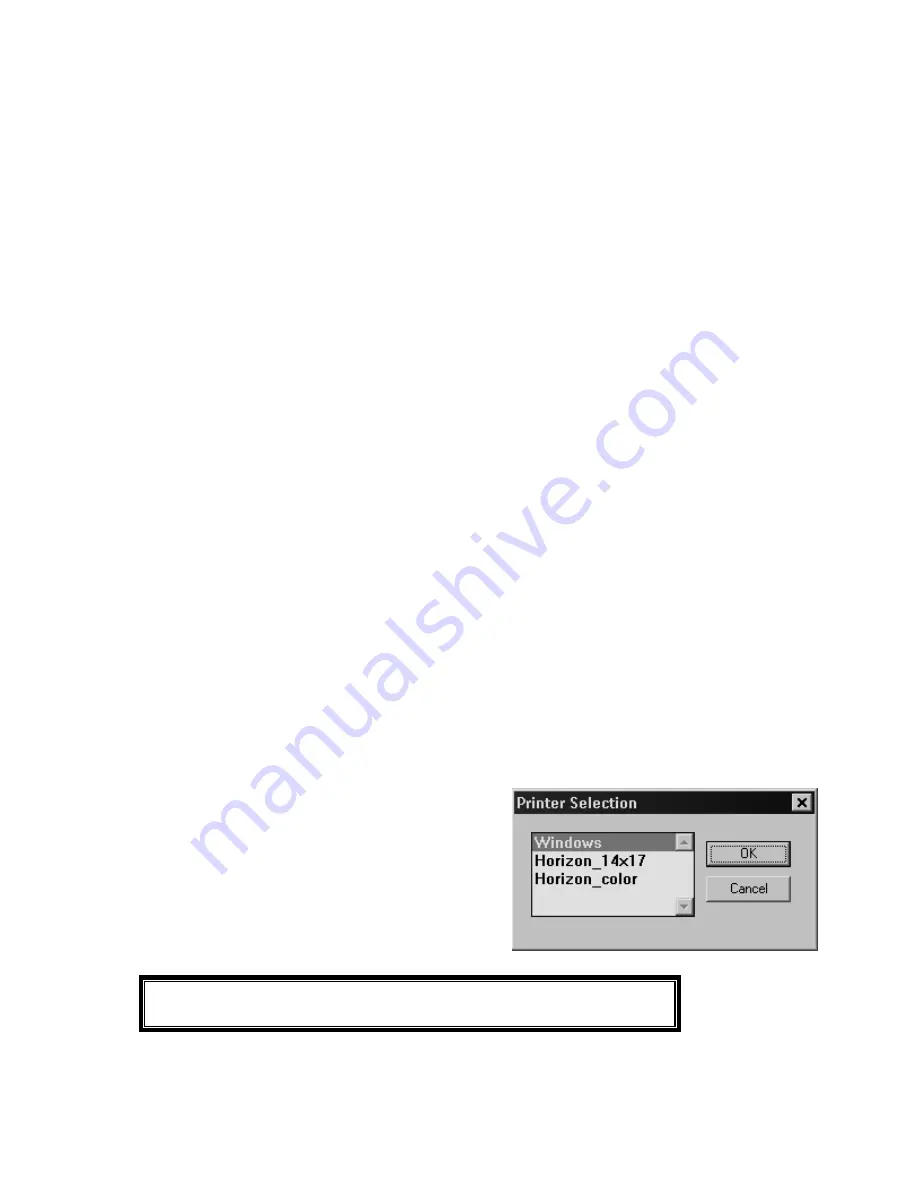
3. Open a patient file and image at the JETStream. Click
on the
icon at the top of the screen. The printer
selection prompt, shown right, should appear.
4. Click
on
Windows
. Then click
OK
.
The next two steps are essential. They must be done the first time the
JETStream prints to EP-1000 in order to create proper printing templates.
5. Click
on
Preview
. The view shown is the printed view from the JETStream’s point of view.


