22
EN
Activate EasyLink control
This feature is only applicable if this unit is
connected to HDMI CEC compliant TV/device.
It enables all the linked devices response or
react to certain commands simultaneously with
one touch control.
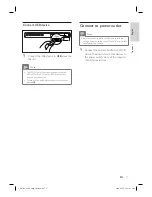
1
Turn on the HDMI CEC operations on
your TV and other connected devices. See
TVs/devices manual for details.
2
You can now enjoy the EasyLink controls.
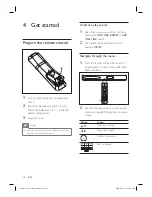
One touch play [ Auto Wake-up TV ]
When you press PLAY to turn on this unit
and start disc play (if a video disc is found
in the disc compartment), it turns on your
TV automatically and switches to the
correct viewing channel.
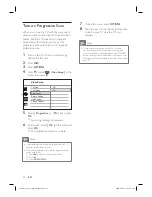
One touch power off [ System Standby ]
This unit responses to standby command
from other HDMI CEC compliant TV/
devices. For example, if you turn off the
TV, this unit automatically turns off to
standby even during playback.
To power off using this unit’s remote
control, you have to press and hold
2
.
•
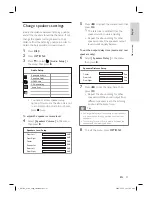
One touch audio input switching [ System
Audio Control ]
This unit is able to render the audio signals
from the active source. It switches
automatically to the corresponding audio
input and output the sound from its
speakers system.
Before you can enjoy this function, you
have to map the audio inputs to the
connected devices.
You can use any HDMI CEC TV/device
remote control to adjust the volume.
•
•
Note
To enable one touch play function, a video disc must
be placed in the disc compartment before operation.
Philips does not guarantee 100% interoperability
with all HDMI CEC compliant devices.
•
•
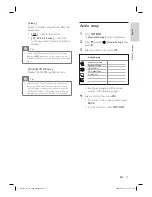
Map the audio inputs to the
connected devices
1
Press
DISC
.
2
Press
OPTIONS
.
3
Press
V
to select
[ Video Setup ]
in the
menu, then press
B
.
4
Select
[ HDMI Setup ]
>
[ EasyLink ]
, then
press
OK
.
EasyLink
Auto Wake-up TV
System Standby
System Audio Control
HDMI Input Mapping
[ Auto Wake-up TV ]
and
[ System
Standby ]
functions are turned on by
default in the factory.
5
Select
[ System Audio Control ]
>
[ On ]
,
then press
OK
.
6
Select
[ HDMI Input Mapping ]
, then press
OK
.
7
Select
[ OK ]
in the menu, then press
OK
to start scanning of devices.
Once complete, audio input mapping
menu is displayed.
8
Select an input to map (e.g. AUX1, AUX2),
then press
B
.
•
1_hts3366_93-98_eng4_final808.in22 22
1_hts3366_93-98_eng4_final808.in22 22
2008-02-22 10:17:43 AM
2008-02-22 10:17:43 AM

