11
First time installation
IMPORTANT !
– Install software first! Please insert the supplied CD into your computer's CD ROM
tray. Software installation will start automatically for first time users.
– Please follow the steps in the Quick Start Guide and connect your Jukebox after
you have performed the software installation
– To avoid file error/ damage, do not disconnect your Jukebox during installation.
1 Turn on your computer and insert the CD-ROM into your CD-ROM drive.
●
For Windows 98SE users: in order for your Jukebox to be recognized properly by
your OS, some additional device drivers will be installed automatically from the
CD-ROM.To perform this step, select a preferred language from the installation
menu, read the
Quick start Guide
, then click
Next
to automatically install any
necessary drivers.
2
Follow all the screen instructions to guide you through and confirm installation.
3
If you are prompted to restart your PC, please do so.
4
Connect hdd100 to your PC using the supplied USB 2.0 cable.
➔
Windows will detect for New Hardware, hdd100 and install the USB driver
automatically.
➔
For Windows 98SE users: disconnect your hdd100 if you are prompted to restart
your PC.
TIP:
– If the installation program doesn't launch automatically, eject the CD and insert
again.
–
For Windows 2000, XP or ME users: no additional drivers are required.
–
For Windows 2000 and XP users: this requires Administrator rights to perform the
installation. Make sure you log in as the administrator on your PC.
Connecting the Jukebox to your PC
IMPORTANT !
Always turn on your computer before connecting your Jukebox.
●
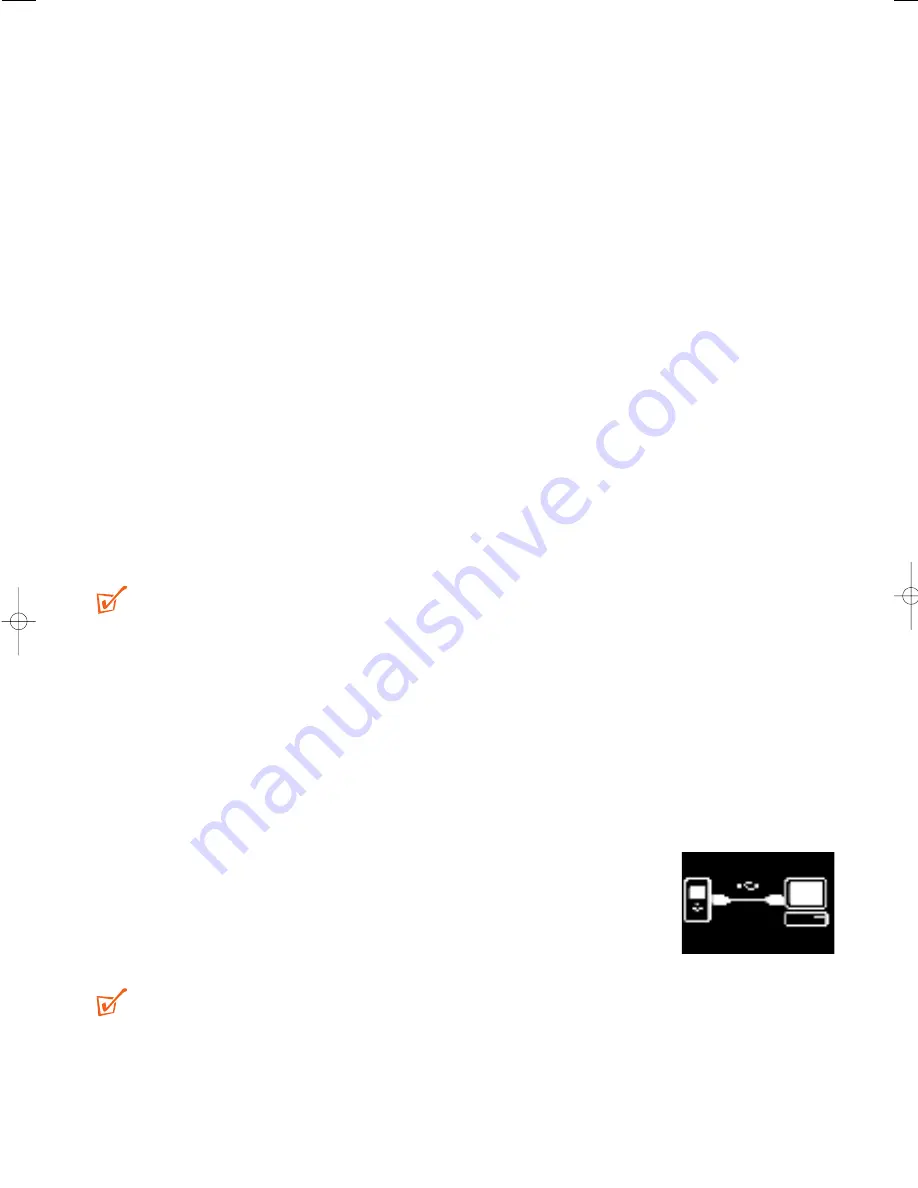
Connect your hdd100 to your PC using the supplied USB 2.0
cable.
➔
Buttons are locked and disabled throughout USB connection.
The display shows:
TIP:
– Make sure your Jukebox has been fully charged first. If you wish to transfer music
files from your PC to your Jukebox, we recommend that you connect the supplied
power adapter to the 5V DC jack on your Jukebox.
HDD100_ENG 19/8/03 16:31 Page 11


