DIGITAL TUNER
Tuning to radio stations
1.
Adjust the
POWER slider
to
MW
or
FM
.
™
The radio. station frequency, waveband are
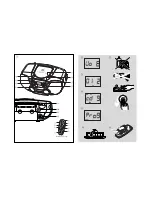
shown (
See
3
)
2.
Press and hold
SEARCH
∞
or
§
until the
frequency in the display starts running.
™
The radio automatically tunes to a station of
sufficient reception. Display shows
Srch
during automatic tuning.
3.
Repeat step
2
if necessary until you find the
desired station.
• To tune to a weak station, press
∞
or
§
briefly
and repeatedly until you have found optimal
reception.
To improve radio reception:
• For
FM
, extend, incline and turn the telescopic aer-
ial. Reduce its length if the signal is too strong.
• For
MW
, the set uses a built-in aerial. Direct this
aerial by turning the whole set.
Programming radio stations
You can store up to a total of 30 radio stations (20 FM
and 10 MW) in the memory, manually or automatically
(Autostore).
Manual programming
1.
Tune to your desired station (see
Tuning to radio
stations
).
2.
Press
PROG
to activate programming.
™
PROG
flashes.
3.
Press
PRESET
+
/
-
once or more to select a
preset number.
•
Remote control
(
AZ1325
models only): Press
PRESET
+
/
-
once or more to select a preset
station.
4.
Press
PROG
to confirm.
5.
Repeat steps
1-4
to store other stations.
Note :
You can erase a preset station by storing
another frequency in its place.
Autostore
Autostore automatically starts programming radio
stations from preset 1. Available stations are
programmed in order if the station with sufficient
reception strength. Any previous presets e.g. manually
programmed will be erased.
• Press
PROG
for 2 seconds or more to activate
autostore programming.
™
The display shows
AUtO
,
PROG
blinks,
followed by the radio station details when
stored.
After all stations are stored, the first preset station
will then automatically play.
To listen to a preset station
• Press the
PRESET
+
,
-
buttons once or more until
the desired preset station is displayed.
• Remote control (
AZ1325
models only): optionally,
press
PRESET
+
,
-
to select your preset station.
Playing a CD
This CD player plays Audio Discs including CD-
Recordables and CD-Rewritables.
1.
Adjust the
POWER slider
to
CD
.
2.
Open the CD Door.
™
OPEN
is displayed.
3.
Insert a CD with the printed side facing up and
close the door.
™
nocd
if no CD inserted/ CD dirty, incorrectly
inserted or damaged.
™
nFcd
if you have inserted a non-finalized CD-
R(W).
4.
Press
2;
to start playback.
5.
To pause playback press
2;
. Press
2;
again to
resume play.
™
Display: flashes during pause.
6.
To stop CD playback, press the
9
button.
Note :
CD play will also stop when:
- the CD door is opened
- the CD has reached the end
- you select
MW
/
FM
function.
Selecting a different track
• Press
SEARCH
∞
or
§
once or repeatedly to
select your track.
• In the pause / stop position, press.
2;
to start
playback.
Finding a passage within a track
1.
Press and hold
SEARCH
∞
or
§
.
– The CD is played at high speed and low volume.
2.
When you recognize the passage you want,
release
∞
or
§
to resume normal playback.
Note :
During a CD program or if
SHUFFLE/
REPEAT
active, searching is only possible within a
track.
Different play modes: SHUFFLE and REPEAT
You can select and change the various play modes
before or during playback, and combine the modes
with PROG. (
See
4
)
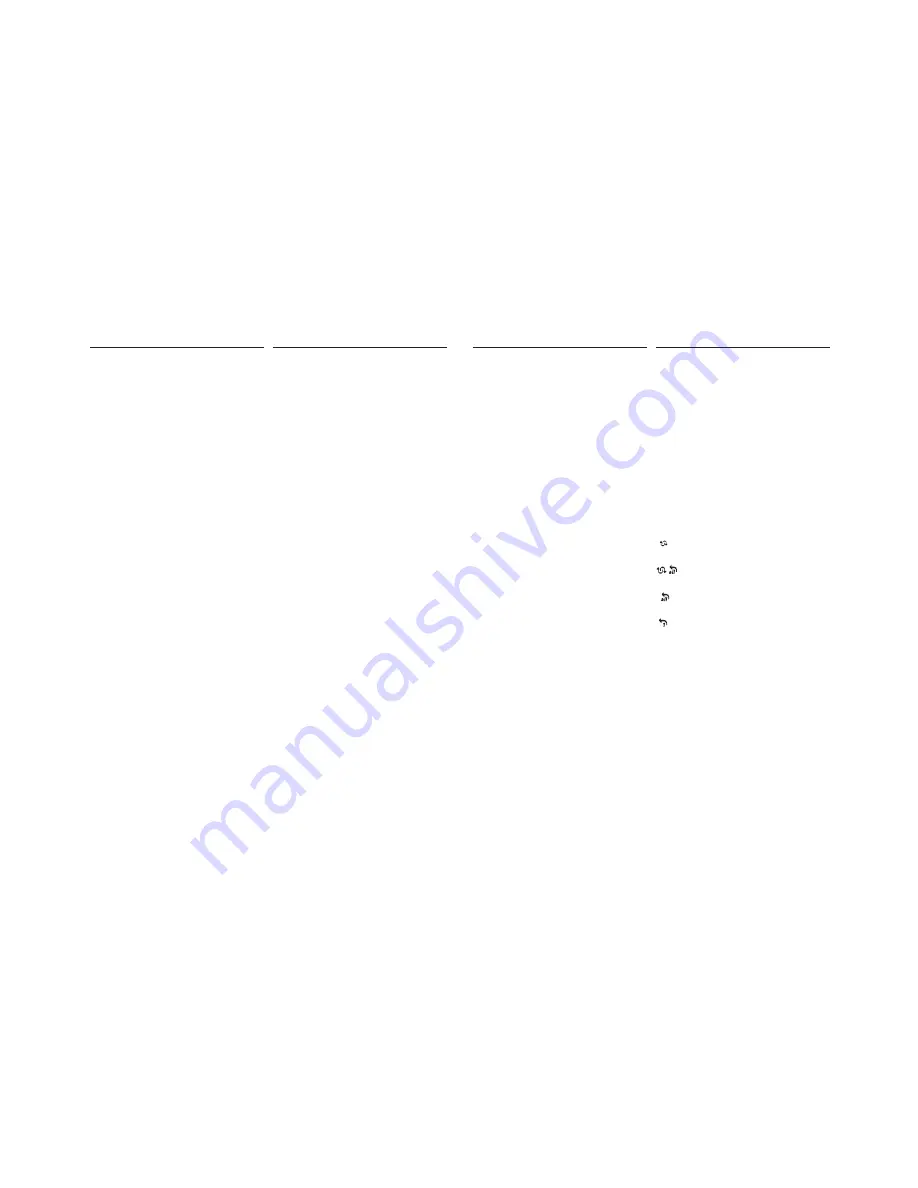
(SHUFFLE)
- tracks of the entire CD/ program
are played in random order
(SHUFFLE REPEAT ALL)
- to repeat the
entire CD/ program continuously in random order
(REPEAT ALL)
- repeats the entire CD/
program
(REPEAT)
- plays the current track continuously
1.
To select play mode, press
MODE
once or more.
2.
Press
2;
to start playback if in the stop position.
3.
To select normal playback, press
MODE
repeatedly until the various modes are no longer
displayed.
– You can also press the
9
button to cancel your
play mode.
DIGITAL TUNER
DIGITAL TUNER
CD PLAYER
CD PLAYER

