background image

VOLUME

SEARCH

PRESET

TUNING

REPEAT

SHUFFLE

SEARCH

+

-

1

9
8

6

7

2

4

3

5

AC M

AINS ~

@

!

9

0

for AZ1325  only

3

2

1

4

5

6

7

8

1

X

2

3

4

5

8

7

6

Summary of Contents for AZ1301/00C

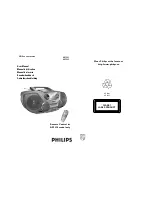
Page 1: ...machine Remote Control for AZ1325 model only Meet Philips at the Internet http www philips co W CLASS 1 LASER PRODUCT AZ 1301 AZ 1325 User Manual Manuel d utilisation Manual del usario Benutzerhandbuch Gebruikershandleiding ...

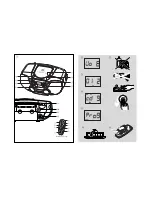
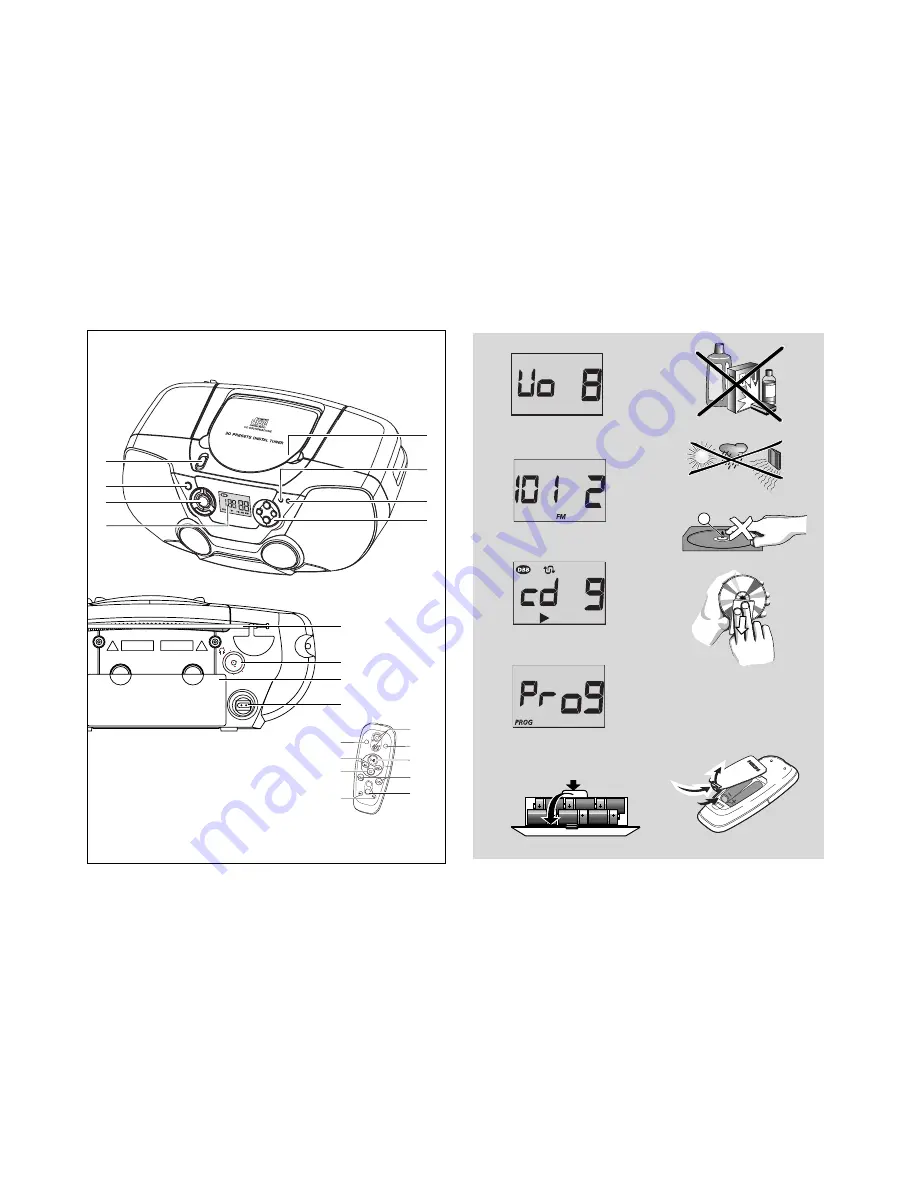
Page 2: ...VOLUME SEARCH PRESET TUNING REPEAT SHUFFLE SEARCH 1 9 8 6 7 2 4 3 5 AC MAINS 9 0 for AZ1325 only 3 2 1 4 5 6 7 8 1 X 2 3 4 5 8 7 6 ...

Page 3: ...se the AC power supply to conserve battery life Make sure you remove the power plug from the set and wall outlet before inserting batteries Batteries not included Insert 6 batteries type R 14 UM 2 or C cells preferably alkaline with the correct polarity See 6 Remote control AZ1325 model only Insert 2 batteries type AAA R03 or UM4 preferably alkaline See 8 IMPORTANT Incorrect use of batteries can c...

Page 4: ... play To listen to a preset station Press the PRESET buttons once or more until the desired preset station is displayed Remote control AZ1325 models only optionally press PRESET to select your preset station Playing a CD This CD player plays Audio Discs including CD Recordables and CD Rewritables 1 Adjust the POWER slider to CD 2 Open the CD Door OPEN is displayed 3 Insert a CD with the printed si...

Page 5: ...ine from the centre towards the edge using a soft lint free cloth Do not use cleaning agents as they may damage the disc Never write on a CD or attach any stickers to it No sound power Volume not adjusted Adjust the VOLUME Mains lead not securely connected Connect the AC mains lead properly Batteries exhausted incorrectly inserted Insert fresh batteries correctly Severe radio hum or noise Electric...

Page 6: ... possible shock hazard should it be inserted into a 13 Amp socket elsewhere How to connect a plug The wires in the mains lead are coloured with the following code blue neutral N brown live L As these colours may not correspond with the colour markings identi fying the terminals in your plug proceed as follows Connect the blue wire to the terminal marked N or coloured black Connect the brown wire t...

Reviews: