55BDL1005X
27
6. If {
Source
}
{
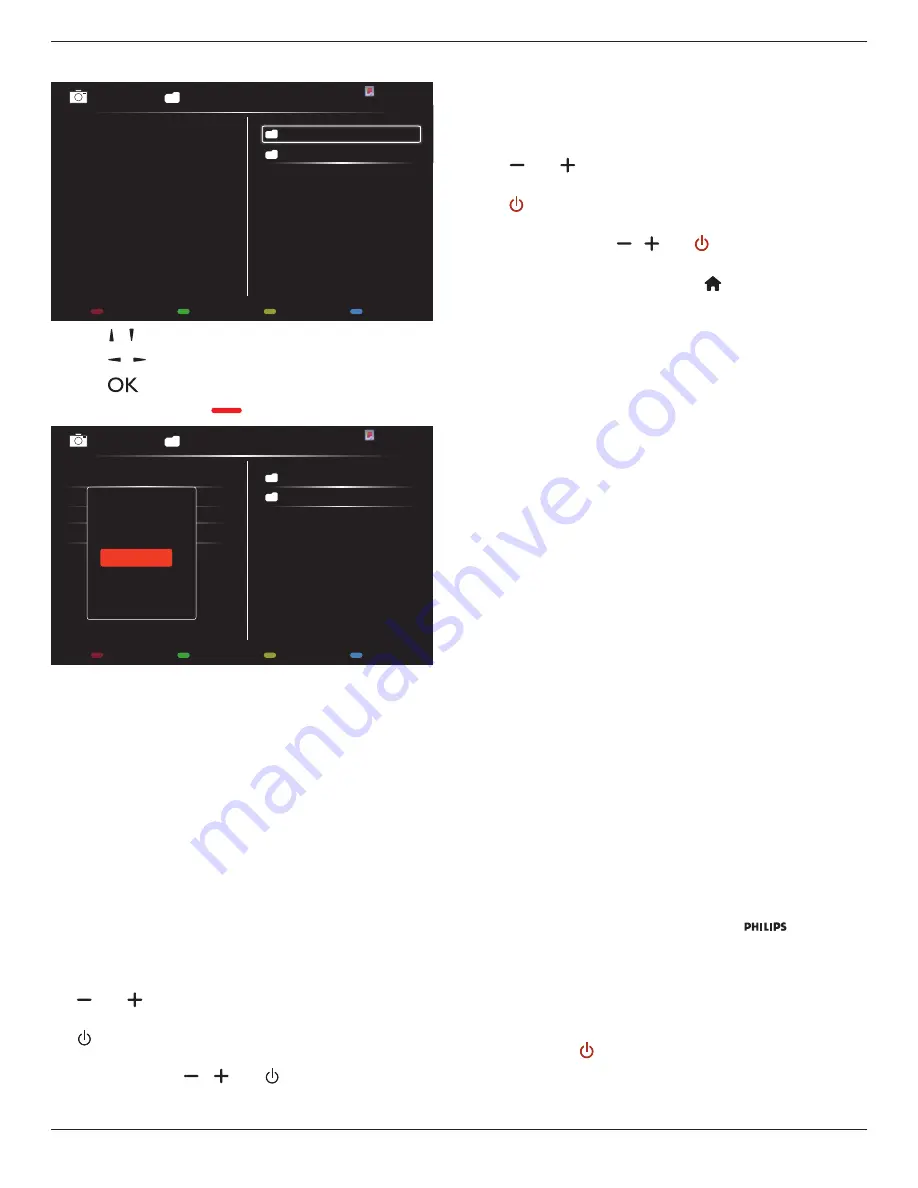
USB
} is chosen. Go to
Playlist setting
.
0001/0002
Options
Exit
Photo
Photo
Video
-
Press
[ ] [ ]
buttons to choose files.
-
Press
[ ] [ ]
buttons to switch Playlist and File Manager.
-
Press
[
]
button to set or clear the playlist.
7. To save the playlist, press
[
]
and choose
Save list
.
0004/0004
Options
Exit
Photo
Photo
[..]
Movie.avi
\media\photo
Photo1.jpg
Photo2.jpg
Photo3.jpg
Sort
Recursive Parser
Media Type
Save list
NOTES:
• Each Playlist supports up to 30 files.
• Playlist will not be cleared after {
Factory settings
}. You have to
manually remove the files or delete usb_schedulinglist.txt in the
USB.
Sleep timer
Switch off this display after a specified time.
OneWire
Connect and control your HDMI-CEC compliant devices through HDMI
port to this display with the same remote control.
Local KB lock
Choose to enable or disable the keyboard (control buttons) function of
the display.
• {
Unlock
}: Enable the keyboard function.
• {
Lock all
}: Lock all keyboard function.
• {
Lock but volume
}: Disable all the keyboard function except the
[ ]
and
[ ]
button.
• {
Lock but power
}: Disable all the keyboard function except the
[ ]
button.
• {
Lock all expect volume and power
}: Disable all the keyboard
function except the
[ ]
,
[ ]
and
[ ]
button:
RC lock
Choose to enable or disable the button function of the remote control.
• {
Unlock
}: Enable the keyboard function.
• {
Lock all
}: Lock all keyboard function.
• {
Lock but volume
}: Disable all the keyboard function except the
[ ]
and
[ ]
button.
• {
Lock but power
}: Disable all the keyboard function except the
[ ] POWER
button.
• {
Lock all expect volume and power
}: Disable all the keyboard
function except the
[ ] [ ]
and
[ ] POWER
button:
NOTE: To disable the lock function from
Local KB lock
or
RC lock
item, press buttons
[ ]
and
1 9 9 8
on the
remote control.
Pixel shift
For video input sources, you may choose {
On
} to move the screen
image automatically to protect the display from “burn-in” or “after-image”
symptoms 30 seconds after not operating the display.
Smart power
Choose a backlight level to optimise dynamic power consumption and
picture contrast.
The options are: {
Off
}, {
Standard
}, {
Medium
}, {
High
}.
Wake on lan
Choose {
On
} and you can turn on the display by network.
Switch on state
Choose the display status used for the next time you connect the
power cord.
• {
On
} - The display will turn on when the power cord is connected
to a wall outlet.
• {
Standby
} - The display will remain Standby when the power cord is
connected to a wall outlet.
• {
Last status
} - The display will return to the previous power status
(on/off/standby) when removing and replacing the power cord.
Light sensor
Choose {
On
} and the display will automatically adjust backlight. Only
available when you plug in CRD41.
Human sensor
Set the display to turn on backlight if it does sensor human and turn off
backlight after an amount of the specified.
The options are :{Off, 10 ~ 60} minutes. Only available when you plug
in CRD41.
Power LED Light
Choose {
Off
} to turn off the indicator.
Logo
Choose {
Off
} and the display will not display the
logo when
you switch on.
Advanced power management
Choose {
On
}. Then, when no signal, the display will automatically turn
off.
Source notification
When you press
[ ] POWER
button to turn on the display from
standby mode or change the input signal, the information OSD is
displayed on the upper left corner of the screen.
Choose {
Off
} to turn off this function.


