


24BDL4151T
17
(1) Schedule list: You can set up total 7 schedules. Each schedule
setting are independent.
(2) Enable: Enable/disable selected schedule in schedule list. Each
schedule has its own enable/disable switch.
(3) Start time: Set up selected schedule start time.
(4) End time: Set up selected schedule end time.
(5) Input: set up selected schedule auto playback source during
schedule start.
(6) Play list: Select list 1 to 7. If “input” is one of Media Player,
Browser, PDF player, user can select playlist and schedule will
playback selected playlist automatically.
(7) Days of the week: set Sunday, Monday, Tuesday, Wednesday,
Thursday, Friday, and Saturday for selected schedule will be
run.
(8) Every week: Set selected schedule’s lifecycle.
(9) SAVE: Store settings of selected schedule. Remember click
“SAVE” button, otherwise
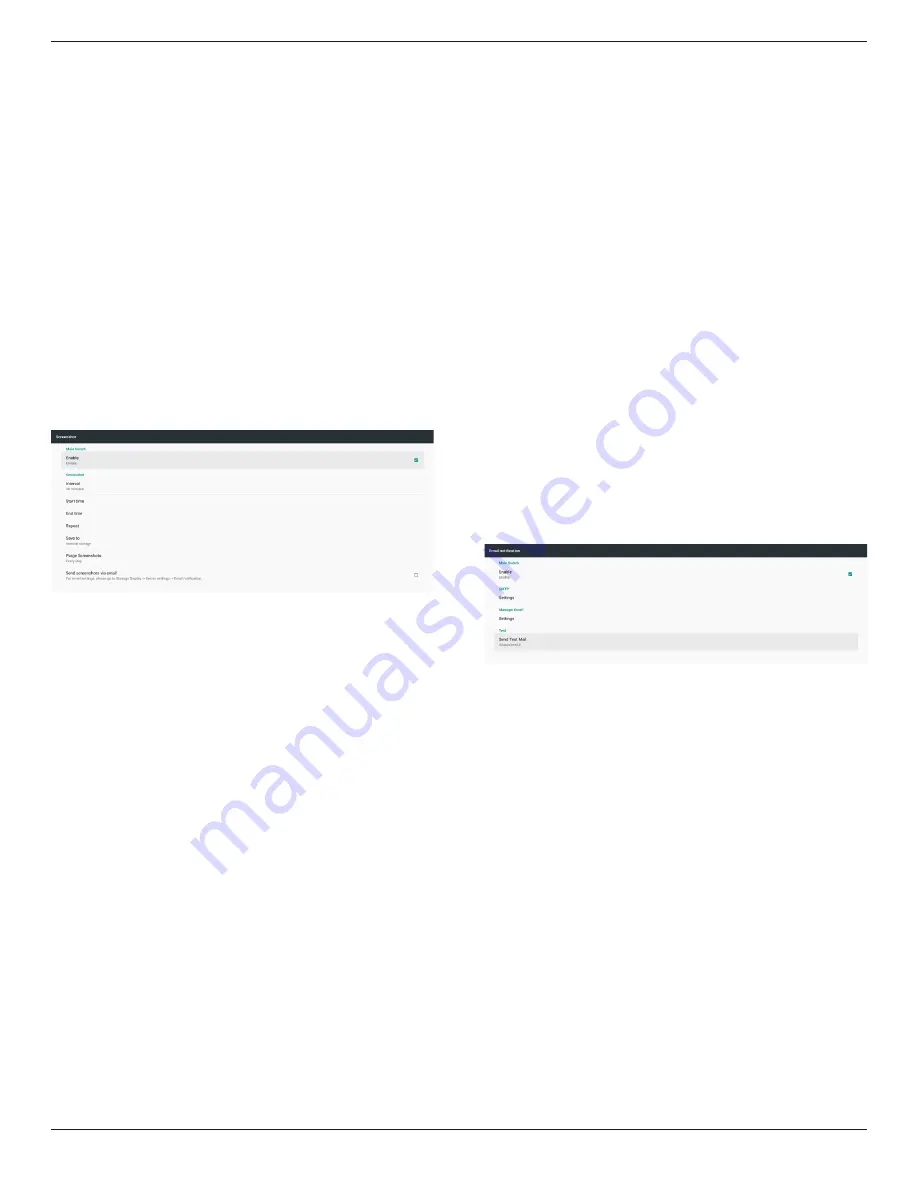
6. Screenshot
Setup device auto screenshot. Click “Enable” to enable screenshot
features. The screenshot options is gray if user not enable screenshot.
User can set up screenshot interval and saving location folder after
user enable it. “Save to” notify user that screenshot images will be
saved in internal storage and user cannot change manually.
NOTE:
A.
Screenshot feature will auto delete screenshot photos when:
1.
At start time (0 seconds) begin screenshot feature
2.
At 40 seconds of minute starting screenshot
3.
If user select purge screenshot photos every week, the data
of deleting photos will be change to the day of the date user
apply any setting of screenshot feature.
For example, if user set purge day is Monday of every week at
first, but change other settings in screenshot feature in Friday,
the purge day will be changed to Friday (day of week of
system current time).
B.
Sleep (system suspend) and screenshot feature:
Screenshot feature will also suspend when system is sleep
(suspend). The mail out screenshot photo feature is also
suspended. Screenshot feature will be restart when system
wakeup.
(1) Interval
Set up screenshot interval, user can select 30 or 60 minutes
interval between each screenshot.
(2) Start Time
Set up screenshot start time of a day.
a.
User must click “SAVE” before leaving dialog,
otherwise the time will not be saved.
b.
The start time must lower than end time. A toast
message will notify user when interval is wrong.
(3) End Time
Set up screenshot end time of a day.
a.
User must click “SAVE” before leaving dialog,
otherwise the time will not be saved.
b.
The start time must lower than end time. A toast
message will notify user when interval is wrong.
(4) Repeat
Set up auto screenshot day of week interval, user can select
when screenshot will work.
(5) Save to
System saves screenshot images into internal storage. System
will create philips/screenshot/ folder in internal storage and
saving images under this folder.
(6) Purge Screenshots
Set up the interval of purging (deleting) screenshot images.
User can set delete image in every day or every week.
(7) Send screenshots via email
Enable device send out screenshot image by E-mail for every
screenshot. User must set up mail information first in “Settings
-> Signage Display -> Server Settings -> Email notification”
(reference Email Notification section).
4.4.2. Server Settings
1. Email Notification
Click checkbox to enable/disable E-mail notification feature. User can
set up SMTP and manager E-mail after enable E-mail notification feature.
1) SMTP
Setup sender E-mail address and SMTP server information. There are
two types of SMTP server for user set up: “Gmail” and “Other”. By
using “Other” option, user can manually setup STMP server, security
type and server port.
Note:
a.
Password length limit into range 6~20 chars in UTF8 format.
b.
And user cannot set port 5000 (SICP default port) and 2121
(FTP server default port).
i.
SICP network port setting in “Settings -> Signage
Display -> Network Application -> SICP network
port”.
ii.
FTP network port settings in “Settings -> Signage
Display -> Server settings -> FTP -> Port”.