

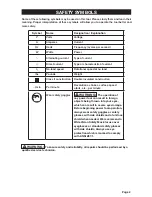


Page 12
OPERATION
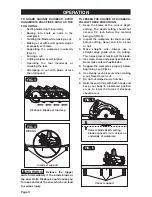
INTEGRATED RIP AND
CROSSCUT RULER
Marked along the base across the front of
the saw is a ruler for measuring repetitive
cuts. It is marked 5 inches to the right of 0°
in 1/8 inch increments.
DEPTH-OF-CUT ADJUSTMENT
Always keep the correct blade-depth
setting. The correct blade-depth setting for
all cuts should not exceed 1/4 in. below the
material to be cut. Excess blade depth will
increase the chance of kickback and cause
the cut to be rough. One blade tooth below
the material to be cut works is best for
efficient cutting action.
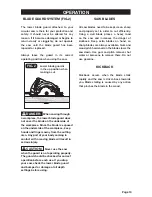
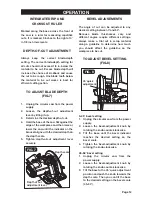
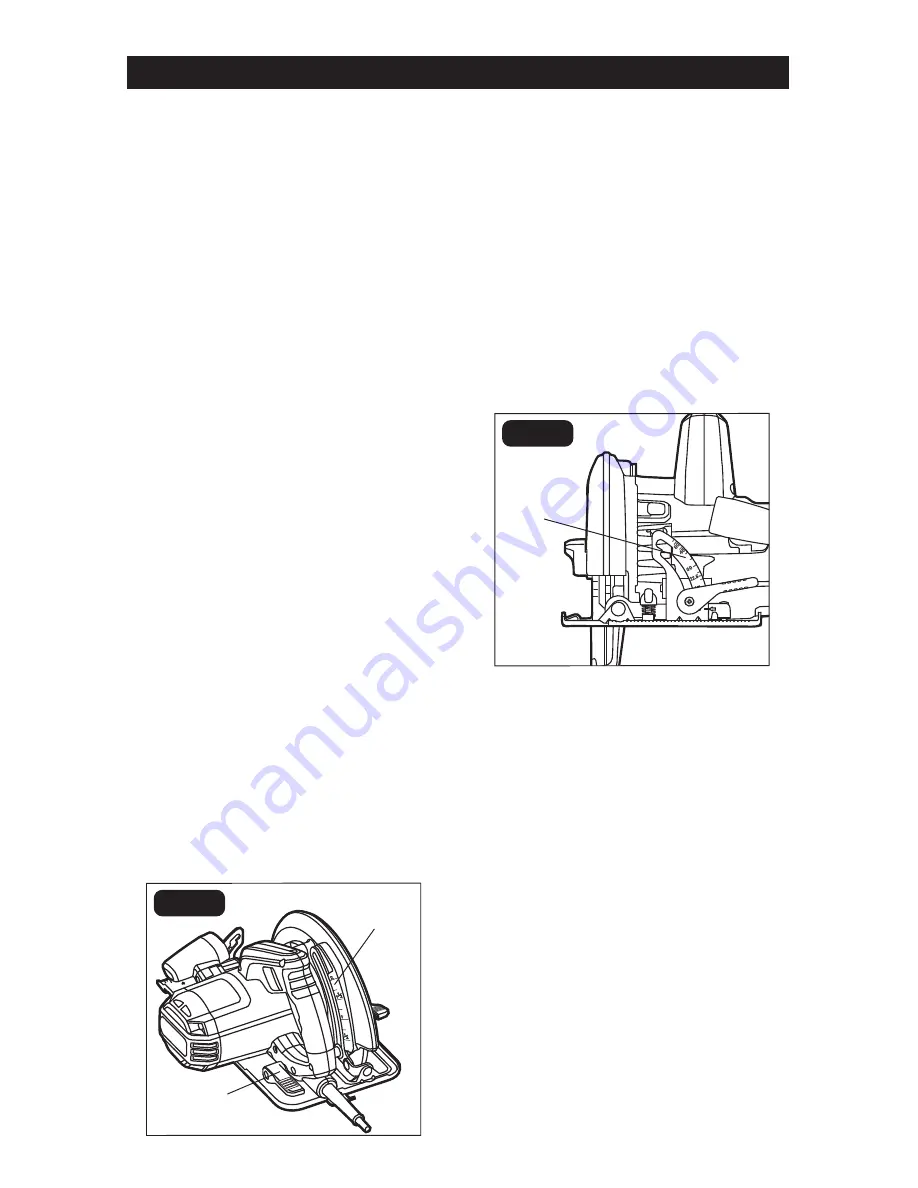
TO ADJUST BLADE DEPTH
(FIG.7)
1. Unplug the circular saw from the power
supply.
2. Loosen the depth-of-cut adjustment
lever by lifting it up.
3. Determine the desired depth of cut.
4. Hold the base of the saw flat against the
edge of the workpiece and then raise or
lower the saw until the indicator on the
bracket aligns with the desired depth on
the depth scale.
5. Tighten depth-of-cut adjustment lever
securely.
FIG. 7
Depth of cut
adjustment lever
Depth scale
BEVEL ADJUSEMENTS
The angle of cut can be adjusted to any
desired setting between 0°and 52°.
Because blade thicknesses vary and
different angles require different settings,
always make a trial cut in scrap material
along a guideline to determine how much
you should offset the guideline on the
workpiece to be cut.
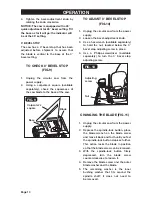
TO ADJUST BEVEL SETTING
(FIG.8)
FIG. 8
45°quick
adjustment
0–45° bevel setting
1. Unplug the circular saw from the power
supply.
2. Loosen the bevel-adjustment knob by
rotating the knob counterclockwise.
3. Tilt the base until the bevel indicator
reaches the desired setting on the
bevel scale.
4. Tighten the bevel-adjustment knob by
rotating the knob clockwise.
45–52° bevel setting
1. Unplug the circular saw from the
power supply.
2. Loosen the bevel-adjustment knob by
rotating the knob counterclockwise.
3. Tilt the base to the 45° quick adjustment
position and push the knob towards the
depth scale. Then you can tilt the base
to the desired setting on the bevel scale
(45–52°).


